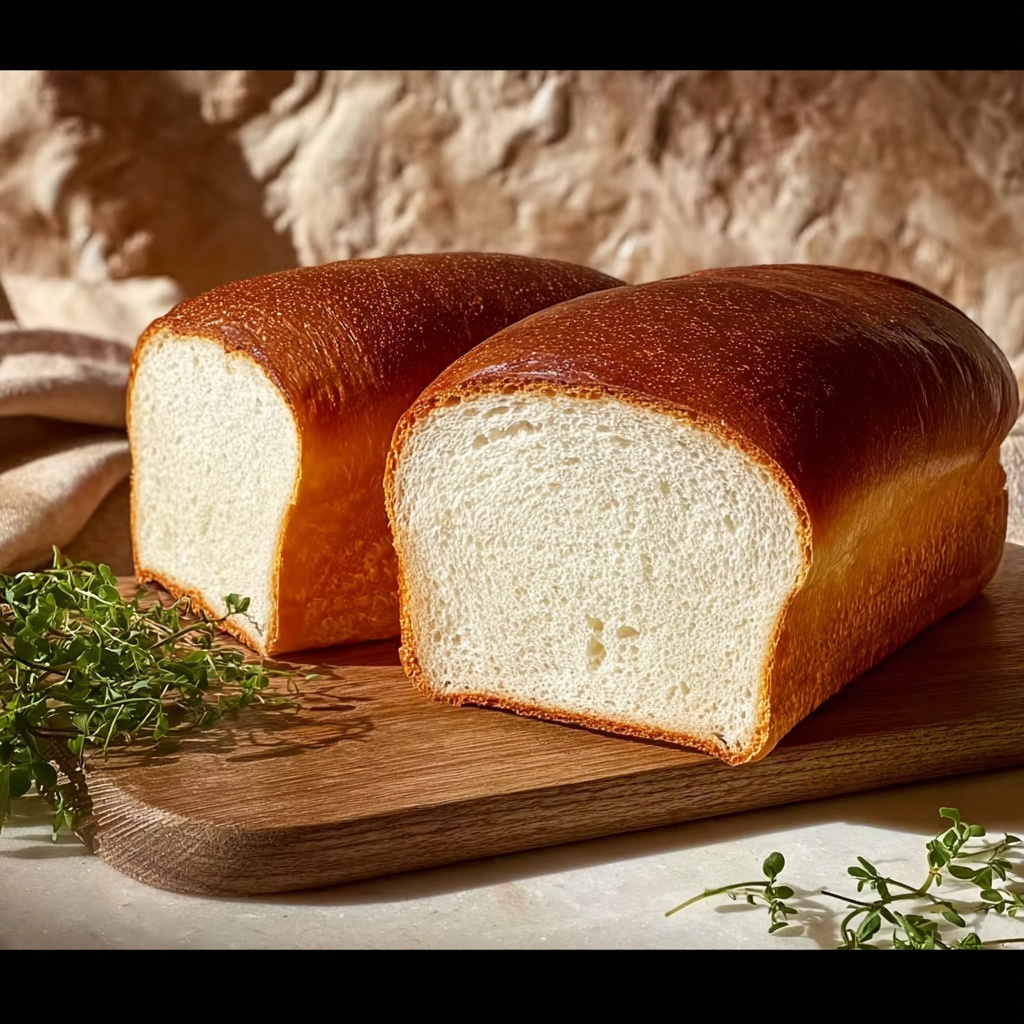
If you’ve ever hesitated to bake bread at home, this is your sign to get started with The Only Bread Recipe You’ll Ever Need Recipe. It’s a wonderfully simple loaf that balances soft crumb and golden crust, made from everyday pantry ingredients with a dash of patience and love. Once you try this recipe, you’ll see how effortlessly you can create fresh bread that rivals your favorite bakery without the hassle. It’s perfect for everything from sandwiches to a cozy side with soup.
Ingredients You’ll Need
The beauty of this bread is how few ingredients it calls for, yet how much each one brings to the table. Every component plays a crucial role in building the flavor and texture that will keep you coming back for more.
- 3 cups all-purpose flour: Provides the structure and chewiness essential to a classic loaf.
- 1 packet (2 1/4 tsp) active dry yeast: The magic worker that makes your dough rise and become airy.
- 1 tsp salt: Enhances flavor and controls yeast activity for balanced fermentation.
- 1 tbsp sugar: Feeds the yeast to help get the rise going and adds a slight sweetness.
- 1 cup warm water (110°F/45°C): Activates the yeast and brings everything together into dough.
- 1 tbsp olive oil (or vegetable oil): Adds moisture and a tender crumb with a hint of flavor.
- 1 tbsp melted butter (optional, for brushing): Creates a delightful golden, soft crust when brushed on top.
How to Make The Only Bread Recipe You’ll Ever Need Recipe
Step 1: Activate the Yeast
Begin by warming your water to about 110°F (45°C). Pour it into a small bowl, sprinkle the yeast and sugar over it, and stir gently. Let this mixture sit for about 5 to 10 minutes until it becomes foamy and bubbly. This indicates your yeast is alive and ready to work its magic!
Step 2: Mix the Dough
In a large mixing bowl, combine the flour and salt. Make a well in the center and pour in your activated yeast mixture along with the olive oil. Stir everything together using a wooden spoon or your hands until a shaggy dough forms. This initial mix lays the foundation for that perfect loaf texture.
Step 3: Knead Your Dough
Transfer the dough to a lightly floured surface and knead it for about 8 to 10 minutes. You’ll know you’re done when the dough is smooth, elastic, and springs back when poked. This kneading step develops the gluten, which holds in all those lovely bubbles created by the yeast.
Step 4: First Rise
Lightly oil a large bowl and place your dough inside, turning it to coat with oil. Cover the bowl with a clean kitchen towel or plastic wrap and leave it to rise in a warm spot until it doubles in size. This usually takes about 1 to 1.5 hours. Your patience here rewards you with soft, airy bread.
Step 5: Shape and Second Rise
Punch down the dough gently to release excess air and shape it into a loaf. Place it in a greased loaf pan or on a baking sheet lined with parchment paper. Cover it again and let it rise for another 30 to 45 minutes. This final rise gives the loaf its full, fluffy shape.
Step 6: Bake to Perfection
Preheat your oven to 375°F (190°C). Before putting the loaf in the oven, brush the top with melted butter if you like for a rich golden crust. Bake for about 30 minutes until the bread is golden brown and sounds hollow when tapped on the bottom. Cool completely before slicing to preserve the soft crumb.
How to Serve The Only Bread Recipe You’ll Ever Need Recipe
Garnishes
Simple garnishes like a sprinkle of coarse sea salt or fresh herbs such as rosemary brushed with a bit of olive oil before baking can elevate this bread wonderfully. A light brushing of garlic butter right out of the oven is perfect for garlic lovers!
Side Dishes
This bread is a versatile sidekick to countless dishes. Serve it with hearty soups like tomato basil or creamy chicken stew to soak up every last bite. It also pairs gloriously with salads and cheese boards for a lunch that feels both fresh and wholesome.
Creative Ways to Present
Try slicing and toasting this bread topped with avocado and a sprinkle of chili flakes for a tasty snack. Or transform it into a bruschetta base, adding diced tomatoes and basil for an elegant appetizer. The possibilities with The Only Bread Recipe You’ll Ever Need Recipe are endless and inviting!
Make Ahead and Storage
Storing Leftovers
If you have leftover bread, wrap it tightly in plastic wrap or store it in an airtight container. It will stay fresh at room temperature for up to two days, preserving that wonderful soft texture.
Freezing
For longer storage, slice your loaf and freeze the slices individually wrapped or in a freezer bag. This way, you can-toast or defrost only what you need without wasting any delicious bread.
Reheating
Reheat slices in a toaster or a warm oven to bring back the fresh-baked warmth and slight crispness. You can even sprinkle a little water over the crust before warming to freshen the texture and soften the crumb beautifully.
FAQs
Can I use whole wheat flour instead of all-purpose flour?
Absolutely! You can substitute some or all of the all-purpose flour with whole wheat for a nuttier, denser loaf. Just keep in mind the rise might be a bit less pronounced, and you may need to adjust water amounts slightly.
Do I have to use melted butter for brushing the top?
Not at all. Brushing with melted butter is optional and adds a nice golden color and richness, but you can skip it or substitute with olive oil or an egg wash for different finishes.
What if my dough doesn’t rise?
If your dough isn’t rising, the yeast might be inactive due to old yeast or water that was too hot or too cold. Always use fresh yeast and check your water temperature to ensure it is warm but not hot.
Can I make this bread without a loaf pan?
You can! Simply shape the dough into a round boule or an oval and bake it on a parchment-lined baking sheet. Just watch the baking time as it might change slightly based on shape.
How long does this bread stay fresh after baking?
Freshly baked bread is best enjoyed within two days for optimal softness and flavor. After that, it can start to dry out or get tough, so consider freezing if you want to store it longer.
Final Thoughts
There you have it, The Only Bread Recipe You’ll Ever Need Recipe that combines simplicity with incredible homemade charm. This loaf is a small but impressive baking project that rewards you with warm, fragrant bread perfect for any occasion. I encourage you to try it out and savor the joy of fresh bread straight from your oven—you won’t be disappointed!
Print
The Only Bread Recipe You’ll Ever Need Recipe
- Prep Time: 10 minutes
- Cook Time: 30 minutes
- Total Time: 2 hours 10 minutes
- Yield: 1 loaf
- Category: Bread
- Method: Baking
- Cuisine: American
Description
This classic homemade bread recipe is simple, straightforward, and yields a soft, flavorful loaf perfect for sandwiches, toast, or any meal. With just a few basic ingredients and minimal prep time, it’s the perfect go-to bread recipe you’ll ever need to keep on hand.
Ingredients
Dry Ingredients
- 3 cups all-purpose flour
- 1 packet (2 1/4 tsp) active dry yeast
- 1 tsp salt
- 1 tbsp sugar
Wet Ingredients
- 1 cup warm water (110°F / 45°C)
- 1 tbsp olive oil (or vegetable oil)
- 1 tbsp melted butter (optional, for brushing)
Instructions
- Activate the Yeast: In a small bowl, dissolve the sugar in the warm water. Sprinkle the active dry yeast over the water and let it sit for about 5 to 10 minutes until it becomes frothy, indicating the yeast is active.
- Mix the Dough: In a large mixing bowl, combine the all-purpose flour and salt. Add the activated yeast mixture and olive oil to the flour. Stir to combine until a rough dough forms.
- Knead the Dough: Transfer the dough to a lightly floured surface and knead for about 8 to 10 minutes until the dough is smooth, elastic, and slightly tacky but not sticky.
- Initial Rise: Lightly oil a large bowl and place the dough inside, turning it to coat with oil. Cover the bowl with a damp cloth or plastic wrap and let it rise in a warm place for about 1 to 1.5 hours, or until it doubles in size.
- Shape the Loaf: Punch down the risen dough to release air bubbles. Shape the dough into a loaf and place it into a greased loaf pan or on a baking sheet.
- Second Rise: Cover the shaped loaf again and let it rise for another 30 to 45 minutes until it nearly doubles in size.
- Bake the Bread: Preheat the oven to 375°F (190°C). Optionally, brush the top of the loaf with melted butter for a soft crust. Bake the loaf for 25 to 30 minutes until golden brown and sounds hollow when tapped.
- Cool and Serve: Remove the bread from the oven and let it cool on a wire rack before slicing and serving.
Notes
- For a softer crust, brushing the loaf with melted butter after baking is recommended.
- If you don’t have a loaf pan, you can shape the dough into a freeform loaf and bake on a parchment-lined baking sheet.
- Ensure the water is warm, not hot, to properly activate the yeast without killing it.
- This recipe can be doubled easily to bake two loaves.


