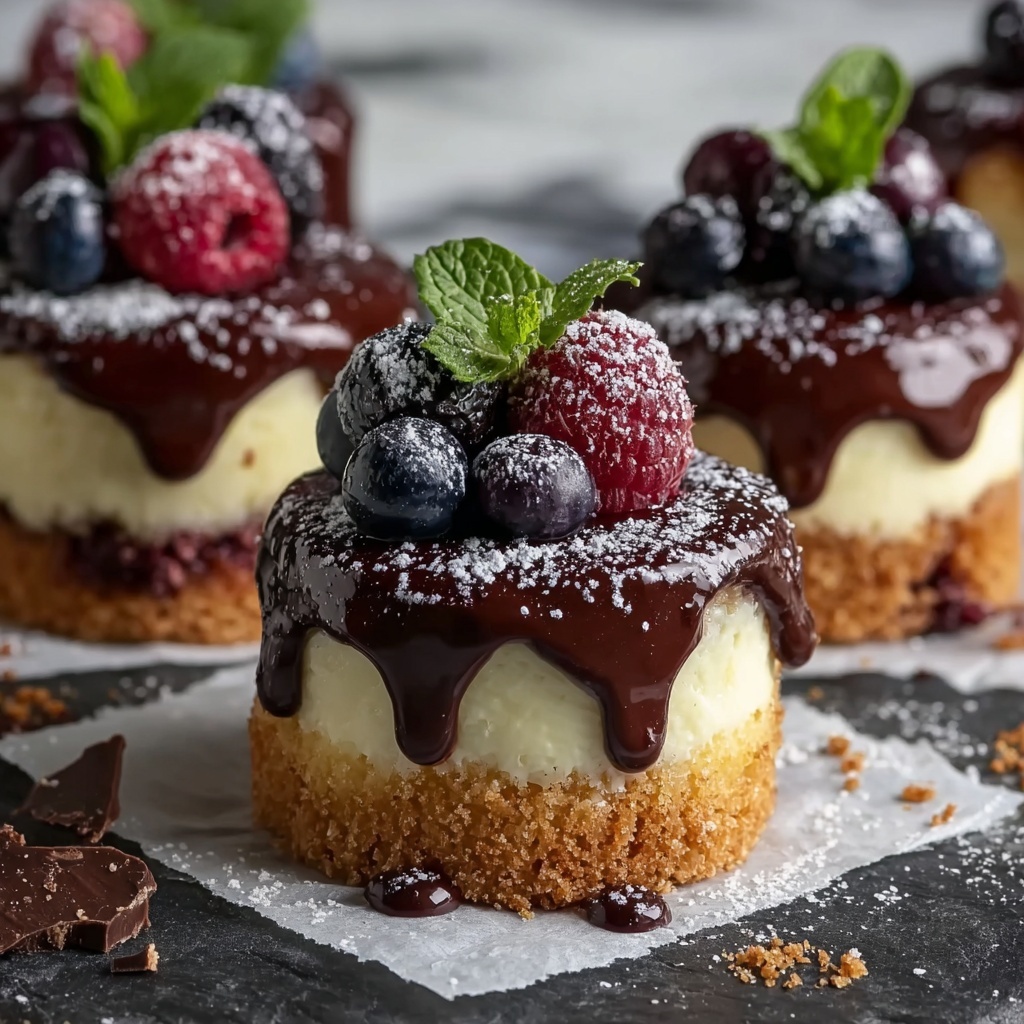
If you have a soft spot for creamy, dreamy desserts that pop with flavor in every bite, then you are absolutely going to love the Mini Cheesecakes III Recipe. This collection of perfectly portioned cheesecakes offers a gorgeous balance of a buttery graham cracker crust and a rich, velvety cream cheese filling, all baked to perfection in mini muffin tins. Whether you’re prepping for a party, a cozy night in, or simply want a sweet treat that feels special but is surprisingly easy to make, these little gems are destined to become a fast favorite. With just the right touch of vanilla and sour cream, each mini cheesecake delivers a luscious, silky texture that melts in your mouth, inviting you to savor every moment. Let’s dive into what makes this Mini Cheesecakes III Recipe so irresistible and how you can bring it to your kitchen with ease.
Ingredients You’ll Need
One of the best things about the Mini Cheesecakes III Recipe is its straightforward ingredient list. Each part plays a crucial role in crafting that iconic taste and texture — from the crunchy crust to the smooth, rich filling. The simplicity of these ingredients makes it easy to gather everything without hunting for anything obscure, ensuring your baking session flows smoothly and happily.
- 1 1/2 cups graham cracker crumbs: These create the perfect crunchy base with a sweet, slightly honeyed flavor that complements the creamy filling.
- 1/4 cup white sugar: Adds just enough sweetness to the crust to balance its buttery texture.
- 1/3 cup butter, melted: Binds the crust ingredients together for that satisfying crumbly consistency.
- 2 (8 oz) packages cream cheese, softened: The heart of the filling, lending a rich, creamy body that’s smooth and tangy.
- 2/3 cup white sugar: Sweetens the filling delicately without overpowering the cream cheese’s natural tang.
- 2 eggs: Act as the perfect binder, giving structure to your cheesecakes so they hold their shape beautifully.
- 1/2 teaspoon vanilla extract: Enhances every bite with warm, aromatic notes that elevate the flavor.
- 1/2 cup sour cream: Adds a touch of tang and an ultra-silky finish for a delectable richness.
How to Make Mini Cheesecakes III Recipe
Step 1: Prepare Your Oven and Muffin Tin
Start strong by preheating your oven to 325°F (165°C). While the oven warms up, line a muffin tin with paper liners. This simple step makes it easy to pop out each mini cheesecake after baking and helps keep them perfectly shaped and mess-free.
Step 2: Craft the Crust
Combine graham cracker crumbs, sugar, and melted butter in a medium bowl. The buttery mixture presses beautifully into the bottom of each muffin cup to form that iconic crust base. Be sure to pack it down firmly for a sturdy foundation that won’t crumble away when you bite into it.
Step 3: Make the Creamy Filling
Using a large bowl, beat the softened cream cheese and sugar together until the mixture is silky smooth. Then incorporate the eggs one at a time, making sure each is fully blended before adding the next. Stir in the vanilla extract and sour cream to complete your luscious filling, which will bake into that signature cheesecake texture you love.
Step 4: Assemble Your Mini Cheesecakes
Spoon the cream cheese filling on top of the crusts, filling each muffin cup almost to the brim. This ensures you get a satisfying, generous cheesecake bite every time, with a perfect crust-to-filling ratio.
Step 5: Bake to Perfection
Bake for about 18 to 22 minutes. The goal is to have cheesecakes that are set and slightly golden on top but still tender and creamy inside. Keep an eye on them near the end to avoid overcooking; a gently wobbly center is a good sign that they will be perfectly delightful after chilling.
Step 6: Cool and Chill
Once baked, allow your mini cheesecakes to cool in the pan before transferring them to the fridge. Refrigerate for at least 2 hours – this chilling step is vital for setting the filling firmly and intensifying the flavors. Then you’re ready to dress them up and serve!
How to Serve Mini Cheesecakes III Recipe
Garnishes
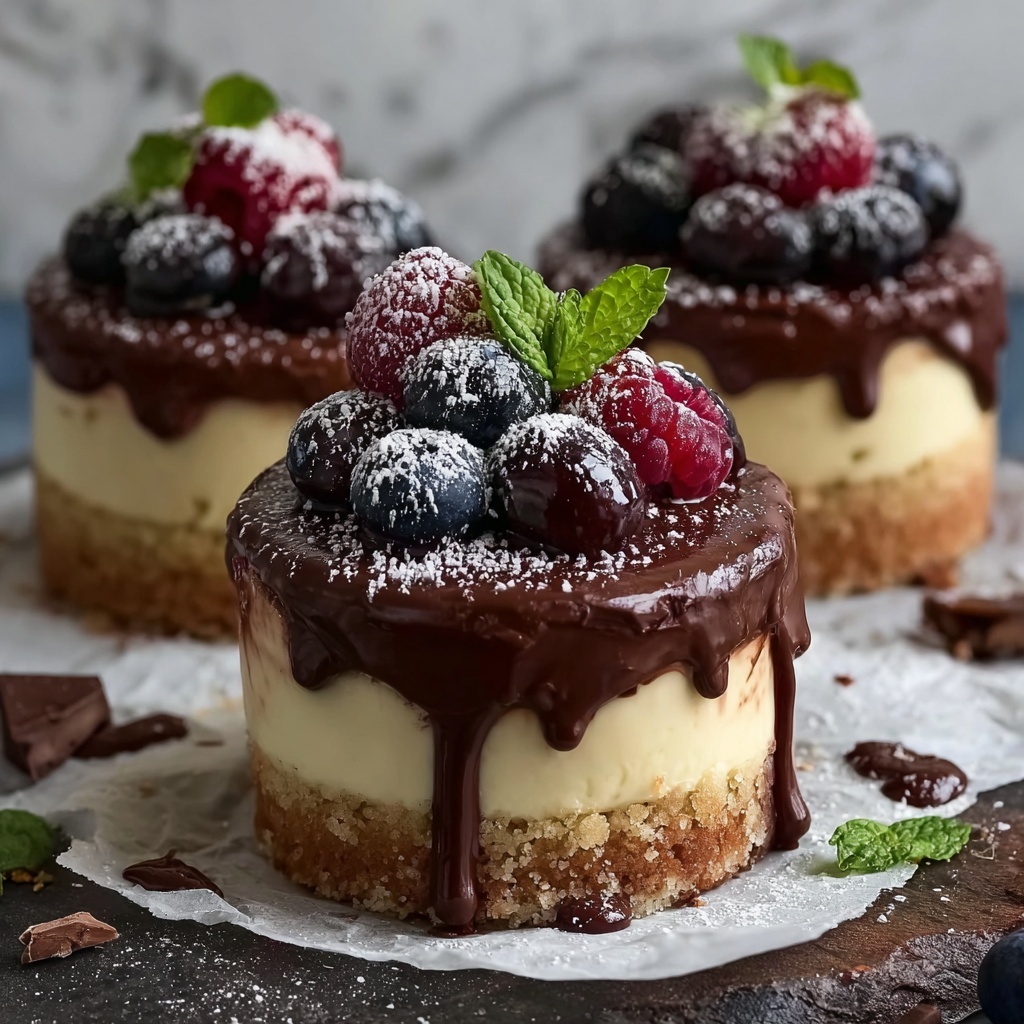
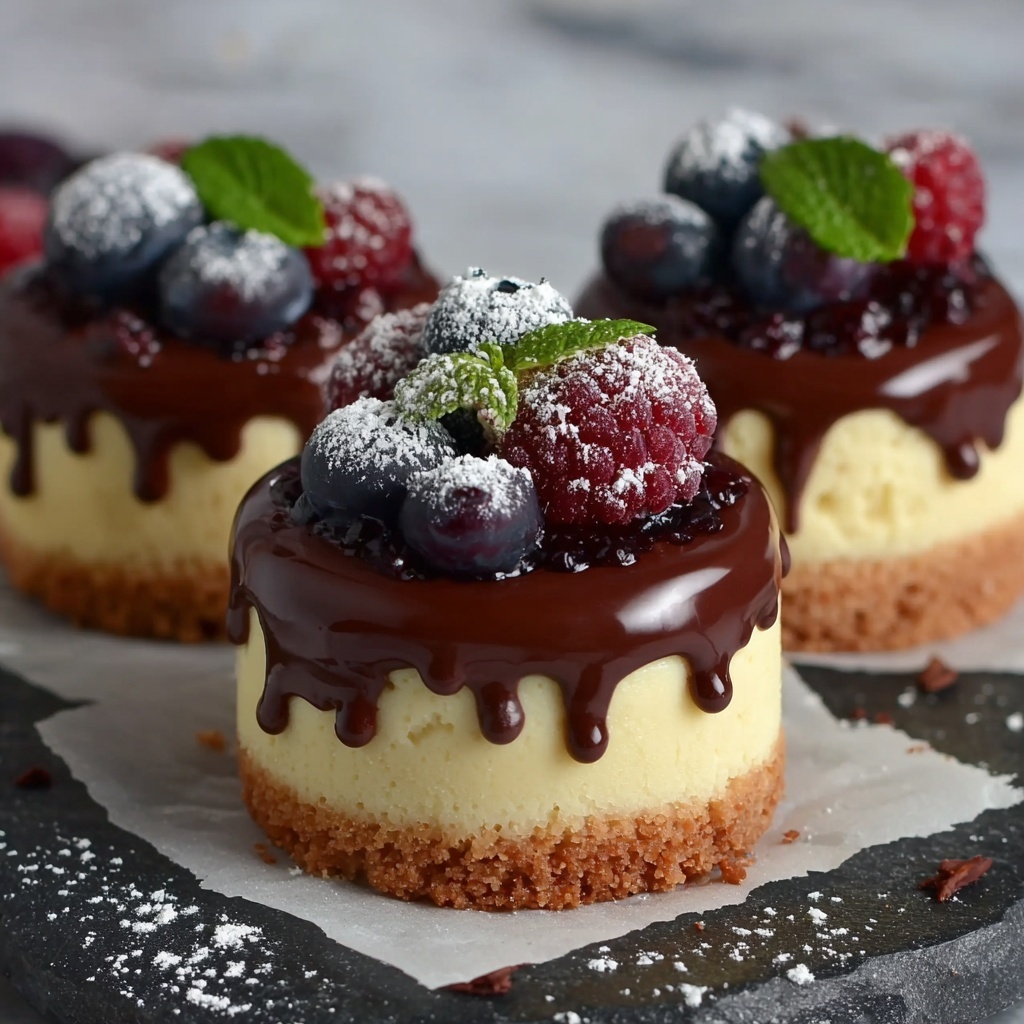
Mini cheesecakes are like blank canvases waiting for your creative touch. Top them off with fresh berries, a dusting of powdered sugar, or a drizzle of decadent chocolate sauce. Even a little dollop of whipped cream or a twist of citrus zest can turn these treats into show-stoppers that impress at any gathering.
Side Dishes
Pair your mini cheesecakes with light, complementary flavors to balance their richness. A small bowl of mixed fruit salad or a refreshing mint tea can highlight the dessert without overwhelming the palate. These companions bring fresh and bright notes that harmonize beautifully with the creamy sweetness.
Creative Ways to Present
Presentation can take your Mini Cheesecakes III Recipe from delicious to dazzling. Try serving them on a tiered cake stand for a party, or place each mini cheesecake in a small clear cup layered with fruit preserves for an elegant parfait style. Wrapping the paper liner edges with a ribbon or adding edible flowers can also create a charming, personalized touch.
Make Ahead and Storage
Storing Leftovers
Store any leftover mini cheesecakes in an airtight container in the refrigerator. They stay fresh for up to 4 days, maintaining their creamy texture and flavor without drying out. This makes them perfect for making ahead or sharing with friends over a few days.
Freezing
If you want to keep these mini marvels longer, freezing is an excellent option. Place them on a baking sheet to freeze individually before transferring to a freezer-safe container. Frozen mini cheesecakes keep best for up to 2 months and can be thawed overnight in the fridge before serving.
Reheating
Because these cheesecakes are best enjoyed chilled, reheating isn’t necessary. However, if you prefer them at room temperature, simply take them out of the fridge about 20 minutes before serving. This allows the flavors to mellow and the texture to soften just enough for pure indulgence.
FAQs
Can I use a different crust instead of graham cracker crumbs?
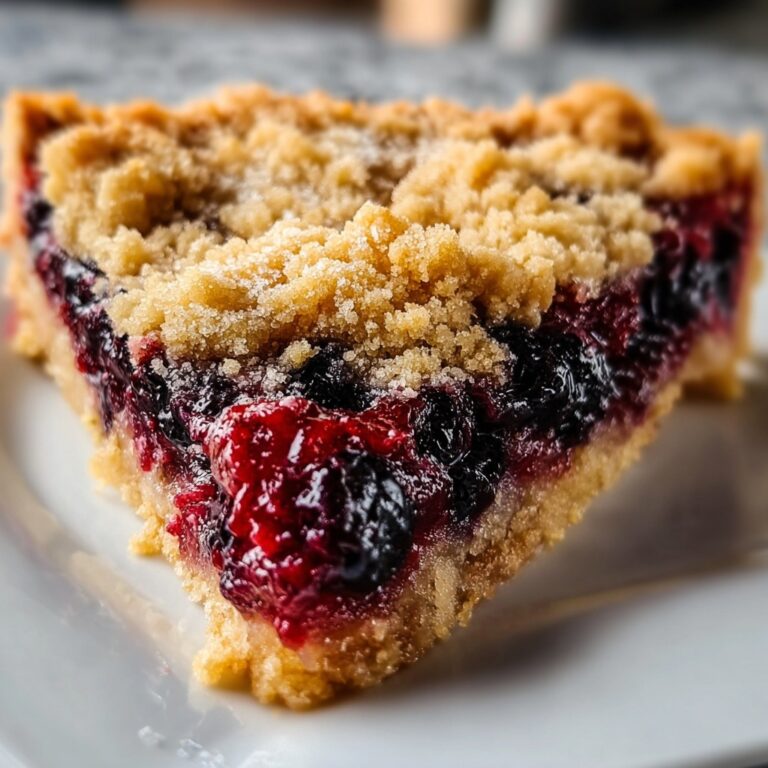
Yes! While graham cracker crust is classic for mini cheesecakes, you can experiment with crushed digestive biscuits, shortbread cookies, or even chocolate cookie crumbs for a fun twist that suits your taste.
Do I need to use sour cream in the filling?
Sour cream adds a lovely tang and creamy texture, but if you don’t have it, you can substitute with Greek yogurt or omit it entirely. Just be aware that it slightly changes the flavor profile.
How do I know when the mini cheesecakes are done baking?
Your mini cheesecakes are ready when the edges look set and the center shows a slight wobble when you gently shake the pan. This ensures they will set nicely as they cool without becoming dry.
Can I add flavors or mix-ins to the filling?
Absolutely! Feel free to fold in lemon zest, chocolate chips, or swirl in fruit jams before baking to make the Mini Cheesecakes III Recipe your own special creation.
Is it okay to use regular muffin tins instead of paper liners?
Yes, you can use a greased muffin tin to avoid liners if preferred. Just be sure to grease well so the mini cheesecakes come out easily without sticking.
Final Thoughts
There is something truly delightful about the Mini Cheesecakes III Recipe — it’s a perfect little bite of happiness that’s easy to make and tough to resist. Whether you’re new to cheesecake or a seasoned dessert lover, these mini versions offer comfort and elegance in every mouthful. So gather your ingredients, set aside a little time, and give these mini cheesecakes a try. Trust me, once you taste that smooth filling against the crunchy crust, they’ll become one of your go-to treats to brighten any day or celebration.
Print
Mini Cheesecakes III Recipe
- Prep Time: 15 minutes
- Cook Time: 20 minutes
- Total Time: 2 hours 35 minutes
- Yield: 12 mini cheesecakes
- Category: Dessert
- Method: Baking
- Cuisine: American
Description
Delightful mini cheesecakes featuring a buttery graham cracker crust and a creamy, smooth filling made with cream cheese, eggs, sour cream, and a touch of vanilla. Perfectly portioned for easy serving and topped with fresh fruit or chocolate.
Ingredients
Crust
- 1 1/2 cups graham cracker crumbs
- 1/4 cup white sugar
- 1/3 cup butter, melted
Filling
- 2 (8 oz) packages cream cheese, softened
- 2/3 cup white sugar
- 2 eggs
- 1/2 teaspoon vanilla extract
- 1/2 cup sour cream
Instructions
- Preheat Oven: Preheat your oven to 325°F (165°C) and line a muffin tin with paper liners to prepare for the cheesecakes.
- Prepare Crust: In a medium bowl, combine graham cracker crumbs, sugar, and melted butter. Press this mixture firmly into the bottom of each muffin cup to create an even crust layer.
- Make Filling: In a large bowl, beat the softened cream cheese and sugar until the mixture is smooth and creamy. Add the eggs one at a time, beating well after each addition. Stir in the vanilla extract and sour cream until fully incorporated.
- Fill Muffin Cups: Spoon the cream cheese mixture evenly over the crusts in the muffin tin, filling each cup almost to the top for perfect mini cheesecakes.
- Bake: Bake the cheesecakes in the preheated oven for 18-22 minutes or until they are set and lightly golden on top.
- Cool and Chill: Allow the cheesecakes to cool completely in the pan, then refrigerate for at least 2 hours to set properly. Before serving, add your choice of fresh fruits or a drizzle of chocolate for extra flavor.
Notes
- Ensure cream cheese is softened to room temperature for a smooth batter.
- Do not overbake; cheesecakes should be slightly jiggly in the center when removed from the oven.
- Allow ample chilling time for best texture and flavor development.
- Feel free to customize toppings with berries, caramel, or chocolate sauce.
- Packing the crust firmly helps prevent it from crumbling when serving.
