
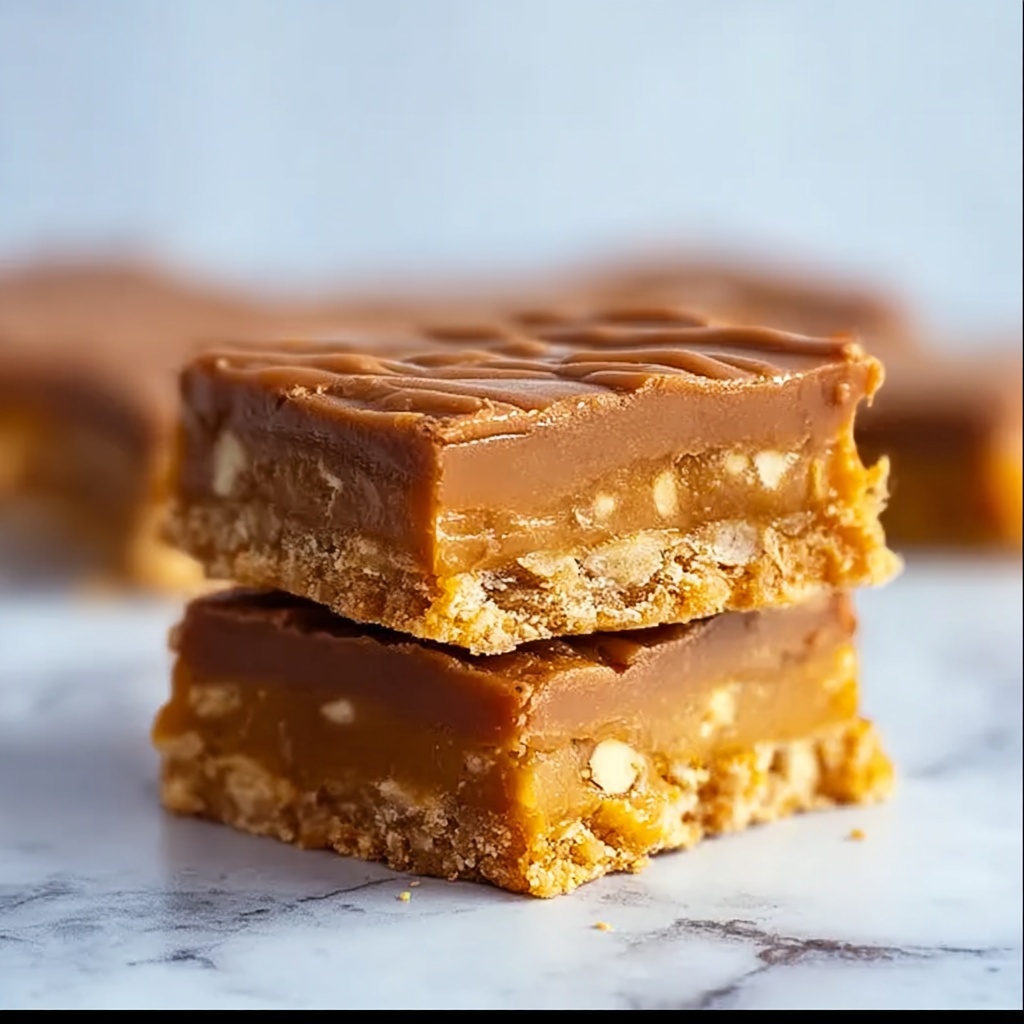
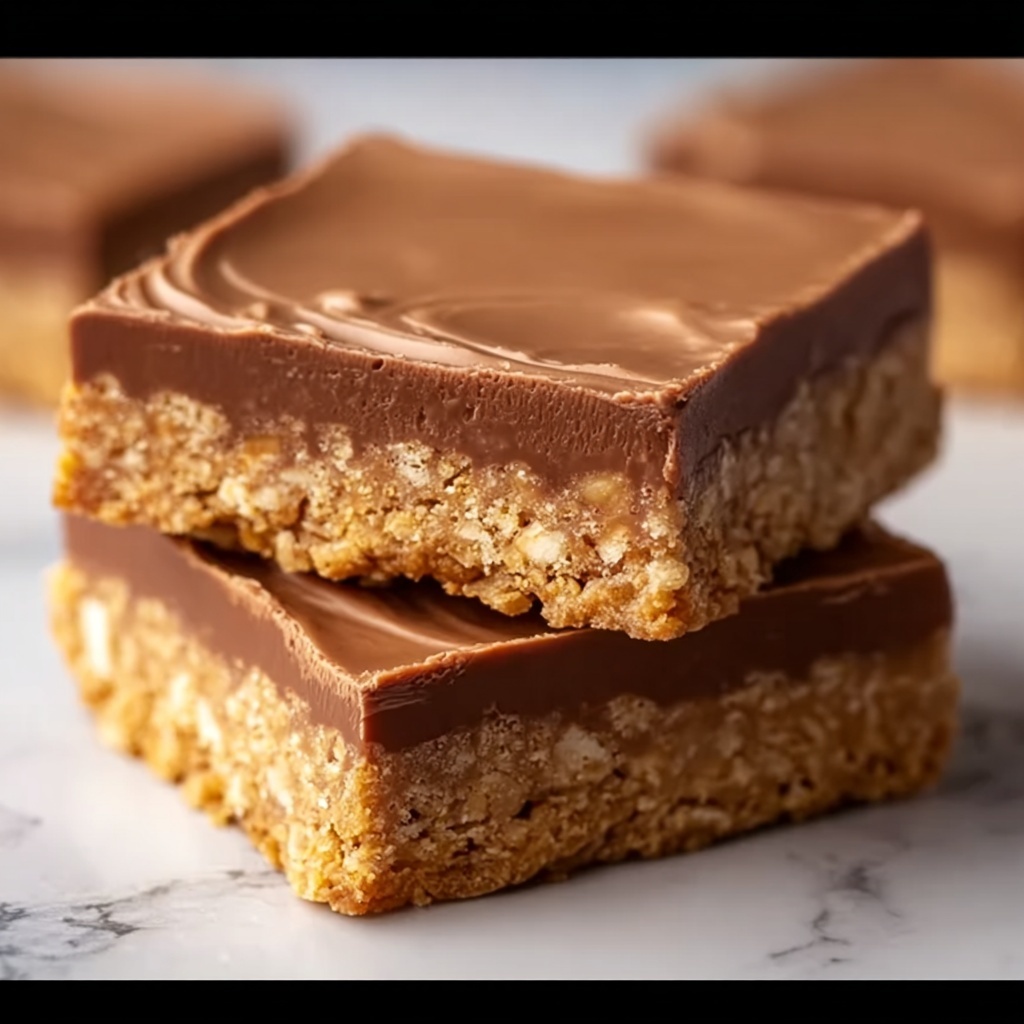
If you’re craving a nostalgic treat that brings a burst of joy with every bite, the Irresistible Disneyland’s Peanut Butter Sandwich Bars Recipe is a guaranteed crowd-pleaser. These bars combine a crunchy graham cracker crust with a creamy peanut butter filling, all topped off with a luscious layer of chocolate. Whether you’re reminiscing about your favorite theme park snack or simply looking for a scrumptious dessert to impress friends, this recipe has that perfect blend of texture, flavor, and childhood magic that will keep everyone coming back for more.
Ingredients You’ll Need
Don’t let the simplicity of the ingredients fool you—each one plays a crucial role in creating the distinct layers and flavors that make this recipe shine. From the buttery graham cracker base to the velvety peanut butter center and the glossy chocolate finish, every component adds depth and indulgence.
- 1 1/2 cups graham cracker crumbs: The foundation providing a slightly sweet, crunchy texture for the crust.
- 1/2 cup unsalted butter, melted: Binds the graham cracker crumbs and adds richness to the base.
- 1/4 cup granulated sugar: Enhances the sweetness and helps the crust crisp up nicely in the oven.
- 1 cup creamy peanut butter: Creates the creamy, luscious filling that peanut butter lovers will adore.
- 1/2 cup unsalted butter, softened: Blends into the filling for smoothness and added richness.
- 2 cups powdered sugar: Sweetens the peanut butter filling and helps achieve that perfect firm texture.
- 1 teaspoon vanilla extract: Adds a warm, aromatic note that brightens the filling.
- 1 1/2 cups semi-sweet chocolate chips: Melts into a silky topping with just enough bittersweet balance.
- 2 tablespoons vegetable oil: Keeps the melted chocolate glossy and smooth for easy spreading.
How to Make Irresistible Disneyland’s Peanut Butter Sandwich Bars Recipe
Step 1: Prepare the Graham Cracker Crust
Start by preheating your oven to 350°F so it’s ready when your crust mixture is perfect. Combine graham cracker crumbs, melted butter, and granulated sugar in a bowl, mixing well until the crumbs are evenly moistened. Press this mixture firmly into the bottom of a greased 9×9-inch baking pan—this ensures a sturdy base that holds together beautifully. Pop it in the oven for 10 minutes, and once baked, allow it to cool completely so it sets into a crisp, delightful foundation.
Step 2: Make the Peanut Butter Filling
While the crust cools, grab a separate bowl and beat together the creamy peanut butter with softened butter until the mixture is smooth and luscious. Gradually add powdered sugar and vanilla extract, mixing continuously until you get a thick, creamy filling that holds its shape. This filling is the heart of the bars, delivering that rich peanut buttery flavor that’s both comforting and addictive.
Step 3: Assemble the Layers
Spread the creamy peanut butter filling evenly over the cooled graham cracker crust, smoothing it out with a spatula for an even layer. Next comes the chocolate finishing touch. In a microwave-safe bowl, melt the semi-sweet chocolate chips combined with vegetable oil in 30-second bursts, stirring after each until silky smooth. Pour this glossy chocolate over the peanut butter layer and spread it out evenly, wrapping the whole creation in a perfect chocolate blanket.
Step 4: Chill and Set
Pop the assembled bars into the refrigerator for at least 2 hours. This chilling step is key—it allows the layers to firm up properly, making it easier to cut neat bars with clean edges. Once set, cut into squares and get ready to enjoy that classic combination of crunchy, creamy, and melt-in-your-mouth chocolate in every bite.
How to Serve Irresistible Disneyland’s Peanut Butter Sandwich Bars Recipe
Garnishes
Elevate these bars by sprinkling a pinch of flaky sea salt on top of the chocolate just before chilling. This simple touch intensifies the chocolate’s depth and balances the sweetness of the peanut butter layer, making each bite even more irresistible.
Side Dishes
These bars pair wonderfully with a scoop of vanilla ice cream for a dreamy dessert duo, or enjoy them with a cold glass of milk to cut through the richness. For a fun twist, serve alongside fresh fruit like sliced strawberries or bananas for a fresh contrast in flavor and texture.
Creative Ways to Present
For parties, try cutting the bars into bite-sized squares and arranging them on decorative trays garnished with festive edible flowers or crushed peanuts. You can also drizzle some melted white chocolate over the top in thin lines before chilling to add a pretty, professional look that wow guests.
Make Ahead and Storage
Storing Leftovers
Keep your leftover bars fresh by storing them in an airtight container in the refrigerator for up to 5 days. The cold keeps the chocolate topping firm and the filling creamy, preserving that delicious texture you love.
Freezing
If you want to make these in advance or keep them longer, wrap individual bars tightly in plastic wrap and place them in a freezer-safe container. They’ll keep well frozen for up to 2 months. When you’re ready to enjoy, thaw them in the fridge overnight to maintain their perfect consistency.
Reheating
Since this is a no-bake peanut butter filling with a chilled chocolate topping, reheating is not recommended. Instead, let frozen bars thaw fully in the refrigerator to enjoy the ideal texture and flavor combination the recipe is famous for.
FAQs
Can I use crunchy peanut butter instead of creamy?
Yes! Using crunchy peanut butter will add an extra layer of texture to the filling, giving each bite a delightful crunch in addition to the smooth creaminess.
What if I don’t have semi-sweet chocolate chips?
You can substitute milk chocolate for a sweeter taste or dark chocolate for a richer, more intense flavor. Each option brings its own magic to the bars.
Can I make these bars vegan?
To make a vegan version, swap the butter for plant-based alternatives, use dairy-free chocolate chips, and ensure the powdered sugar is vegan-friendly. The recipe should still set beautifully with these tweaks.
How do I get clean cuts when slicing the bars?
After chilling thoroughly, use a sharp knife wiped clean between each slice. This prevents chocolate smudging and helps you achieve neat, attractive bars perfect for presentation.
Is there a way to reduce the sugar content?
You can try reducing the powdered sugar slightly in the filling or opting for natural peanut butter varieties with no added sugar. Keep in mind this might affect the texture and sweetness balance a bit.
Final Thoughts
Once you try the Irresistible Disneyland’s Peanut Butter Sandwich Bars Recipe, it quickly becomes a dessert staple you’ll crave again and again. It’s the perfect harmony of crunchy, creamy, and chocolatey goodness that brings happiness to any occasion. Whether you’re making it for family, friends, or just treating yourself, these bars are sure to create sweet memories and big smiles.
Print
Irresistible Disneyland’s Peanut Butter Sandwich Bars Recipe
- Prep Time: 20 minutes
- Cook Time: 10 minutes
- Total Time: 2 hours 30 minutes
- Yield: 16 bars
- Category: Dessert
- Method: Baking
- Cuisine: American
- Diet: Vegetarian
Description
These Irresistible Disneyland’s Peanut Butter Sandwich Bars combine a crunchy graham cracker crust with a creamy peanut butter filling, topped with a smooth layer of chocolate. Perfectly sweet and rich, these bars are a delightful homemade treat inspired by a beloved theme park dessert. Easy to prepare and requiring no complicated techniques, they make an excellent dessert or snack for peanut butter and chocolate lovers alike.
Ingredients
Crust
- 1 1/2 cups graham cracker crumbs
- 1/2 cup unsalted butter, melted
- 1/4 cup granulated sugar
Filling
- 1 cup creamy peanut butter
- 1/2 cup unsalted butter, softened
- 2 cups powdered sugar
- 1 teaspoon vanilla extract
Topping
- 1 1/2 cups semi-sweet chocolate chips
- 2 tablespoons vegetable oil
Instructions
- Prepare the crust: Preheat the oven to 350°F (175°C). In a mixing bowl, combine the graham cracker crumbs, melted butter, and granulated sugar. Mix well until the crumbs are evenly moistened. Press the mixture firmly into the bottom of a greased 9×9-inch baking pan to create an even layer.
- Bake the crust: Place the pan in the preheated oven and bake for 10 minutes. Once baked, remove it from the oven and allow the crust to cool completely to ensure the following layers set properly.
- Make the peanut butter filling: In a separate bowl, beat the creamy peanut butter and softened butter together until smooth and well combined. Gradually add the powdered sugar and vanilla extract, mixing continuously until a thick and creamy filling forms with no lumps.
- Spread the filling: Once the crust is completely cooled, evenly spread the peanut butter mixture over the crust layer, smoothing it out to cover the entire surface.
- Melt the chocolate topping: In a microwave-safe bowl, combine the semi-sweet chocolate chips and vegetable oil. Microwave in 30-second intervals, stirring after each, until the chocolate is fully melted and smooth without any lumps.
- Apply the chocolate layer: Pour the melted chocolate over the peanut butter filling. Use a spatula or back of a spoon to spread it evenly across the surface to cover the entire layer.
- Chill and set: Place the baking pan in the refrigerator and chill for at least 2 hours, or until the bars are fully set and firm to the touch.
- Serve: Once set, remove from the refrigerator, cut into 16 bars using a sharp knife wiped clean between cuts, and serve.
Notes
- For cleaner cuts, chill the bars well and use a sharp knife wiped clean between slices.
- Milk chocolate can be substituted for semi-sweet chocolate chips for a sweeter flavor.
- Store leftover bars refrigerated for up to 5 days to maintain freshness.
