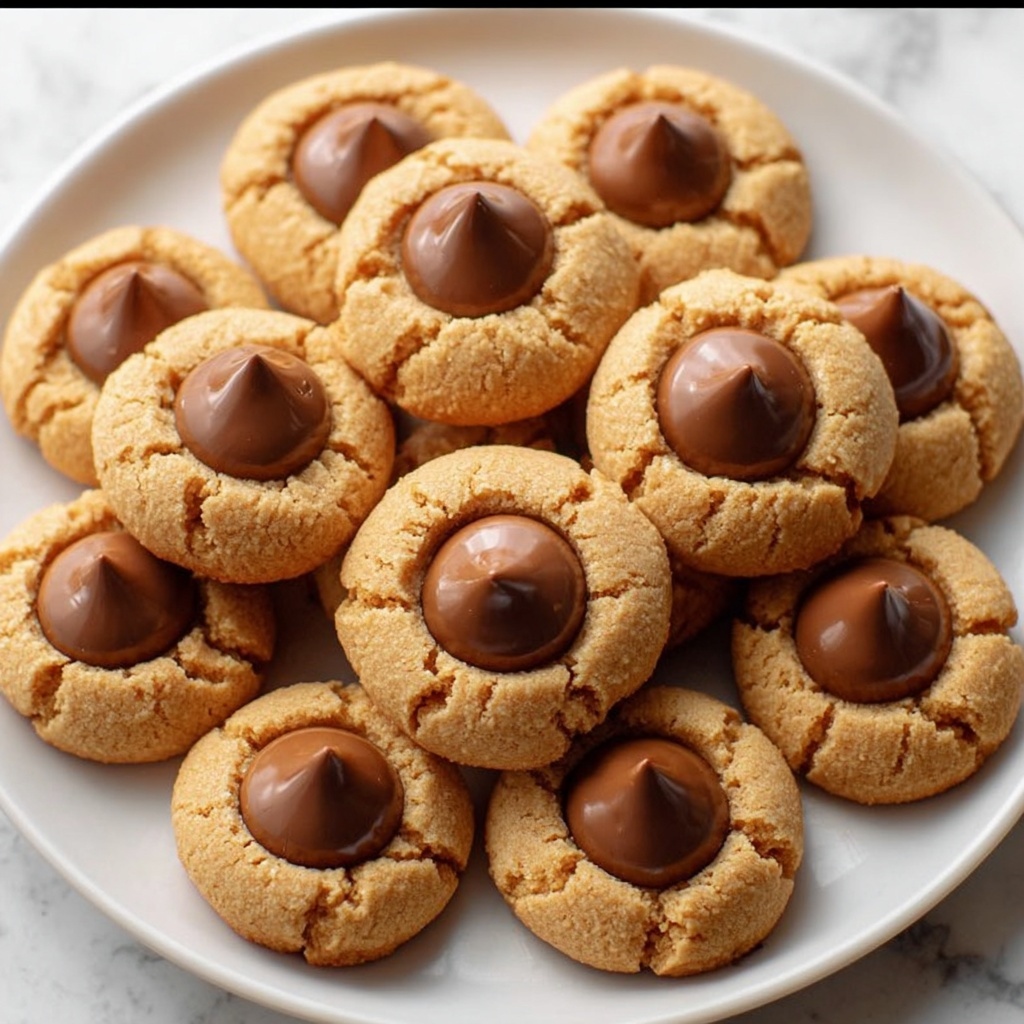
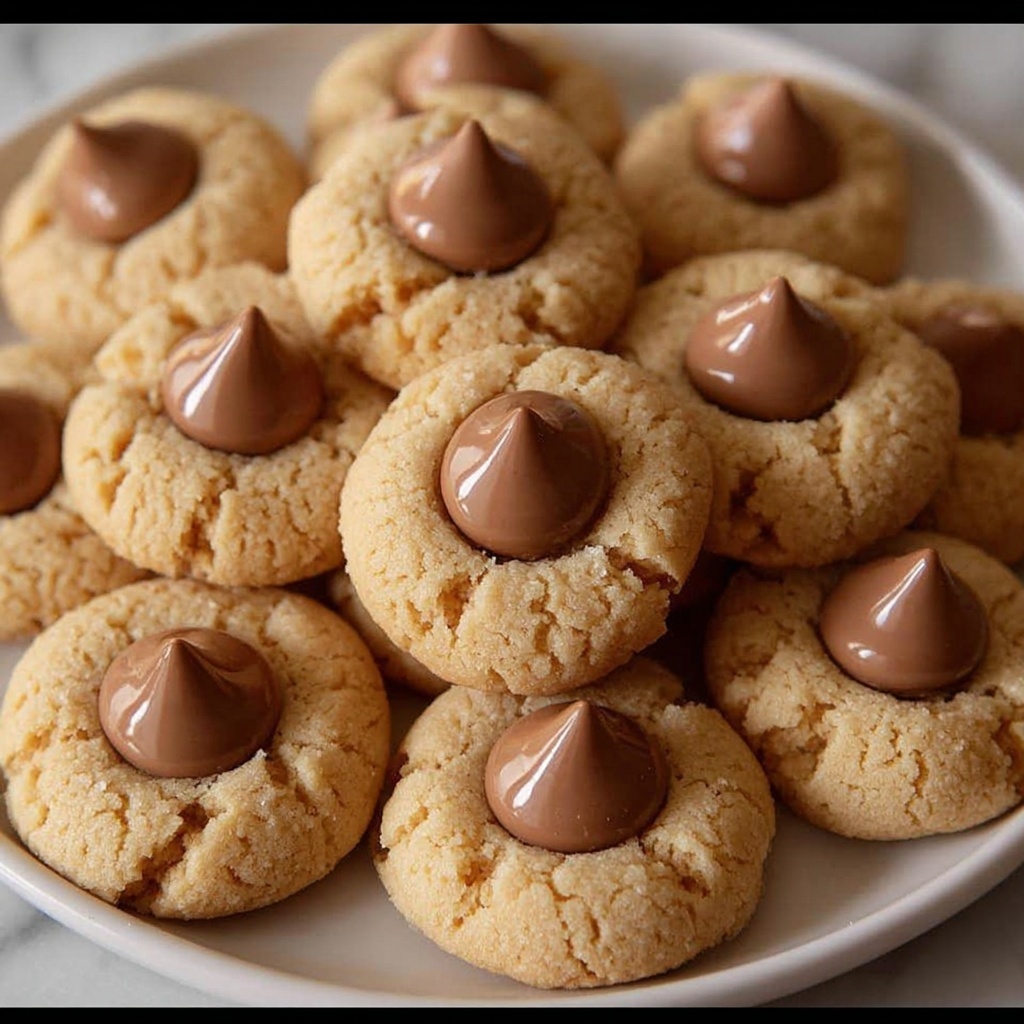
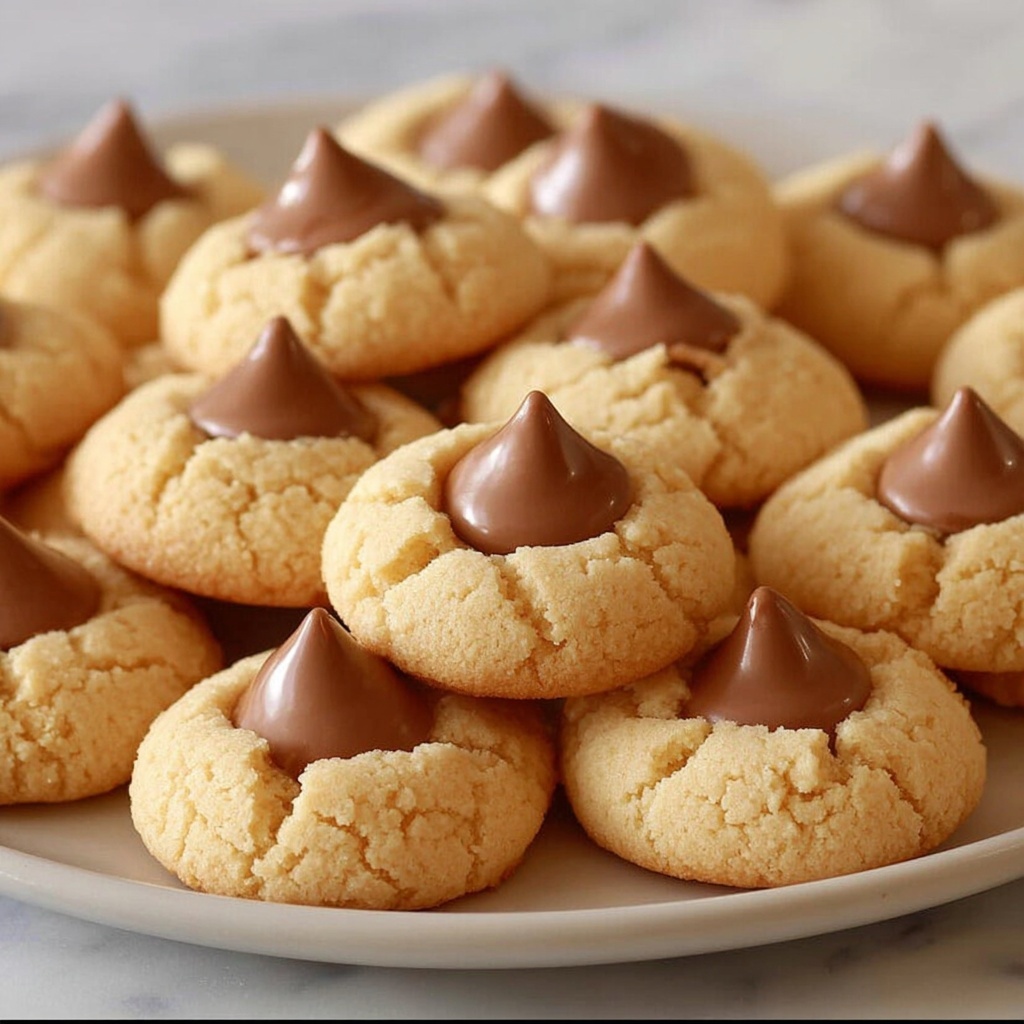
If you’re searching for a nostalgic treat that perfectly balances rich peanut butter flavor with a delightful chocolate kiss on top, look no further than this Peanut Butter Blossoms Recipe. It’s a timeless classic that brings together simple ingredients and straightforward steps to create a cookie bursting with warm, comforting flavors and a soft, chewy texture. Every bite is a little celebration of peanut butter goodness wrapped up in a sweet, chocolatey hug. Trust me, once you try this recipe, these cookies will become your go-to for holidays, parties, or any time you crave a cozy homemade treat.
Ingredients You’ll Need
Gathering these simple yet essential ingredients is the first step toward making your Peanut Butter Blossoms Recipe a showstopper. Each one plays a crucial role: from the structure that the flour and baking soda provide, to the creamy texture peanut butter brings, and the irresistible sweet crunch of the sugar coating.
- 1 3/4 cups all-purpose flour: Provides the perfect base and structure for chewy, soft cookies.
- 1 teaspoon baking soda: Helps the cookies rise just right and gives a tender crumb.
- 1/2 teaspoon salt: Balances sweetness and enhances the peanut butter flavor.
- 1/2 cup unsalted butter, softened: Adds rich creaminess that makes the cookie tender.
- 1/2 cup peanut butter (creamy or chunky): The star ingredient delivering the signature nutty flavor and moist texture.
- 1/2 cup granulated sugar (plus extra for rolling): Ensures a slight crunch on the outside and sweetness throughout.
- 1/2 cup packed brown sugar: Brings depth with a subtle molasses note and keeps the cookies soft.
- 1 large egg: Binds ingredients and gives the cookies their soft, chewy consistency.
- 2 tablespoons milk: Adds just enough moisture to keep the dough smooth and pliable.
- 1 teaspoon vanilla extract: Rounds out the flavors with a hint of warmth and sweetness.
- 24-30 chocolate kisses (unwrapped): The iconic finishing touch that melts perfectly into each cookie center.
How to Make Peanut Butter Blossoms Recipe
Step 1: Preheat and Prepare
Kick things off by heating your oven to 375°F (190°C). This step is essential as a properly preheated oven ensures that your cookies bake evenly, developing that golden edge and soft center everyone loves. Line two baking sheets with parchment paper or silicone mats for easy cleanup and perfect cookie release.
Step 2: Mix the Dry Ingredients
In a medium-sized bowl, whisk together the flour, baking soda, and salt. By blending these dry ingredients now, you ensure a well-distributed leavening that gives your cookies their ideal texture. Set this mixture aside as you move on to the creamy goodness.
Step 3: Cream Butter and Sugars
Using a hand or stand mixer, beat the softened butter, peanut butter, granulated sugar, and brown sugar until fluffy and light. This process incorporates air into the mixture, creating that coveted soft and tender crumb in your cookies.
Step 4: Add Wet Ingredients
Next, mix in the egg, milk, and vanilla extract until everything is smooth and fully combined. These wet ingredients bring the dough together and infuse it with richness and flavor nuances that make each bite irresistible.
Step 5: Combine Dry and Wet
Gradually fold the dry ingredients into the peanut butter mixture. Be careful to mix just until combined, which keeps the dough tender and prevents overworking that could lead to tough cookies.
Step 6: Shape the Dough
Scoop tablespoon-sized dough portions and roll them into balls, then roll each in granulated sugar to create a crackly, sparkling crust once baked. Place them spaced about two inches apart on your prepared sheets to allow room for spreading.
Step 7: Bake and Add Chocolate Kisses
Bake for 8-10 minutes, until the edges are lightly browned but the centers remain soft. Immediately after removing from the oven, press a chocolate kiss into the center of each cookie. Don’t worry if they crack slightly; it’s part of the charm and ensures the chocolate melts into the cookie perfectly.
Step 8: Cool and Enjoy
Let the cookies cool on the baking sheets for 5 minutes to set up, then transfer to a wire rack to cool completely. This resting period helps the chocolate firm up just right and keeps the cookie soft and chewy.
How to Serve Peanut Butter Blossoms Recipe
Garnishes
While these cookies are perfect on their own, adding a sprinkle of finely chopped roasted peanuts on top of the chocolate kisses right after baking can add a delightful crunch and amplify the peanut flavor beautifully.
Side Dishes
Serve Peanut Butter Blossoms alongside a cold glass of milk or a warm cup of coffee to balance the sweetness and make the experience feel extra special. They also pair wonderfully with vanilla ice cream for a decadent dessert treat.
Creative Ways to Present
Try arranging these cookies on a festive platter with fresh berries or dipping half of each cookie in melted white or dark chocolate and letting it set. It’s a fun twist that adds a splash of elegance and extra flavor contrast perfect for holiday gatherings or special occasions.
Make Ahead and Storage
Storing Leftovers
After baking, store any leftover Peanut Butter Blossoms in an airtight container at room temperature for up to one week. Keeping them sealed prevents drying out and preserves their soft, chewy texture.
Freezing
If you want to prepare ahead, freeze unbaked dough balls on a lined tray until solid, then transfer to a freezer-safe bag. When ready, bake them straight from frozen, adding a couple of minutes to the baking time. Finished cookies also freeze well for up to three months.
Reheating
To bring back the freshly baked warmth, pop stored cookies in a microwave for 10-15 seconds or warm them in a low oven for a few minutes. This softens the cookie and melts the chocolate just enough to feel like they just came out of the oven.
FAQs
Can I use crunchy peanut butter in this Peanut Butter Blossoms Recipe?
Absolutely! Crunchy peanut butter will add a bit more texture and nutty bites inside the cookie, which many people love for an extra dimension of flavor.
What if I don’t have chocolate kisses on hand?
You can substitute with small chocolate chips or chunks; place one in the center immediately after baking to get a similar melt-in-the-middle effect.
How can I make these cookies gluten-free?
Use a 1-to-1 gluten-free baking flour blend instead of all-purpose flour. Make sure your baking soda and other ingredients are gluten-free certified for the best results.
Can I make the dough ahead of time?
Yes, the dough can be refrigerated for up to 24 hours before baking. This can even enhance the flavor as the peanut butter melds with the sugars and spices.
Why do my cookies spread too much?
If your cookies are spreading too much, try chilling the dough before baking or reduce the butter slightly. Also, ensure you’re measuring flour accurately; too little flour can cause spreading.
Final Thoughts
Making this Peanut Butter Blossoms Recipe is like creating a little batch of happiness you can share with friends and family. With its simple ingredients and easy steps, these cookies bring warmth and comfort to any table. Give them a try—you might just find your new favorite cookie that everyone will be asking for again and again!
Print
Peanut Butter Blossoms Recipe
- Prep Time: 15 minutes
- Cook Time: 10 minutes
- Total Time: 25 minutes
- Yield: 24 servings
- Category: Dessert
- Method: Baking
- Cuisine: American
Description
Peanut Butter Blossoms are soft, chewy peanut butter cookies topped with a classic chocolate kiss. This delightful treat combines peanut butter and chocolate in every bite, making it a beloved favorite for holidays and everyday snacking. The cookies have a slightly crisp edge with a soft center, enhanced by the melty chocolate that settles perfectly on top right out of the oven.
Ingredients
Dry Ingredients
- 1 3/4 cups all-purpose flour
- 1 teaspoon baking soda
- 1/2 teaspoon salt
Wet Ingredients & Sugars
- 1/2 cup unsalted butter, softened
- 1/2 cup peanut butter (creamy or chunky)
- 1/2 cup granulated sugar (plus extra for rolling)
- 1/2 cup packed brown sugar
- 1 large egg
- 2 tablespoons milk
- 1 teaspoon vanilla extract
Topping
- 24–30 chocolate kisses (unwrapped)
Instructions
- Preheat the Oven: Preheat your oven to 375°F (190°C). Line two baking sheets with parchment paper or silicone baking mats to prevent sticking.
- Mix the Dry Ingredients: In a medium bowl, whisk together the all-purpose flour, baking soda, and salt. Set the mixture aside for later.
- Cream the Butter and Sugars: Using a hand mixer or stand mixer, cream together the softened unsalted butter, peanut butter, granulated sugar, and brown sugar until the mixture is light and fluffy, approximately 2-3 minutes.
- Add the Wet Ingredients: Beat in the large egg, milk, and vanilla extract to the creamed mixture, mixing thoroughly until smooth and well combined.
- Combine the Dry and Wet Ingredients: Gradually add the dry ingredients into the peanut butter mixture, mixing just until combined to avoid overworking the dough.
- Shape the Dough: Scoop tablespoon-sized portions of dough and roll each into a ball. Roll the dough balls in extra granulated sugar to coat them evenly. Place the coated dough balls onto the prepared baking sheets, spacing them about 2 inches apart to allow for spreading.
- Bake the Cookies: Bake in the preheated oven for 8-10 minutes, or until the edges turn lightly golden but the centers remain soft and slightly underbaked for a chewy texture.
- Add the Chocolate Kisses: Immediately upon removing the cookies from the oven, press one unwrapped chocolate kiss into the center of each cookie. The residual heat will cause the cookie edges to crack slightly around the kiss, which is a signature look for these cookies.
- Cool and Serve: Allow the cookies to cool on the baking sheet for about 5 minutes to set, then transfer them to a wire rack to cool completely. This ensures the chocolate firms up without melting completely and the cookie sets perfectly.
Notes
- For best results, use room temperature butter to ensure proper creaming with the sugars.
- Rolling the dough balls in granulated sugar gives a subtle crunch and a pretty finish to the cookies.
- The chocolate kisses must be unwrapped before placing on cookies, as the foil does not melt and could cause issues in the oven.
- If you prefer a stronger chocolate flavor, you can slightly flatten the cookie dough balls before baking so the chocolate kiss melts more into the cookie.
- Store cookies in an airtight container at room temperature for up to 5 days or freeze them for longer storage.


