
“`html
If you’ve ever dreamed of having rich, creamy chocolate ice cream that’s both indulgent and homemade, then this Homemade Chocolate Ice Cream Recipe is exactly what you need in your life. It’s incredibly simple to make with just a handful of ingredients, yet it delivers an unbelievably smooth texture and deep chocolate flavor that rivals any store-bought version. Whether you’re an ice cream aficionado or just someone who loves a sweet treat, this recipe will quickly become a favorite for warm days, cozy nights, or any time you crave that perfect scoop of chocolatey goodness.
Ingredients You’ll Need
What’s amazing about this Homemade Chocolate Ice Cream Recipe is how straightforward and essential the ingredients are. Each one plays a vital role in achieving that luscious texture, rich chocolate flavor, and creamy finish you expect from classic ice cream.
- 2 cups heavy whipping cream: Cold cream whips up into soft peaks, providing that airy base you want for silky ice cream.
- 1 (14 oz) can sweetened condensed milk: This natural sweetener keeps the ice cream creamy and smooth without needing an ice cream machine.
- 1/2 cup unsweetened cocoa powder: Adds a deep, intense chocolate flavor that balances sweetness perfectly.
- 1/2 cup semi-sweet chocolate chips, melted and slightly cooled: Melting the chips creates a luxurious chocolate richness that melds beautifully with the cocoa.
- 1 teaspoon vanilla extract: Enhances and rounds out the chocolate profiles with subtle aromatic warmth.
- Pinch of salt: A small but crucial addition that elevates every flavor note in the recipe.
How to Make Homemade Chocolate Ice Cream Recipe
Step 1: Whip the Cream Until Stiff Peaks Form
Start by chilling your heavy whipping cream thoroughly. Using a hand or stand mixer, whip the cream until it holds stiff peaks. This means when you lift the whisk, the peaks stand up firmly without collapsing. This whipped cream is what gives your ice cream that light, airy texture, so don’t rush this step!
Step 2: Mix the Chocolate Base
While your cream is chilling, combine the sweetened condensed milk, unsweetened cocoa powder, melted semi-sweet chocolate, vanilla extract, and a pinch of salt in another bowl. Whisk everything together until the mixture is completely smooth and uniform. This mixture is where all the intense chocolate flavor is created.
Step 3: Fold Together the Whipped Cream and Chocolate Mixture
Now, gently fold the chocolate base into the whipped cream. Use a spatula and carefully incorporate the two, folding from the bottom upwards, to maintain that fluffy consistency. This step ensures your ice cream isn’t dense but beautifully light while still richly chocolatey.
Step 4: Freeze the Mixture
Transfer your combined mixture to a freezer-safe container. Smooth the top for an even finish, then cover the container tightly with a lid or plastic wrap. This keeps ice crystals at bay and maintains your ice cream’s creamy texture as it freezes.
Step 5: Chill for the Perfect Consistency
Freeze for at least 6 hours, but preferably overnight. This time lets the flavors meld and allows the ice cream to set to a scoopable firmness. Patience here rewards you with that ideal homemade texture.
Step 6: Scoop and Serve
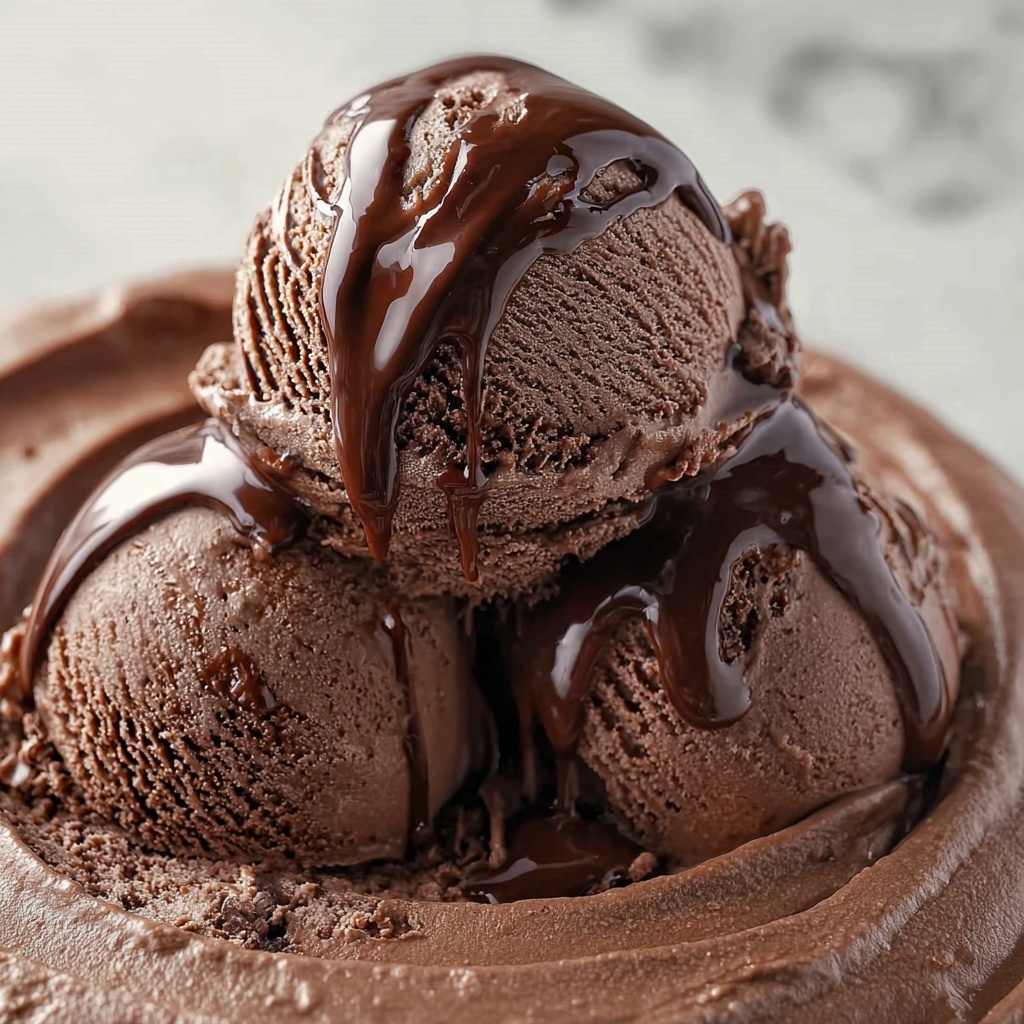
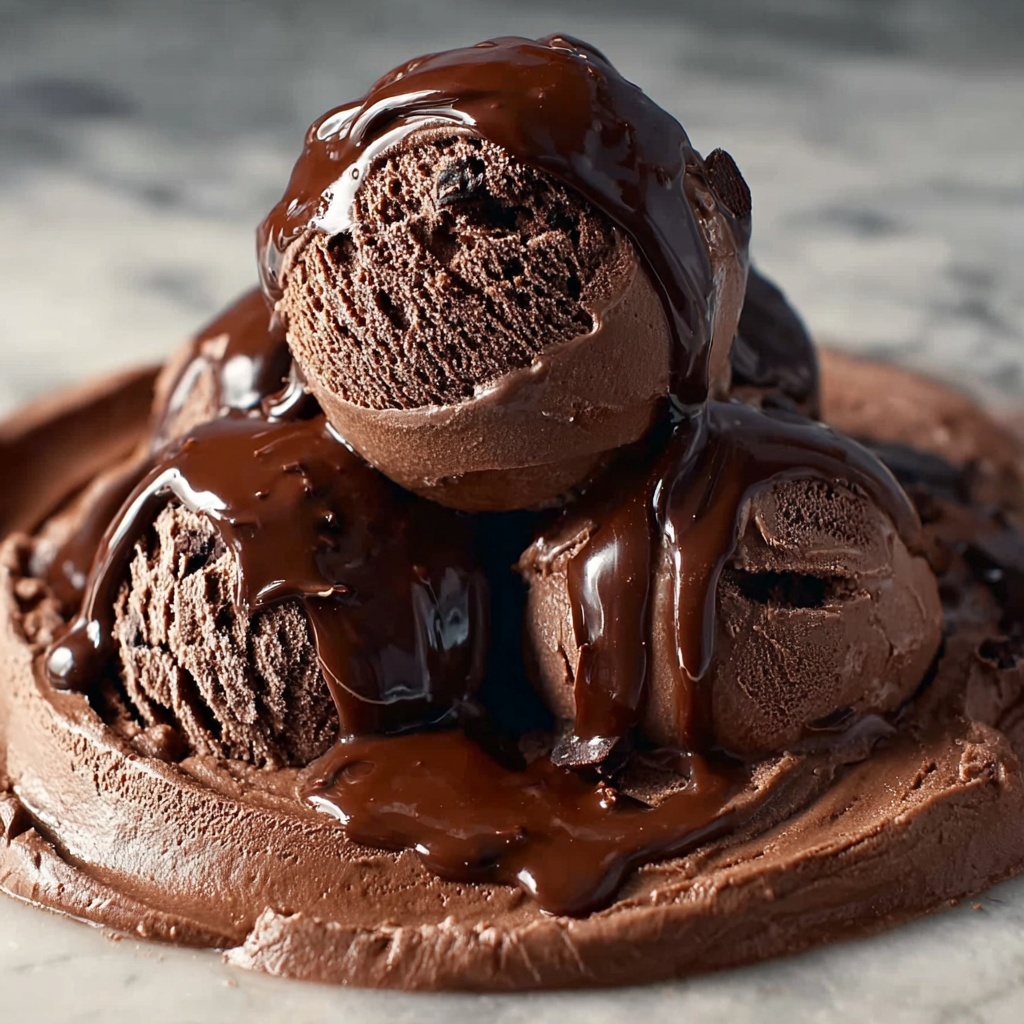
Once frozen, scoop your ice cream generously into bowls or cones. Enjoy it plain or dress it up with your favorite toppings. This Homemade Chocolate Ice Cream Recipe is ready for your creativity on presentation and pairings.
How to Serve Homemade Chocolate Ice Cream Recipe
Garnishes
Top your chocolate ice cream with chopped nuts for a satisfying crunch, shaved chocolate for extra elegance, or a drizzle of caramel or raspberry sauce to add fruity or caramelized contrast. Fresh berries bring a bright pop that cuts through the richness beautifully.
Side Dishes
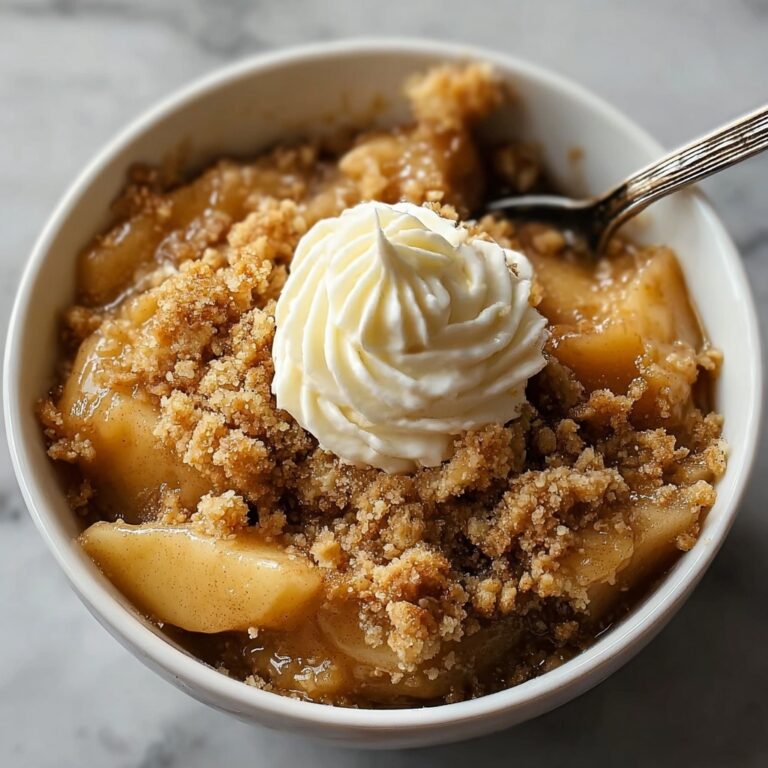
This chocolate ice cream pairs wonderfully with warm desserts like brownies, apple pie, or a simple yet decadent chocolate lava cake. The temperature contrast of warm and cold, plus the blending of textures, makes every bite unforgettable.
Creative Ways to Present
Serve the ice cream in chocolate-dipped cones, waffle bowls, or even hollowed-out fruit like hollowed oranges for a fun twist. Layer it in parfait glasses with whipped cream and cookie crumbles to turn your homemade delight into an impressive dessert centerpiece.
Make Ahead and Storage
Storing Leftovers
If you have any leftover homemade chocolate ice cream, store it tightly covered in the freezer-safe container. Make sure the lid or wrap seals well to prevent freezer burn and unwanted ice crystals from forming on the surface.
Freezing
This ice cream keeps well in the freezer for up to 2 weeks without losing its creamy texture or flavor. When freezing, try to keep it in a container with minimal air space for the best results.
Reheating
Ice cream doesn’t need reheating, but if it becomes too hard, simply leave it at room temperature for 5 to 10 minutes before scooping. This short wait is enough to soften it just right without melting.
FAQs
Can I use milk instead of heavy whipping cream?
For this recipe, heavy whipping cream is essential to achieve that signature creamy, fluffy texture. Milk won’t whip and won’t provide the same richness, so it’s best to stick to the original ingredient.
Do I need an ice cream maker for this recipe?
Nope! This Homemade Chocolate Ice Cream Recipe is designed to be simple enough to make without any special equipment. Whipping the cream and folding in the chocolate base creates a creamy, scoopable ice cream after freezing.
Can I adjust the sweetness or chocolate intensity?
Absolutely! Feel free to add more cocoa powder for a bolder chocolate taste or reduce the sweetened condensed milk if you prefer it less sweet. Just remember this might slightly affect texture.
Is this recipe suitable for kids?
Definitely! It’s made with simple ingredients, no alcohol or unusual flavors, so it’s perfect for kids (and adults) who love classic chocolate ice cream.
How can I store the ice cream to prevent it from getting icy?
Make sure you cover the container tightly and store it in the back of the freezer, where the temperature is most stable. Using a container with a tight-fitting lid and placing a piece of plastic wrap directly on the ice cream surface can also help reduce ice crystals.
Final Thoughts
I truly hope you fall in love with this Homemade Chocolate Ice Cream Recipe as much as I have. It’s one of those magical recipes that bring pure joy—rich texture, decadent flavor, and the satisfaction of knowing you made it yourself without any fuss or fancy equipment. Treat yourself or impress your family by whipping up a batch today; homemade chocolate ice cream never tasted so good or felt so effortless!
“`
Print
Homemade Chocolate Ice Cream Recipe
- Prep Time: 15 minutes
- Cook Time: 0 minutes
- Total Time: 6 hours 15 minutes
- Yield: 6 servings
- Category: Dessert
- Method: No-Cook
- Cuisine: American
- Diet: Vegetarian
Description
This Homemade Chocolate Ice Cream recipe is a creamy, rich treat made without an ice cream maker, using whipped heavy cream and a chocolate base. It delivers smooth, intense chocolate flavor with a light and airy texture that freezes into a perfect scoopable dessert. Ideal for chocolate lovers looking for an easy no-churn recipe.
Ingredients
Chocolate Ice Cream Base
- 2 cups heavy whipping cream, cold
- 1 (14 oz) can sweetened condensed milk
- 1/2 cup unsweetened cocoa powder
- 1/2 cup semi-sweet chocolate chips, melted and slightly cooled
- 1 teaspoon vanilla extract
- Pinch of salt
Instructions
- Whip Cream: In a large bowl, vigorously whip the cold heavy cream using an electric mixer or a whisk until stiff peaks form, creating a light and fluffy texture that will give the ice cream its creamy consistency.
- Mix Chocolate Base: In another bowl, combine the sweetened condensed milk, unsweetened cocoa powder, melted and slightly cooled semi-sweet chocolate chips, vanilla extract, and a pinch of salt. Whisk the mixture thoroughly until it is smooth and all ingredients are well incorporated.
- Fold Together: Gently fold the chocolate mixture into the whipped cream using a spatula, carefully blending them until fully combined without deflating the whipped cream. This preserves the airiness in the ice cream base.
- Freeze: Pour the combined mixture into a freezer-safe container. Smooth the top with a spatula, then cover tightly with a lid or plastic wrap to prevent ice crystals from forming.
- Chill: Place the container in the freezer and chill for at least 6 hours or preferably overnight, allowing the ice cream to set firmly.
- Serve: When ready, scoop the ice cream into bowls or cones. Serve plain or garnish with your favorite toppings such as chocolate shavings, sprinkles, or fresh fruit for added indulgence.
Notes
- Ensure the heavy cream is very cold before whipping to achieve stiff peaks effectively.
- The melted chocolate should be cooled slightly but not hardened to blend smoothly into the condensed milk mixture.
- Folding gently is crucial to retaining volume and achieving a light texture.
- You can customize this recipe by adding nuts, chocolate chips, or swirls of caramel before freezing.
- Store ice cream covered in the freezer for up to 2 weeks for best quality.


