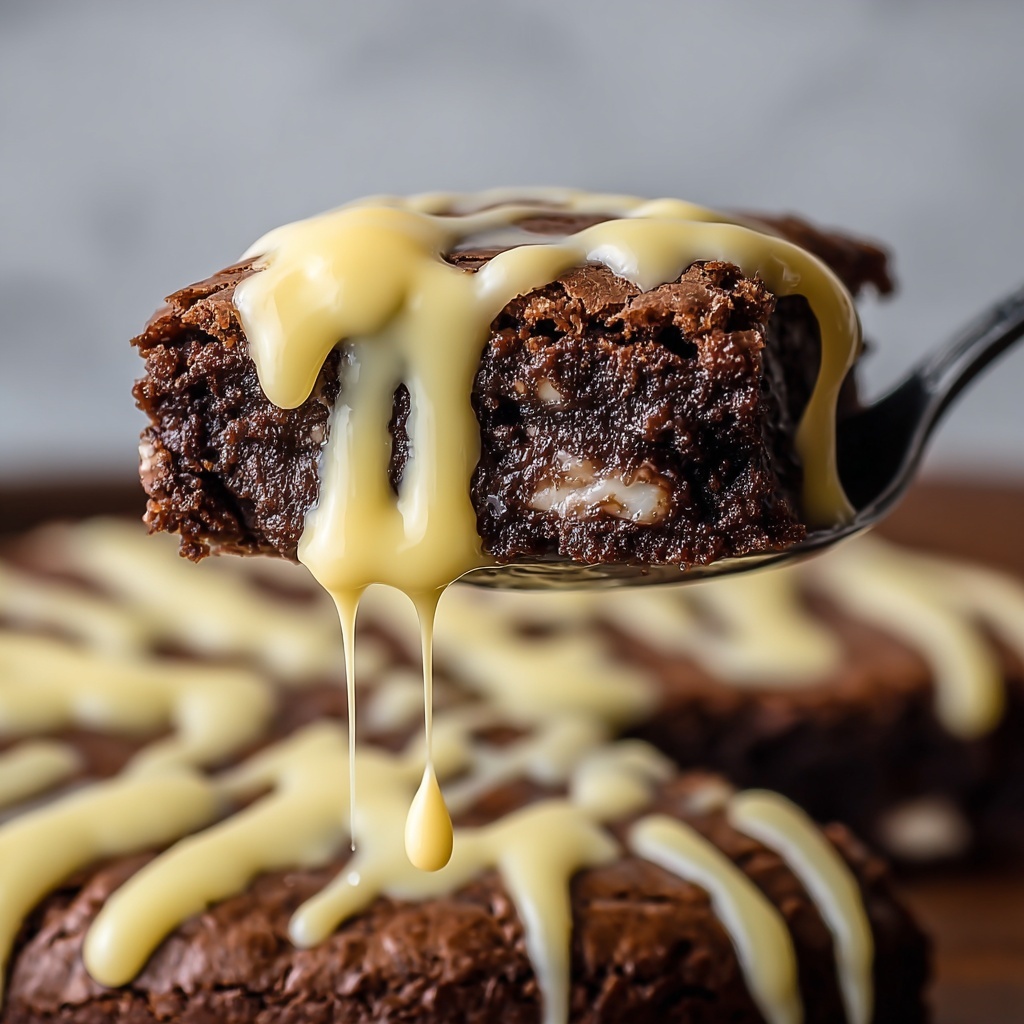
If you have ever wanted to bake a dessert that brings both warmth and irresistible chocolate goodness straight from the oven to your table, this Skillet Brownie Recipe is your new best friend. It combines the rich, gooey texture of a classic brownie with the rustic charm of baking it right in a cast iron skillet, making it as perfect for family gatherings as it is for a cozy night in. The way the edges get delightfully crisp while the center stays soft and fudgy will have everyone reaching for second helpings before it’s even cool.
Ingredients You’ll Need
Don’t let the ingredient list fool you—each one plays a vital role in creating the perfect balance of flavor, texture, and that deep chocolate color we all crave. The combination is simple, but that simplicity is exactly what makes this skillet brownie shine.
- 3/4 cup butter: Adds richness and helps develop that tender crumb.
- 1/4 cup vegetable oil: Keeps the brownie moist and gives it a melt-in-your-mouth feel.
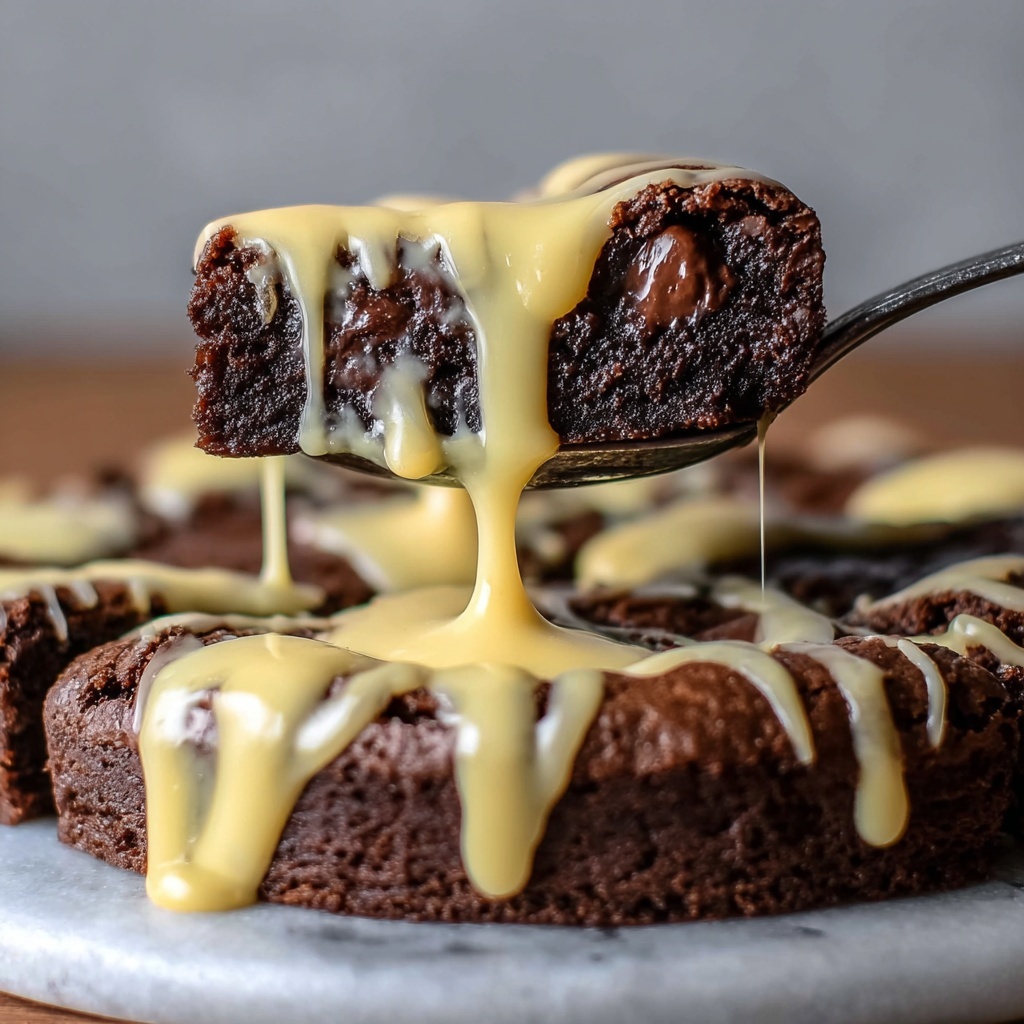
- 1 1/2 cups chocolate chips, divided: Provides bursts of melty chocolate throughout the brownie.
- 1 cup granulated sugar: Balances the bitterness of cocoa with just the right sweetness.
- 3/4 cup brown sugar: Adds a hint of caramel flavor and extra moisture.
- 3 eggs + 2 yolks: Create structure and richness, making the brownie fudgy but firm.
- 2 teaspoons vanilla extract: Enhances the chocolate flavor with a warm, fragrant note.
- 1 1/4 cups all-purpose flour: Gives the brownie body without making it cakey.
- 1/2 cup Dutch-process cocoa powder: Provides a deep chocolate intensity and a lovely dark color.
- 1/2 teaspoon salt: Amplifies the sweetness and chocolate notes.
- 1/8-1/4 teaspoon espresso powder (optional): Adds complexity by boosting the chocolate flavor even more.
How to Make Skillet Brownie Recipe
Step 1: Warm and Melt
Start by melting the butter, vegetable oil, and one cup of chocolate chips together over medium heat. This gentle warming blends the fats and chocolate into a silky smooth base. Once melted, transfer this heavenly mixture into a heatproof bowl and let it cool for about five minutes. This step is key to ensuring your eggs don’t cook when added.
Step 2: Preheat and Prep Your Skillet
While your chocolate mixture cools, preheat your oven to 350°F (175°C). Grab a 10-inch cast iron skillet, give it a light grease, and you’ll be all set for the batter.
Step 3: Whisk the Eggs and Vanilla
In a separate bowl, whisk together the eggs, yolks, and the aromatic vanilla extract until smooth. This mixture brings that luxurious creaminess to your batter and helps it set wonderfully.
Step 4: Combine the Egg Mixture with Chocolate
Slowly pour the egg and vanilla mix into your cooled chocolate mixture, whisking constantly. This ensures everything comes together in a silky, unified batter that promises richness in every bite.
Step 5: Add the Dry Ingredients
Next, sift together your flour, Dutch-process cocoa powder, salt, and espresso powder if you’re using it. Gradually incorporate these dry components into your chocolate mixture. Stir until the batter is almost fully combined; just a few flour streaks remaining are perfect.
Step 6: Fold in the Remaining Chocolate Chips
For those extra melty spots, fold in the leftover half cup of chocolate chips gently but thoroughly. This little addition creates delightful pockets of gooeyness you’ll love.
Step 7: Bake to Perfection
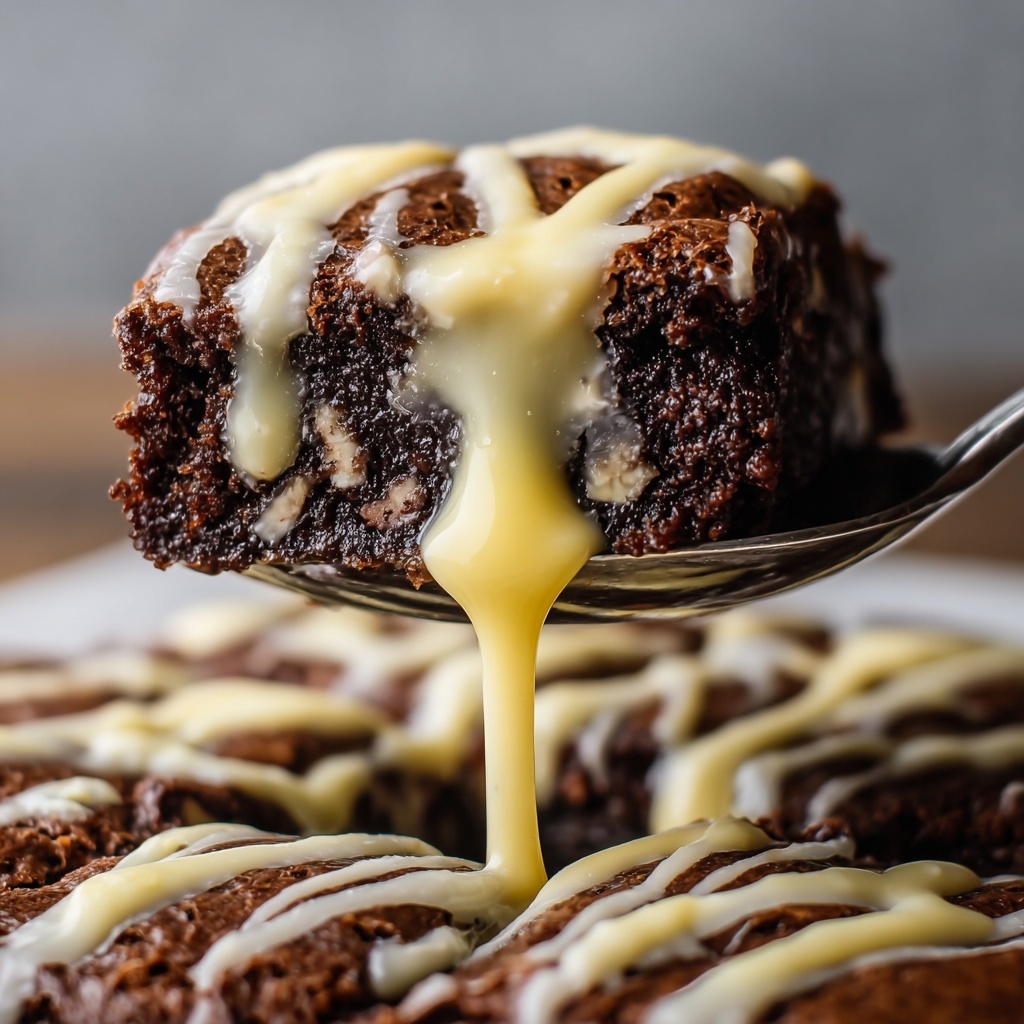
Pour your batter into the greased skillet and smooth out the surface. Bake for 30 to 35 minutes. The edges should be set and slightly crisp, while the center stays fudgy and soft. Keeping an eye on the time depending on how you like your brownie is a game-changer!
Step 8: Serve and Enjoy
After baking, give the brownie a few minutes to cool before slicing. Serve it warm with a scoop of vanilla ice cream for that classic pairing that makes this Skillet Brownie Recipe absolutely unforgettable.
How to Serve Skillet Brownie Recipe
Garnishes
Simple garnishes elevate the presentation and taste. Try sprinkling flaky sea salt for a salty-sweet contrast or add baroque texture with crushed toasted nuts. A drizzle of caramel or extra chocolate sauce will satisfy any chocoholic’s dreams.
Side Dishes
This skillet brownie pairs wonderfully with a scoop of creamy vanilla or coffee ice cream. Fresh berries or a dollop of whipped cream add brightness and lightness, balancing the brownie’s richness without competing with it.
Creative Ways to Present
Serve your skillet brownie straight from the pan for a rustic celebration feel. Or slice it into wedges, place on a platter, and garnish each piece individually using edible flowers, mint leaves, or even a dusting of powdered sugar for an elegant touch.
Make Ahead and Storage
Storing Leftovers
If you’re lucky enough to have leftovers, store them in an airtight container at room temperature for up to two days. The brownie’s texture remains lovely and soft, but if it starts drying out, warming it slightly can restore that freshly baked feel.
Freezing
To enjoy your skillet brownie later, freeze it wrapped tightly in plastic wrap and then in foil or a freezer bag. It will keep well for up to three months. Thaw it overnight in the fridge for best results before reheating.
Reheating
Warm individual servings in the microwave for 15 to 20 seconds or place the skillet in a low oven until heated through. This quick reheat brings back that just-baked essence and melty chocolate goodness you love.
FAQs
Can I use a regular baking pan instead of a cast iron skillet?
Absolutely! Although a cast iron skillet provides that perfect crispy edge and rustic look, a regular 9×13-inch baking dish will work just fine. Just adjust the baking time slightly and watch for doneness.
What if I don’t have Dutch-process cocoa powder?
You can substitute natural cocoa powder, but it might affect the flavor slightly since Dutch-process is less acidic and smoother. Adding a pinch of baking soda can help balance this if you use natural cocoa.
Is espresso powder necessary?
Not at all! Espresso powder is optional but highly recommended because it deepens the chocolate flavor nicely without making it taste like coffee.
Can I make this recipe gluten-free?
Yes, simply replace all-purpose flour with a gluten-free flour blend that can be used cup-for-cup, and ensure your cocoa powder and other ingredients are gluten-free certified.
How do I know when the brownie is done?
Look for slightly set edges and a center that’s still a bit soft but not wet. Insert a toothpick near the center; it should come out with moist crumbs but not wet batter. Remember, it will continue to set as it cools.
Final Thoughts
If you think brownies can’t get any better, this Skillet Brownie Recipe is here to prove you wonderfully wrong. It’s a dessert that brings everyone together, is easy to make, and satisfies every craving for warm, gooey chocolate. Trust me, once you try it, it will become your go-to recipe for celebrations, cozy nights, and whenever you need a chocolate hug.
Print
Skillet Brownie Recipe
- Prep Time: 10 minutes
- Cook Time: 30-35 minutes
- Total Time: 40-45 minutes
- Yield: 12 servings
- Category: Dessert
- Method: Baking
- Cuisine: American
Description
Indulge in this rich and fudgy Skillet Brownie recipe, perfect for sharing with friends and family. Made with a combination of butter, vegetable oil, and generous amounts of chocolate chips, these brownies bake beautifully in a cast iron skillet to deliver a warm, gooey, and decadent dessert that’s easy to prepare and sure to satisfy your chocolate cravings.
Ingredients
Wet Ingredients
- 3/4 cup butter
- 1/4 cup vegetable oil
- 3 eggs + 2 yolks
- 2 teaspoons vanilla extract
Chocolate & Sugars
- 1 1/2 cups chocolate chips, divided (1 cup + 1/2 cup)
- 1 cup granulated sugar
- 3/4 cup brown sugar
Dry Ingredients
- 1 1/4 cups all-purpose flour
- 1/2 cup Dutch-process cocoa powder
- 1/2 teaspoon salt
- 1/8–1/4 teaspoon espresso powder (optional)
Instructions
- Warm: In a medium saucepan, melt the butter, vegetable oil, and 1 cup of chocolate chips over medium heat. Stir continuously until the mixture is smooth. Remove from heat and pour into a heat-proof mixing bowl. Let it cool for 5 minutes to avoid cooking the eggs in the next steps.
- Preheat & Prepare: Preheat your oven to 350°F (175°C). Lightly grease a 10-inch cast iron skillet to prevent sticking and ensure easy release after baking.
- Whisk: In a separate bowl, whisk together the eggs, egg yolks, and vanilla extract until smooth and well combined. Slowly incorporate this egg mixture into the warm chocolate mixture, whisking constantly to blend thoroughly.
- Combine Dry Ingredients: Add the all-purpose flour, Dutch-process cocoa powder, salt, and optional espresso powder to the chocolate and egg mixture. Stir gently until the batter is almost fully combined, leaving just a few streaks of flour visible.
- Add Remaining Chocolate Chips: Fold in the remaining 1/2 cup of chocolate chips carefully, ensuring they are evenly distributed without overmixing the batter.
- Bake: Pour the batter into the prepared cast iron skillet and smooth the top with a spatula. Bake in the preheated oven for 30-35 minutes, adjusting the time based on your preferred brownie texture—less time for gooier brownies, more for firmer edges.
- Serve: Remove the skillet from the oven and let the brownies cool for a few minutes. Serve warm, ideally with vanilla ice cream for a perfect dessert experience. Enjoy your skillet brownie!
Notes
- Please ensure the butter and chocolate mixture is cooled before adding the eggs to prevent curdling.
- Using a cast iron skillet helps achieve a nice crust while keeping the interior moist and fudgy.
- Adjust baking time depending on your oven and desired fudge level.
- Espresso powder is optional but enhances the chocolate flavor without making the brownies taste like coffee.
- Let brownies cool slightly to make slicing easier and to allow flavors to set.
