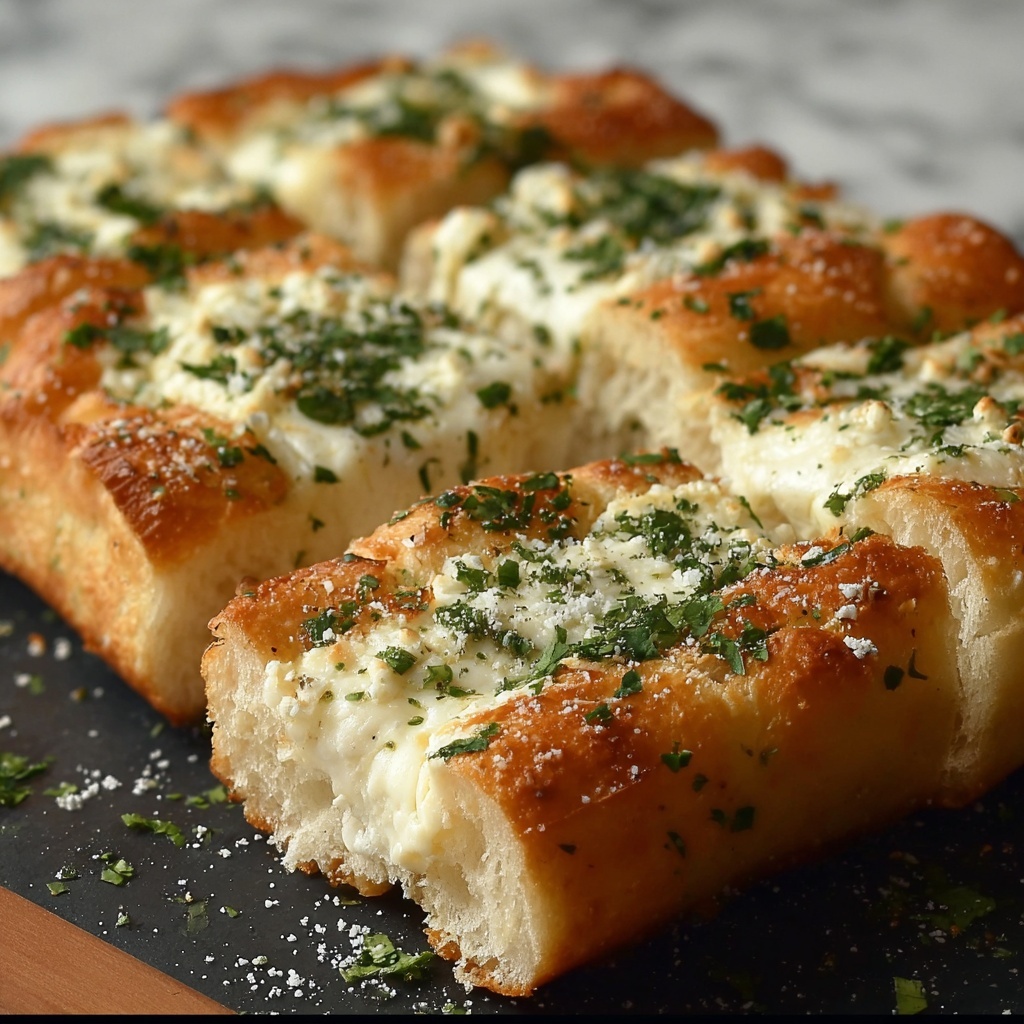
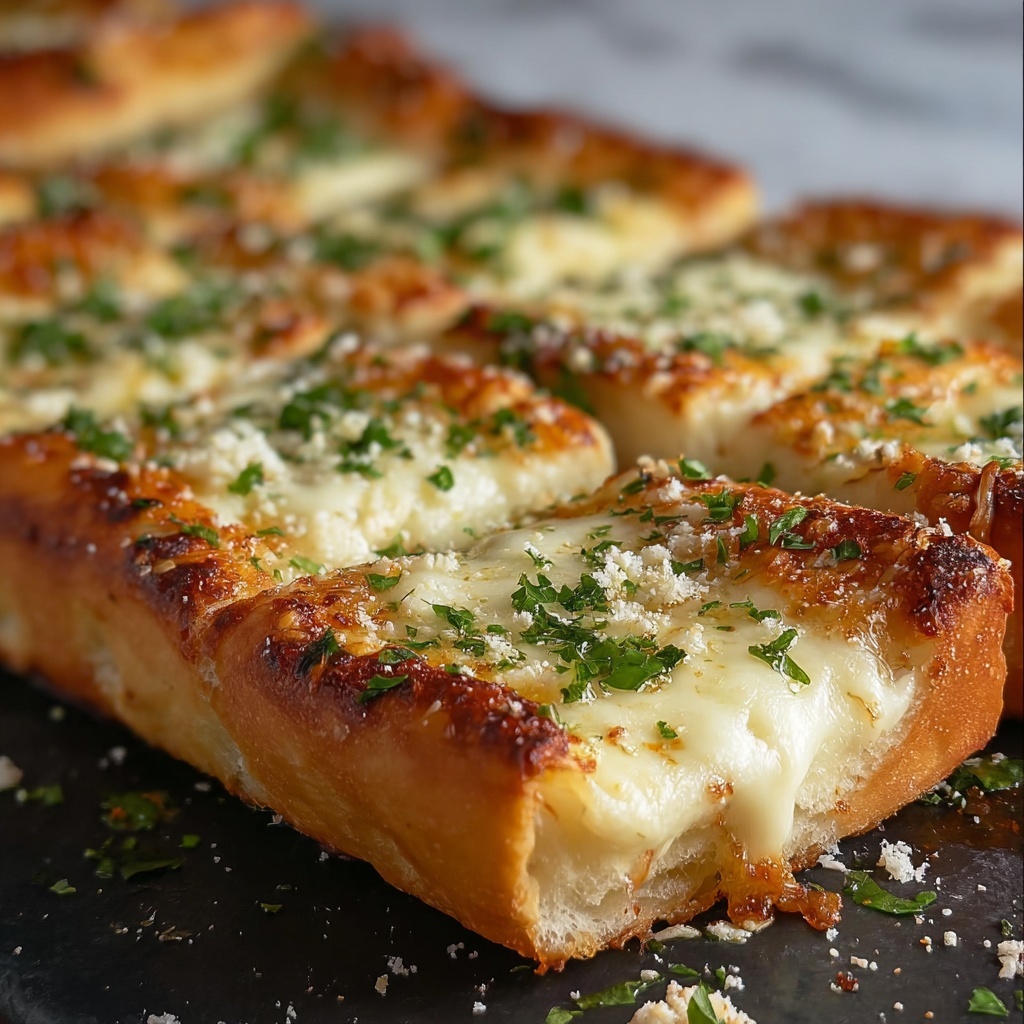
If you have a soft spot for warm, buttery, and cheesy treats, this Garlic Parmesan Breadsticks Recipe is destined to become one of your all-time favorites. These breadsticks are delightfully soft on the inside with a subtle crispness outside, infused with a rich garlic flavor and topped with nutty Parmesan cheese. It’s the perfect side or snack that elevates any meal, whether you’re hosting a cozy dinner or craving a comforting bite. The magic lies in the simple ingredients that come together for a mouthwatering result that’s surprisingly easy to make at home.
Ingredients You’ll Need
These ingredients are thoughtfully chosen to create the perfect texture, flavor, and aroma for your breadsticks. Each one plays a vital role in balancing softness, richness, and that irresistible garlic cheese topping.
- 2 1/4 teaspoons active dry yeast: This is what makes your dough rise beautifully and fluffy.
- 1 cup warm water (110°F): Just the right temperature to activate the yeast without killing it.
- 1 tablespoon granulated sugar: Feeds the yeast and adds a touch of sweetness to balance the garlic.
- 2 1/2 cups all-purpose flour: Provides the structure for the breadsticks; be sure to measure accurately.
- 1 teaspoon salt: Enhances all the flavors and strengthens the dough.
- 2 tablespoons olive oil: Adds subtle richness and helps keep the dough tender.
- 3 tablespoons unsalted butter, melted: Used for brushing, enriching the breadsticks with a luscious finish.
- 2 cloves garlic, minced: Fresh garlic packs a flavorful punch you can’t get from powders alone.
- 1/2 teaspoon garlic powder: Boosts the garlicky aroma and flavor for that iconic taste.
- 1/2 cup freshly grated Parmesan cheese: Adds a nutty, salty topping that perfectly complements the buttery garlic.
- 1 tablespoon chopped fresh parsley (optional): Brings a bright hint of color and freshness to your breadsticks.
How to Make Garlic Parmesan Breadsticks Recipe
Step 1: Activate the yeast
Start by dissolving the yeast and sugar in warm water. You want the water to be comfortably warm to the touch; too hot, and it kills your yeast, too cool, and it won’t activate properly. Let this mixture sit for about 5 to 10 minutes until it becomes foamy on top—that’s the sign your yeast is ready to work its magic.
Step 2: Prepare the dough
In a large bowl, combine the flour and salt. Pour in the activated yeast mixture and olive oil, mixing gently until a soft dough forms. This step is crucial for creating the perfect breadstick texture—neither too dry nor too sticky.
Step 3: Knead the dough
Turn the dough onto a lightly floured surface and knead vigorously for about 8 minutes, or until it’s smooth and elastic. Kneading develops the gluten, which gives your breadsticks that perfect chewiness you’ll love.
Step 4: First rise
Transfer your dough to a lightly oiled bowl, cover it loosely with a clean kitchen towel, and let it rise in a warm spot for about an hour or until it doubles in size. This rising period is what makes your breadsticks soft and airy.
Step 5: Shape the breadsticks
After the dough has doubled, punch it down gently to release the air. Divide it into 12 equal pieces and roll each into a long, thin breadstick shape. Place them spaced out on a parchment-lined baking sheet to prepare for their final rise.
Step 6: Second rise
Cover your shaped breadsticks loosely and let them rise again for about 20 minutes. This little rest helps them become puffy and tender before baking.
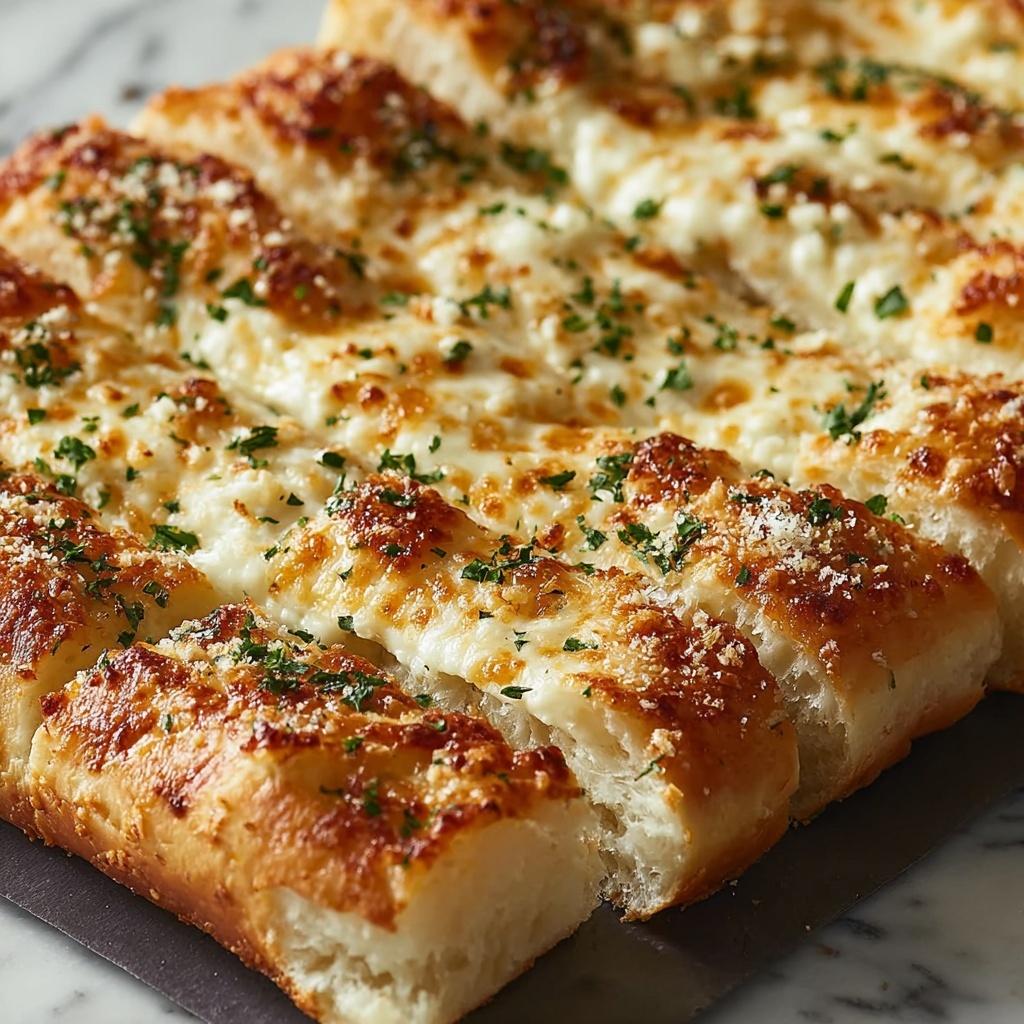
Step 7: Bake to golden perfection
Preheat your oven to 400°F. Bake the breadsticks for 12 to 15 minutes until they turn a beautiful light golden color. That golden hue is your cue that they are ready to be brushed with the irresistible garlic butter.
Step 8: Add the garlic Parmesan topping
Mix melted butter with minced garlic and garlic powder. Brush this flavorful blend generously over the warm breadsticks, then sprinkle with freshly grated Parmesan cheese and optional parsley. Serve immediately for a mouthwatering experience.
How to Serve Garlic Parmesan Breadsticks Recipe
Garnishes
Fresh chopped parsley or even a sprinkle of red pepper flakes can brighten up your breadsticks visually and add exciting layers of flavor. The fresh herbs contrast beautifully with the cheesy garlic topping for a vibrant finish.
Side Dishes
These breadsticks are a lovely companion to any Italian meal. Dip them in a warm bowl of marinara or Alfredo sauce, or enjoy alongside soups and salads. They add a buttery, cheesy balance that makes every bite special.
Creative Ways to Present
For parties, serve your breadsticks in a rustic basket lined with a red-checked napkin for a cozy feel. Alternatively, arrange them in a spiral on a large round plate and place a small bowl of dipping sauce in the center for a fun, shareable appetizer.
Make Ahead and Storage
Storing Leftovers
If you find yourself with extra breadsticks, store them in an airtight container at room temperature for up to two days. This keeps them soft enough to enjoy later without drying out.
Freezing
You can freeze these breadsticks before baking by wrapping them tightly in plastic wrap and then placing in a freezer bag. They’ll keep well for up to 2 months. When ready, thaw overnight in the fridge and let rise before baking.
Reheating
To bring leftovers back to life, reheat in a preheated 350°F oven for about 5 to 7 minutes. This method preserves the crisp edges and tender crumb much better than microwaving.
FAQs
Can I use garlic powder instead of fresh garlic?
While fresh garlic offers a more vibrant, pungent flavor, garlic powder helps deepen the garlic aroma and is great for those who prefer a milder, smoother garlic undertone. Using both together is the secret to this Garlic Parmesan Breadsticks Recipe’s signature taste.
What if I don’t have all-purpose flour on hand?
All-purpose flour works best here for the right gluten content, but if you must substitute, bread flour can be used for an even chewier texture. Avoid whole wheat as it can make the breadsticks dense.
Can I make these breadsticks vegan?
Yes! Substitute the butter with a vegan margarine or olive oil, and skip the Parmesan or use a plant-based cheese alternative. The dough itself is naturally vegetarian-friendly.
How do I know when the yeast is active?
After mixing yeast with warm water and sugar, it should bubble up and become foamy within 5 to 10 minutes. If it doesn’t, your yeast might be old or the water temperature wasn’t ideal, so it’s best to start over with fresh yeast.
Is it necessary to let the dough rise twice?
Yes, the first rise develops flavor and gluten structure, while the second rise after shaping makes the breadsticks light and fluffy. Skipping either will affect texture and overall tenderness.
Final Thoughts
There’s something undeniably comforting about pulling warm, garlicky, cheesy breadsticks right out of the oven, and this Garlic Parmesan Breadsticks Recipe makes that feeling so easy to recreate at home. I wholeheartedly encourage you to give these a try—they’re a crowd-pleaser, simple, and utterly delicious. Once you taste them, you’ll wonder how you ever lived without homemade breadsticks in your kitchen rotation!
Print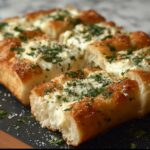
Garlic Parmesan Breadsticks Recipe
- Prep Time: 20 minutes
- Cook Time: 15 minutes
- Total Time: 1 hour 55 minutes
- Yield: 12 breadsticks
- Category: Appetizer
- Method: Baking
- Cuisine: Italian-American
- Diet: Vegetarian
Description
Deliciously soft and flavorful Garlic Parmesan Breadsticks featuring a tender yeast dough, brushed with a garlic butter sauce, and topped with freshly grated Parmesan cheese and parsley. Perfect as an appetizer or side dish that pairs wonderfully with marinara sauce.
Ingredients
Dough
- 2 1/4 teaspoons active dry yeast
- 1 cup warm water (110°F)
- 1 tablespoon granulated sugar
- 2 1/2 cups all-purpose flour
- 1 teaspoon salt
- 2 tablespoons olive oil
Topping
- 3 tablespoons unsalted butter, melted
- 2 cloves garlic, minced
- 1/2 teaspoon garlic powder
- 1/2 cup freshly grated Parmesan cheese
- 1 tablespoon chopped fresh parsley (optional)
Instructions
- Activate the yeast: In a small bowl, dissolve the yeast and sugar in warm water and let sit for 5 to 10 minutes until foamy, indicating the yeast is active.
- Mix the dough: In a large mixing bowl, combine the flour and salt. Add the yeast mixture and olive oil, then stir until a soft dough forms.
- Knead the dough: Turn the dough onto a lightly floured surface and knead for about 8 minutes, until the dough is smooth and elastic.
- First rise: Place the dough in a lightly oiled bowl, cover it, and let it rise in a warm place for about 1 hour or until it has doubled in size.
- Prepare for baking: Preheat the oven to 400°F and line a baking sheet with parchment paper. Punch down the dough to release air, then divide it into 12 equal portions.
- Shape breadsticks: Roll each portion into a breadstick shape and place them on the prepared baking sheet. Cover loosely and let them rise for another 20 minutes.
- Bake the breadsticks: Bake for 12 to 15 minutes, or until the breadsticks are lightly golden brown.
- Make garlic butter: While the breadsticks bake, combine melted butter, minced garlic, and garlic powder in a small bowl.
- Finish and serve: Once baked, brush the warm breadsticks generously with the garlic butter mixture, then sprinkle with Parmesan cheese and parsley if using. Serve warm.
Notes
- For extra flavor, add a pinch of Italian seasoning to the dough.
- These breadsticks pair well with marinara sauce for dipping.
- Store leftovers in an airtight container and reheat in the oven for the best texture.


