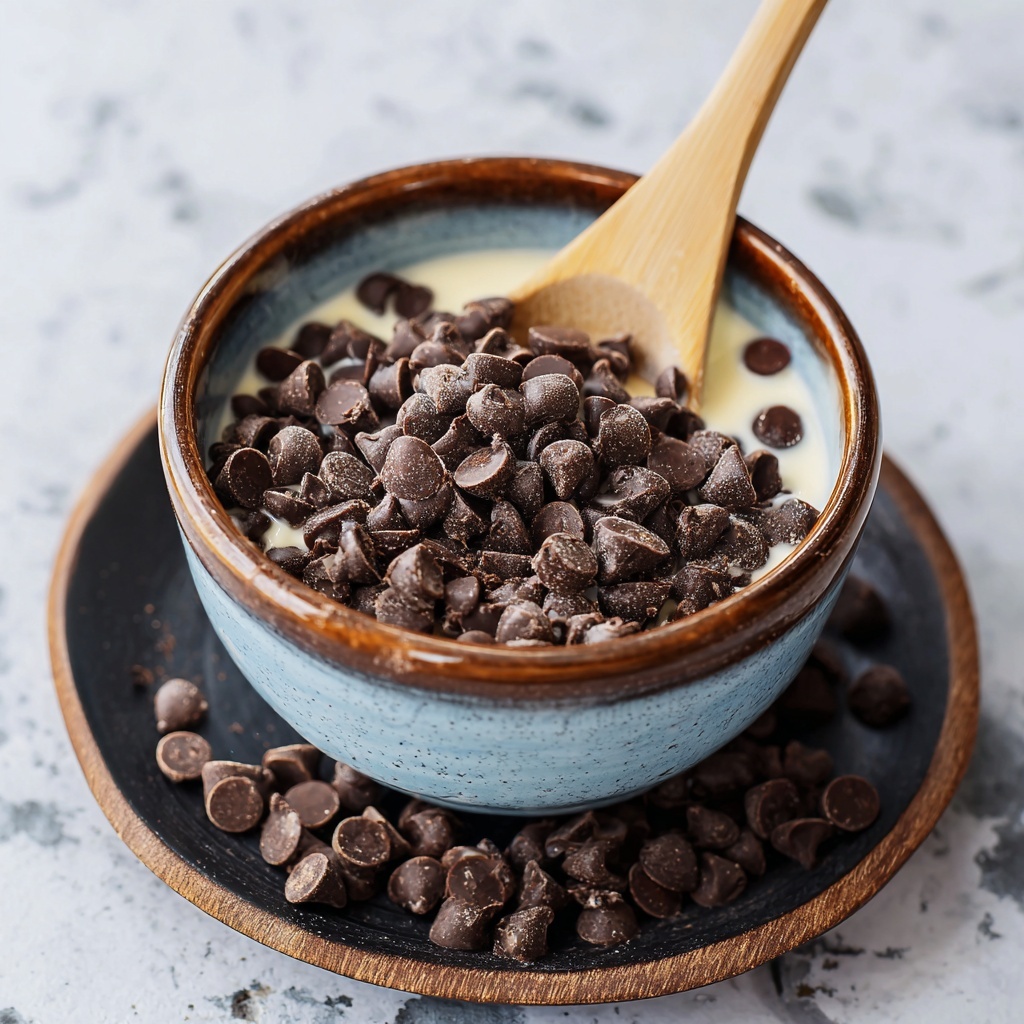
If you have a sweet spot for crunchy, chocolaty breakfasts, then this Homemade Chocolate Cereal Recipe is about to become your new morning obsession. It’s a wonderfully simple mix of wholesome ingredients that come together in your oven to create a crispy, chocolatey delight that’s perfect for starting your day on a delicious note. Whether you enjoy it with milk, yogurt, or just by the handful as a snack, this cereal delivers rich cocoa flavor with a satisfying crunch, all made from scratch with love and no unnecessary additives.
Ingredients You’ll Need
Gathering these ingredients is like assembling your dream team of flavors and textures. Each one is essential for that perfect balance of chocolate richness, nutty undertones, and a satisfyingly crispy bite that makes this cereal so special.
- Rolled oats: The heart of the cereal, giving it that wholesome texture and hearty base.
- Puffed rice cereal: Adds a light, airy crunch that keeps the cereal from feeling too dense.
- Almond flour: Introduces a subtle nuttiness and helps bind the cereal clusters gently.
- Cocoa powder: The star for deep chocolate flavor that’s rich but not overpowering.
- Maple syrup: Naturally sweetens the mixture while adding a hint of caramel complexity.
- Coconut oil, melted: Binds all ingredients with healthy fats while giving a pleasant richness.
- Vanilla extract: Enhances the chocolate with warmth and a sweet aromatic punch.
- Salt: Balances the sweetness and elevates all the flavors perfectly.
How to Make Homemade Chocolate Cereal Recipe
Step 1: Preheat and Prepare
Start by heating your oven to 325°F (165°C). Lining your baking sheet with parchment paper helps prevent sticking and makes cleanup a breeze, setting you up for a smooth baking session.
Step 2: Combine the Dry Ingredients
In a large bowl, whisk together rolled oats, puffed rice cereal, almond flour, cocoa powder, and salt. This combination lays down the chocolatey, nutty, and crunchy foundation for your cereal.
Step 3: Mix the Wet Ingredients
In a separate bowl, stir together the melted coconut oil, maple syrup, and vanilla extract. This mixture will coat the dry ingredients, binding everything together and giving it that lovely sweetness and aroma.
Step 4: Bring It All Together
Pour the wet mixture into the dry ingredients and gently fold them together until every piece is coated evenly. This step ensures each bite delivers consistent texture and flavor.
Step 5: Spread and Bake
Spread your mixture evenly over the prepared baking sheet. Even spreading is key for uniform baking and getting that satisfying crunch throughout. Bake in the oven for 20 to 25 minutes, stirring halfway through for even cooking and to prevent any burning.
Step 6: Cool Completely
Once baked to a perfect crisp, let the cereal cool fully on the tray. This cooling period allows it to harden slightly, locking in the crunch before you transfer the cereal to an airtight container for storage.
How to Serve Homemade Chocolate Cereal Recipe

Garnishes
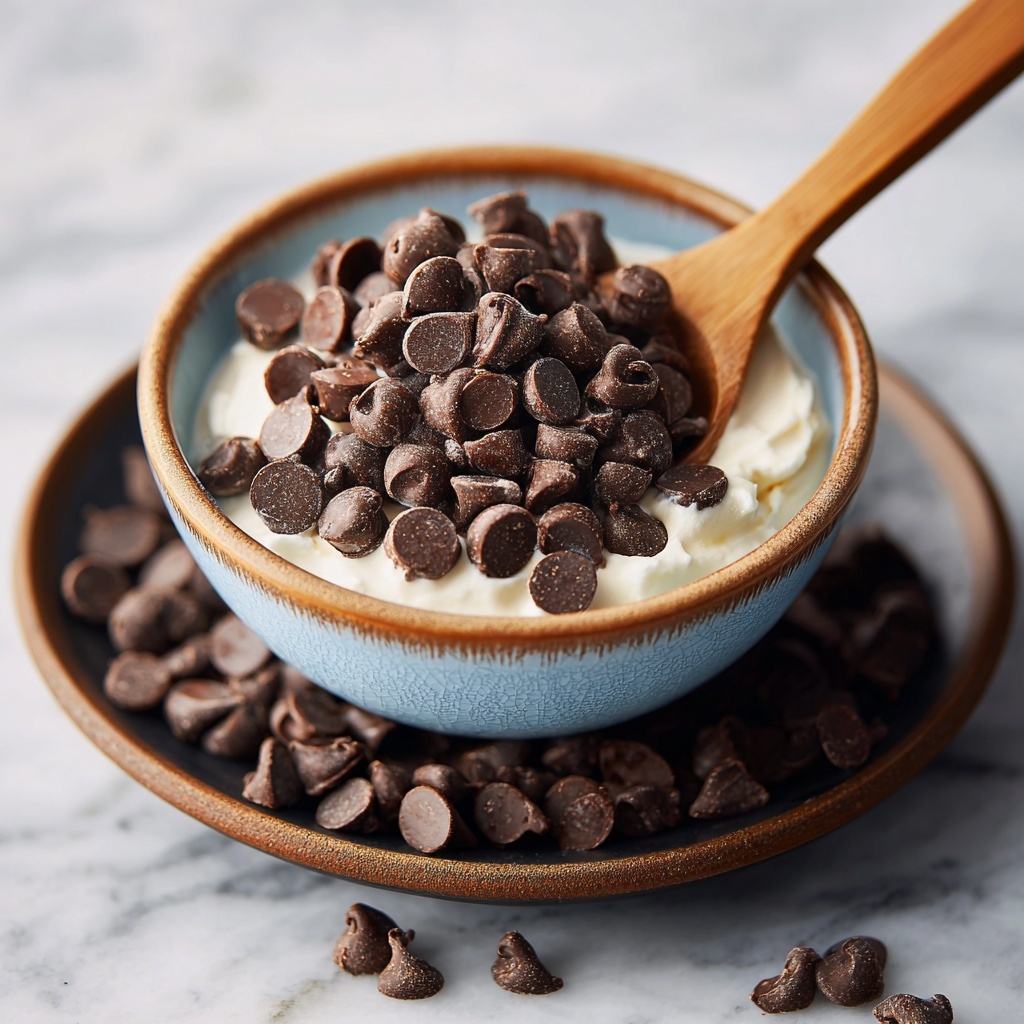
Sprinkle your chocolate cereal with some fresh berries or banana slices for a fruity contrast that brightens the deep cocoa notes. A handful of chopped nuts or a drizzle of nut butter can add extra texture and richness, making your bowl even more indulgent.
Side Dishes
Pair this cereal with a creamy yogurt or your favorite plant-based milk for a nourishing breakfast. It also works beautifully alongside a smoothie bowl, where the crunch adds a satisfying texture contrast that makes your morning more exciting.
Creative Ways to Present
Why not transform this cereal into a snack bar by pressing it into a pan before baking? You can also mix it into homemade trail mix, combining it with dried fruits and nuts for a perfect on-the-go treat. It’s equally delightful served as a topping for ice cream or pudding, bringing chocolatey crunch to desserts.
Make Ahead and Storage
Storing Leftovers
Your Homemade Chocolate Cereal Recipe keeps wonderfully in an airtight container at room temperature for up to two weeks. This means you can make a big batch ahead of time, and still enjoy that fresh-baked crunch every morning without any fuss.
Freezing
If you want to stretch your batch even further, freeze the cereal in a well-sealed bag or container. When stored in the freezer, it stays fresh for up to three months and thaws quickly at room temperature, retaining all its delightful crispness.
Reheating
If you prefer your cereal a little warmer or refreshed after storage, simply spread it on a baking sheet and warm it gently in a low oven (around 300°F) for 5 to 7 minutes. This step revives the crunch without drying it out.
FAQs
Can I use other types of flour instead of almond flour?
Absolutely! While almond flour adds a lovely nutty flavor, you can substitute it with oat flour or coconut flour, but keep in mind the texture and taste might shift slightly. Adjust liquid quantities if needed for the right consistency.
Is this cereal gluten-free?
This recipe can be gluten-free if you use certified gluten-free oats and puffed rice cereal. Double-checking your ingredients helps keep your breakfast safe if you have gluten sensitivities.
How crunchy does the cereal get? Will it soften in milk?
The cereal bakes to a satisfying crunch that’s perfect for eating with milk. It holds up quite well but will soften after sitting briefly, which many find comforting. For maximum crunch, add milk right before eating.
Can I sweeten this cereal with something other than maple syrup?
Yes, honey or agave syrup are great alternatives. Keep in mind that different sweeteners may slightly affect the flavor and texture, but the cereal will still be delicious.
Is this recipe suitable for vegans?
Definitely! Since it uses coconut oil and maple syrup, both plant-based, this Homemade Chocolate Cereal Recipe is perfect for vegan diets and anyone looking for a dairy-free breakfast option.
Final Thoughts
Making your own Homemade Chocolate Cereal Recipe is such a rewarding way to start the day with a smile. It’s simple, wholesome, and absolutely delicious. Once you try this at home, it’s hard to go back to store-bought cereals. Give it a go and watch how quickly it becomes a breakfast staple that you and your family look forward to every morning!
Print
Homemade Chocolate Cereal Recipe
- Prep Time: 10 minutes
- Cook Time: 20-25 minutes
- Total Time: 35 minutes
- Yield: 4 servings
- Category: Breakfast
- Method: Baking
- Cuisine: American
- Diet: Vegetarian
Description
This homemade chocolate cereal is a crunchy, chocolatey breakfast treat made from rolled oats, puffed rice, almond flour, and cocoa powder, sweetened naturally with maple syrup and enhanced with coconut oil and vanilla. Baked to crispy perfection, it’s a healthier alternative to store-bought cereals, perfect for a nutritious and delicious start to your day.
Ingredients
Dry Ingredients
- 1 1/2 cups rolled oats
- 1 cup puffed rice cereal
- 1/2 cup almond flour
- 1/4 cup cocoa powder
- 1/4 teaspoon salt
Wet Ingredients
- 1/4 cup maple syrup
- 1/4 cup coconut oil, melted
- 1 teaspoon vanilla extract
Instructions
- Preheat Oven: Preheat your oven to 325°F (165°C) and line a baking sheet with parchment paper to prevent sticking.
- Combine Dry Ingredients: In a large mixing bowl, combine the rolled oats, puffed rice cereal, almond flour, cocoa powder, and salt. Stir these together to evenly distribute the ingredients.
- Mix Wet Ingredients: In a separate bowl, whisk together the melted coconut oil, maple syrup, and vanilla extract until well combined.
- Combine Wet and Dry Mixtures: Pour the wet ingredient mixture into the dry ingredients and stir thoroughly until all the dry ingredients are fully coated and the mixture is evenly mixed.
- Spread and Bake: Spread the cereal mixture evenly across the prepared baking sheet in a thin, uniform layer to ensure even baking.
- Bake and Stir: Bake in the preheated oven for 20-25 minutes. Halfway through the baking time, stir the mixture to promote even crisping and prevent burning.
- Cool and Store: Once baked to a crispy texture, remove the cereal from the oven and let it cool completely on the baking sheet. After cooling, transfer it to an airtight container for storage.
Notes
- For added crunch, consider adding chopped nuts or seeds before baking.
- You can substitute maple syrup with honey or agave syrup if desired.
- Store the cereal in an airtight container at room temperature for up to two weeks.
- This cereal makes a great topping for yogurt or smoothie bowls.
- Ensure the cereal is completely cooled before storing to maintain crispness.


