
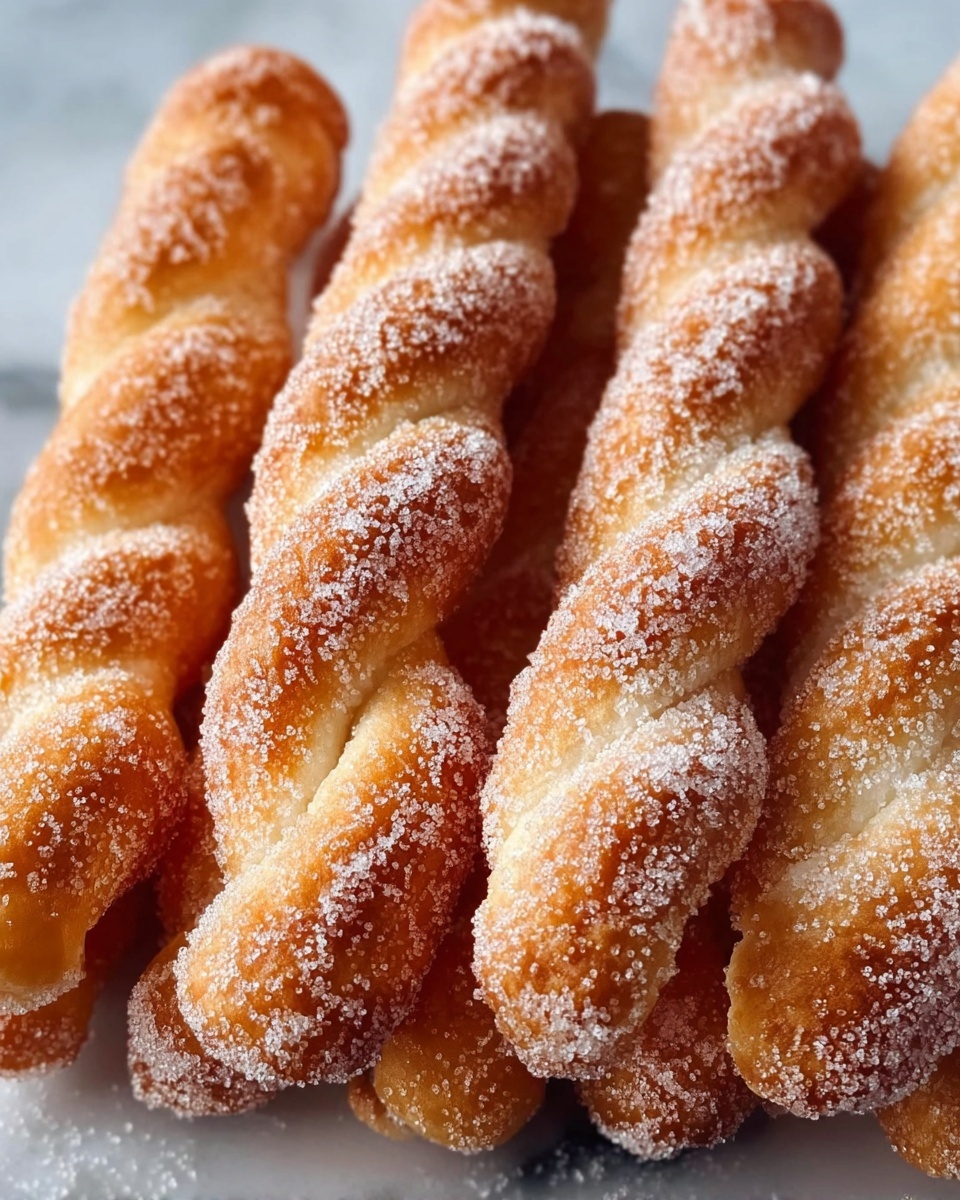
If you have ever dreamed of biting into a warm, fluffy, perfectly sweet treat that melts in your mouth, then this Homemade Glazed Doughnuts Recipe is exactly what you need. These doughnuts combine the soft richness of a traditional yeast dough with a shiny, irresistibly sweet glaze that adds a delightful finish. Whether you’re sharing with friends, family, or simply indulging yourself, this recipe turns your kitchen into a little doughnut haven, fresh and fragrant with every batch.
Ingredients You’ll Need
Making these doughnuts is wonderfully straightforward because every ingredient plays a unique role—from creating the ideal rise and softness to adding flavor and that iconic sweetness. Let’s take a look at the essentials that will bring this classic treat to life.
- Active dry yeast (2 1/4 teaspoons): The magical ingredient that makes the dough rise light and airy.
- Warm water (2 tablespoons, 110°F): Perfect temperature to activate the yeast without killing it.
- Warm whole milk (3/4 cup, 110°F): Adds richness and moisture to keep your dough tender.
- Granulated sugar (1/4 cup): Sweetens the dough slightly and helps with browning.
- Salt (1/2 teaspoon): Enhances all the other flavors and balances sweetness.
- Ground nutmeg (1/4 teaspoon): A subtle spice that brings warmth and character to the dough.
- Egg (1): Binds ingredients together and adds richness and structure.
- Unsalted butter (1/4 cup, softened): Provides tenderness and a rich buttery flavor.
- All-purpose flour (2 1/2 cups plus extra for dusting): The base of the dough, delivering perfect gluten development for chewy goodness.
- Vegetable oil (for frying): Neutral oil ideal for frying to a golden crisp without overpowering flavors.
For the glaze:
- Powdered sugar (2 cups): Creates a smooth, sweet coating that hardens to a shiny finish.
- Whole milk (1/4 cup): Thins the powdered sugar into a luscious, dippable glaze.
- Vanilla extract (1/2 teaspoon): Adds depth and a comforting aroma to the glaze.
How to Make Homemade Glazed Doughnuts Recipe
Step 1: Activate the Yeast
Start by dissolving the active dry yeast in warm water. This step kickstarts the fermentation process, ensuring your doughnuts rise beautifully. Wait until the mixture becomes foamy, signaling that your yeast is alive and ready.
Step 2: Combine Wet Ingredients and Yeast
In a large bowl, whisk together the warm milk, sugar, salt, ground nutmeg, egg, softened butter, and the bubbly yeast mixture. This blend forms the flavorful foundation of your dough, combining moisture, sweetness, and richness.
Step 3: Incorporate the Flour and Form a Dough
Add flour gradually, mixing well until the dough pulls away from the sides and feels soft but not sticky. This encourages the gluten to develop just right, giving your doughnuts structure and elasticity.
Step 4: Knead Until Smooth and Elastic
Turn the dough onto a floured surface and knead for about 5 to 7 minutes. This physical process strengthens the dough, leading to that perfect tender, chewy texture we all love in doughnuts.
Step 5: First Rise
Place your dough in a greased bowl, cover it with a towel or plastic wrap, and let it rise in a warm spot for 1 to 1.5 hours. When it doubles in size, you’ve hit the sweet spot for perfectly airy dough.
Step 6: Shape the Doughnuts
Punch down the risen dough and roll it to about half an inch thickness. Using a doughnut cutter (or two round cutters), cut out your doughnuts and their centers. Place them on a floured surface, cover loosely, and allow another 30 to 45 minutes of rising to build lightness.
Step 7: Fry the Doughnuts
Heat your vegetable oil to 350°F (175°C) and fry doughnuts carefully in batches. Fry each side for about one minute until golden brown. Using a slotted spoon, transfer the doughnuts to paper towels to drain the excess oil and keep them crisp.
Step 8: Glaze and Finish
Whisk powdered sugar, milk, and vanilla until smooth, creating a glossy glaze. While the doughnuts are still warm, dip them into the glaze and set them on a wire rack to let the excess drip off and the glaze harden to that classic shiny coat.
How to Serve Homemade Glazed Doughnuts Recipe
Garnishes
The beauty of this homemade treat is its simplicity, but feel free to sprinkle on chopped nuts, colorful sprinkles, or even a dusting of cinnamon sugar for an extra layer of texture and flavor. Adding fresh berries or zest can brighten every bite too.
Side Dishes
Pair these glazed doughnuts with a steaming cup of coffee or fragrant tea for a cozy morning ritual. For a brunch spread, fresh fruit salad or creamy yogurt complement their sweetness perfectly without overwhelming your palate.
Creative Ways to Present
Arrange your doughnuts neatly on a tiered dessert stand for parties, or stack them casually on a rustic wooden board for a homemade, inviting vibe. Drizzle extra glaze over the top just before serving to impress guests with your attention to detail.
Make Ahead and Storage
Storing Leftovers
If you find yourself with more doughnuts than you can enjoy immediately, store them in an airtight container at room temperature. They stay freshest up to two days, maintaining texture and flavor without drying out.
Freezing
For longer storage, freeze doughnuts individually wrapped in plastic wrap and placed in a freezer-safe bag. They can last up to one month this way, ready to thaw and enjoy later without losing their charm.
Reheating
To revive your doughnuts, warm them gently in the microwave for 10 to 15 seconds or a few minutes in a low oven. This restores softness and helps the glaze regain a slight sheen, making each bite taste freshly made.
FAQs
Can I use instant yeast instead of active dry yeast?
Yes, instant yeast can be used, but reduce the amount slightly (about 1 3/4 teaspoons should do). Also, you can mix it directly with the flour since it doesn’t require proofing.
What type of oil is best for frying doughnuts?
Vegetable oil is ideal because it has a neutral flavor and a high smoke point, allowing you to fry doughnuts to a golden perfection without burning or imparting unwanted tastes.
How do I know when the doughnuts are done frying?
Look for a gorgeous golden-brown color on each side, usually after frying for about one minute per side. The doughnuts should float to the top when ready, signaling a crisp exterior and cooked interior.
Can I make these doughnuts gluten-free?
Traditional gluten-free doughnuts require alternative flours and adjustments to hydration and rising times. This recipe relies on all-purpose flour for the proper texture, so it’s not suitable for gluten-free diets as is.
Why is my glaze too runny or too thick?
Adjust the milk quantity: less milk makes a thicker glaze that clings better, while more milk thins it out for a lighter coating. Experiment until you find your perfect consistency for dipping or drizzling.
Final Thoughts
This Homemade Glazed Doughnuts Recipe is a delightful adventure into baking and frying that results in an unforgettable treat. You’ll love the process and the sweet rewards waiting at the end of each batch. Give it a whirl, share it with loved ones, and let these doughnuts bring a bit of joy and comfort to your day.
Print
Homemade Glazed Doughnuts Recipe
- Prep Time: 20 minutes
- Cook Time: 15 minutes
- Total Time: 2 hours 30 minutes
- Yield: 12 doughnuts plus doughnut holes
- Category: Breakfast, Dessert
- Method: Frying
- Cuisine: American
- Diet: Vegetarian
Description
These Homemade Glazed Doughnuts are soft, fluffy, and freshly fried to golden perfection, then coated with a sweet vanilla glaze. Made with a classic yeast dough and a light nutmeg touch, they’re an irresistible treat perfect for breakfast or dessert.
Ingredients
Doughnuts:
- 2 1/4 teaspoons (1 packet) active dry yeast
- 2 tablespoons warm water (110°F)
- 3/4 cup warm whole milk (110°F)
- 1/4 cup granulated sugar
- 1/2 teaspoon salt
- 1/4 teaspoon ground nutmeg
- 1 egg
- 1/4 cup unsalted butter (softened)
- 2 1/2 cups all-purpose flour (plus more for dusting)
- Vegetable oil for frying
Glaze:
- 2 cups powdered sugar
- 1/4 cup whole milk
- 1/2 teaspoon vanilla extract
Instructions
- Activate Yeast: In a small bowl, dissolve the active dry yeast in warm water (110°F) and let it sit for 5 to 10 minutes until foamy, indicating the yeast is active.
- Make Dough: In a large mixing bowl, combine warm milk, granulated sugar, salt, ground nutmeg, egg, softened butter, and the yeast mixture. Gradually add the all-purpose flour, stirring until a soft dough forms.
- Knead Dough: Turn the dough onto a lightly floured surface and knead for 5 to 7 minutes until it becomes smooth and elastic, ensuring a good gluten network for fluffy doughnuts.
- First Rise: Place the kneaded dough in a greased bowl, cover it, and let it rise in a warm place for 1 to 1.5 hours, or until it doubles in size.
- Shape Doughnuts: Punch down the risen dough and roll it out to about 1/2-inch thickness. Use a doughnut cutter or two round cutters to cut out doughnuts and holes. Place them on a floured surface, cover lightly with a towel, and let them rise again for 30 to 45 minutes.
- Heat Oil and Fry: Heat vegetable oil in a deep fryer or heavy-bottomed pot to 350°F. Fry doughnuts in batches, about 1 minute per side, or until they turn golden brown.
- Drain: Remove fried doughnuts with a slotted spoon and place on paper towels to drain excess oil.
- Prepare Glaze: Whisk powdered sugar, whole milk, and vanilla extract together in a bowl until smooth and lump-free.
- Glaze Doughnuts: Dip the warm doughnuts into the glaze, allowing excess to drip off. Place them on a rack and allow the glaze to set before serving.
Notes
- For a thicker glaze, reduce the amount of milk slightly when mixing the glaze.
- These doughnuts are best eaten fresh the same day but can be stored in an airtight container for up to 2 days.
- As an alternative to glaze, you can coat the doughnuts with cinnamon sugar for a different flavor.
