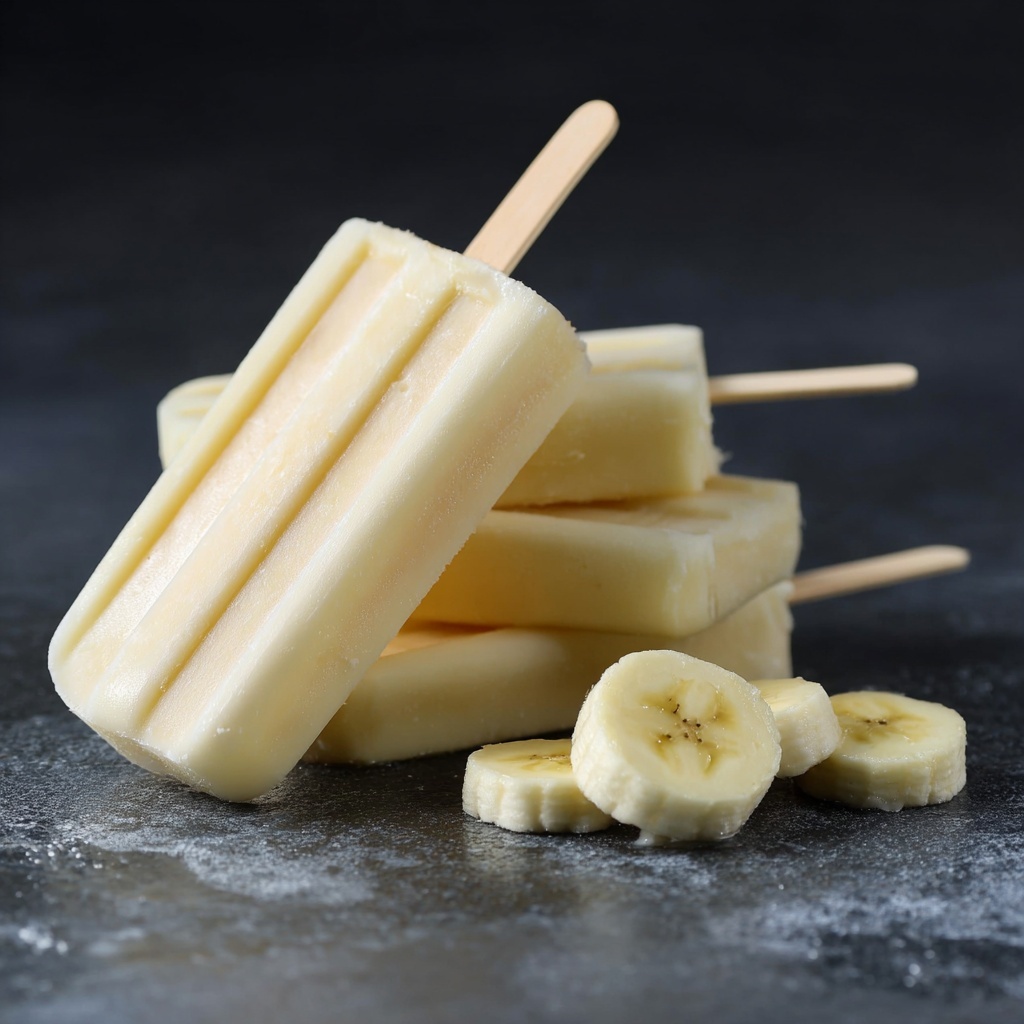
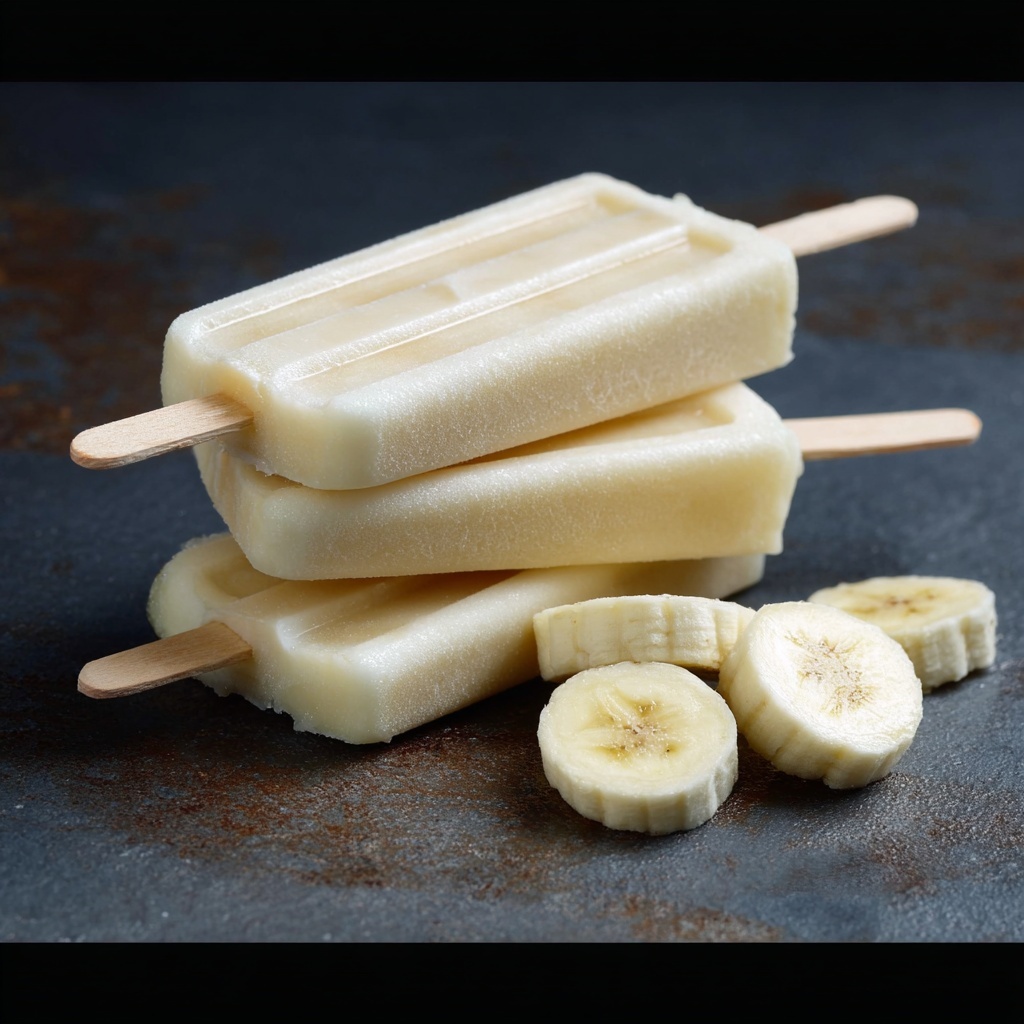
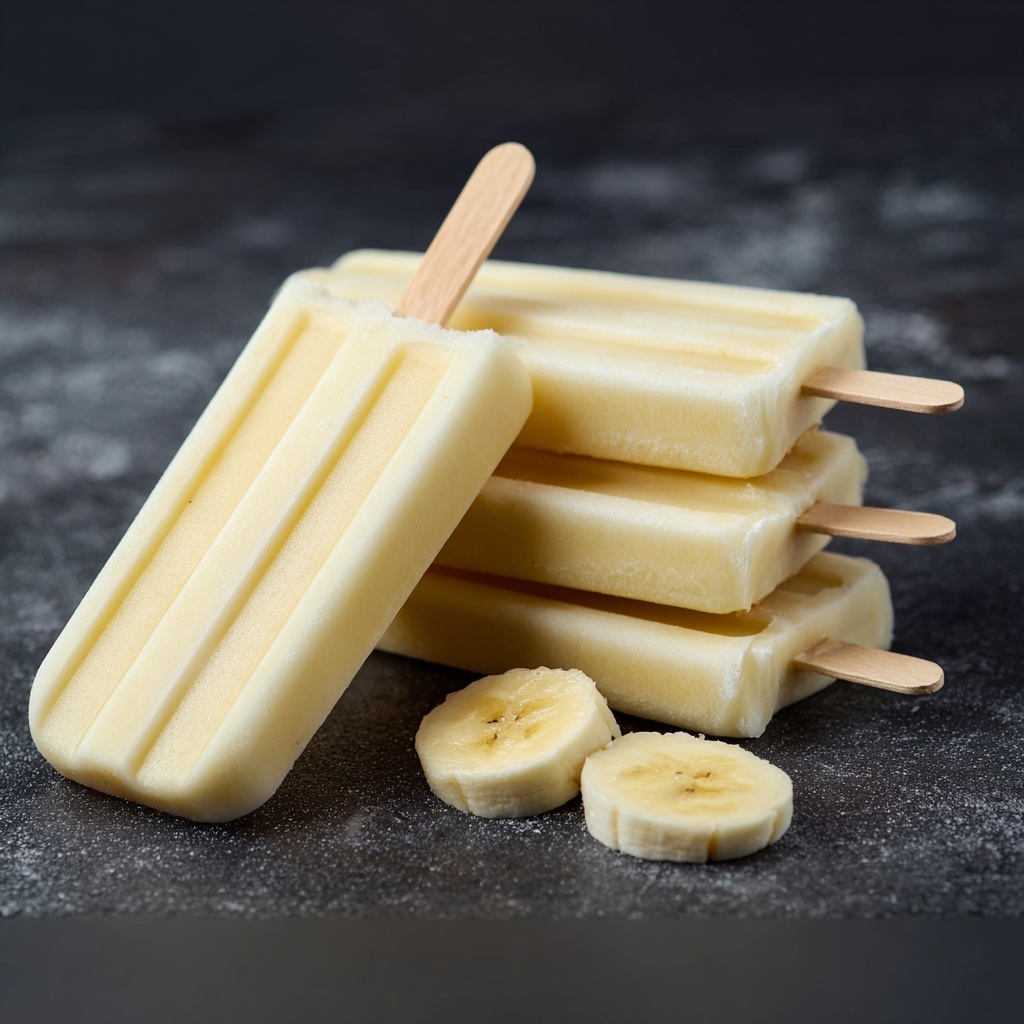
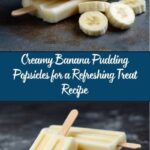
If you’re on the hunt for a dessert that feels like a hug on a hot day, you’re going to adore this Creamy Banana Pudding Popsicles for a Refreshing Treat Recipe. Imagine the smooth sweetness of ripe bananas mingling effortlessly with velvety vanilla pudding and a hint of gentle vanilla essence, all frozen into a perfect handheld delight. These popsicles are not only a nostalgic throwback to classic banana pudding flavors but also a light, satisfying way to cool off and satisfy your sweet tooth without feeling weighed down. You’re about to discover a simple yet spectacular frozen treat that’s as comforting as it is refreshing.
Ingredients You’ll Need
The magic of this recipe lies in its uncomplicated ingredients, each chosen carefully to build layers of flavor and creamy texture. From the natural sweetness and softness of bananas to the smooth, luscious texture of vanilla pudding and whipped topping, every component plays a vital role in crafting these popsicles into something truly indulgent yet light.
- 2 ripe bananas peeled and sliced: Make sure they’re nicely ripe for the sweetest, creamiest popsicle base.
- 1 cup vanilla pudding prepared and chilled: This adds that classic pudding flavor and smooth texture that defines the treat.
- 1/2 cup milk or almond milk: Use any milk you prefer to help blend the flavors and keep it light.
- 1/2 cup whipped topping or whipped cream: Fold this in gently to keep the texture fluffy and airy.
- 1 teaspoon vanilla extract: A small but powerful flavor booster that deepens the classic vanilla notes.
- 4 vanilla wafer cookies crushed (optional): These add a fun, crunchy surprise that elevates the texture.
How to Make Creamy Banana Pudding Popsicles for a Refreshing Treat Recipe
Step 1: Blend the Base Ingredients
Start by tossing those ripe banana slices into your blender along with chilled vanilla pudding, milk, and vanilla extract. Blend everything until the mixture is perfectly smooth and creamy. This step ensures a silky base with uniform banana flavor that’s essential for that mouthwatering banana pudding experience in each bite.
Step 2: Gently Fold in the Whipped Topping
Once your pudding base is smooth, transfer it to a mixing bowl and fold in the whipped topping using a spatula. This isn’t the time to stir vigorously — you want to keep as much of that fluffy airiness as possible, which transforms the mixture from dense to delightfully creamy, making every popsicle feel like a bite of cloud-like joy.
Step 3: Add the Crunch (Optional)
If you like a little crunch that contrasts with the creamy texture, gently fold in the crushed vanilla wafer cookies. This subtle surprise gives you that nostalgic nod to traditional banana pudding, bringing a cozy, classic vibe to your frozen treat.
Step 4: Fill Molds and Freeze
Pour the luscious mixture evenly into your popsicle molds, taking care to leave a bit of room at the top to allow for expansion as they freeze. Insert the popsicle sticks and pop the molds into the freezer. Patience is key here — give them at least four hours to freeze fully solid for the perfect pop of creamy refreshment.
Step 5: Unmold and Enjoy
When you’re ready to dig in, briefly run warm water over the outside of the molds. This loosens the edges just enough so you can gently pull out your creamy banana pudding popsicles. Now, you’re set with a delicious treat that’s creamy, smooth, and refreshing all at once.
How to Serve Creamy Banana Pudding Popsicles for a Refreshing Treat Recipe
Garnishes
Serving these popsicles with a sprinkle of extra crushed vanilla wafers or a few banana slices on the side turns them into an irresistible, visually appealing dessert. You can even drizzle a little caramel or honey on the plate for added sweetness and to amp up the presentation.
Side Dishes
Pair your popsicles with light snacks like fresh berries or a small bowl of vanilla yogurt for a balanced taste experience that keeps things cool and fresh. These sides emphasize the creamy banana pudding flavor while adding a complementary freshness.
Creative Ways to Present
For a fun twist, serve these popsicles inside hollowed-out banana halves or pretty glasses lined with crushed cookies. If hosting a party, display them on a bed of crushed ice with small spoons and napkins nearby — it makes the whole experience extra special and inviting for your guests.
Make Ahead and Storage
Storing Leftovers
If you end up with extra popsicles (and we hope you do), these can be carefully wrapped in plastic wrap or stored in an airtight container to prevent freezer burn. Keep them in the freezer for up to two weeks so nothing goes to waste and freshness lasts.
Freezing
Freezing is the heart of this recipe, and it works wonderfully because the ingredients hold up well even after solid freezing. Just make sure your molds are sealed tightly and stored on a flat surface to keep the popsicles perfectly shaped and creamy.
Reheating
Since these are popsicles, ‘reheating’ is really about thawing if you want a softer texture. Simply leave one or two at room temperature for a few minutes before enjoying if you prefer a spoonable pudding-like dessert that’s still fruit-forward and satisfying.
FAQs
Can I make this recipe dairy-free?
Absolutely! Use plant-based vanilla pudding, almond or oat milk, and a coconut whipped topping to keep things creamy and dairy-free without sacrificing flavor or texture.
How ripe should the bananas be?
The riper, the better! Look for bananas with brown spots for maximum sweetness and smooth blending, which ensures your popsicles are naturally sweet and creamy.
Can I add other flavors to these popsicles?
Yes! Try a pinch of cinnamon, a swirl of peanut butter, or a few fresh berries blended in for a unique, personalized twist on this classic recipe.
How long do these popsicles take to freeze?
Plan for about four hours or overnight to guarantee they are fully frozen and have that perfect creamy texture when you bite in.
Can I make these without popsicle molds?
If you don’t have molds, ice cube trays with toothpicks or small paper cups with wooden sticks work great as alternatives for freezing your popsicles.
Final Thoughts
Making this Creamy Banana Pudding Popsicles for a Refreshing Treat Recipe is like inviting a little sunshine and nostalgia into your day. It’s a simple, delightful way to enjoy classic banana pudding flavors transformed into a cool, creamy popsicle that’s perfect for warm afternoons, casual get-togethers, or anytime you want a sweetly satisfying treat. Grab those bananas and pudding, and let yourself experience this charming frozen dessert that’s sure to become a beloved favorite.
Print
Creamy Banana Pudding Popsicles for a Refreshing Treat Recipe
- Prep Time: 10 minutes
- Cook Time: 0 minutes
- Total Time: 4 hours 10 minutes
- Yield: 6 popsicles
- Category: Dessert
- Method: Freezing
- Cuisine: American
- Diet: Vegetarian
Description
These Creamy Banana Pudding Popsicles are a perfect refreshing treat combining ripe bananas, smooth vanilla pudding, and a light whipped topping. Easy to make and ideal for warm days, they offer a delightful balance of sweetness and creaminess with an optional crunchy twist from crushed vanilla wafers.
Ingredients
Main Ingredients
- 2 ripe bananas, peeled and sliced
- 1 cup vanilla pudding, prepared and chilled
- 1/2 cup milk or almond milk
- 1/2 cup whipped topping or whipped cream
- 1 teaspoon vanilla extract
Optional
- 4 vanilla wafer cookies, crushed
Instructions
- Blend Ingredients. Add the sliced bananas, vanilla pudding, milk, and vanilla extract to a blender and blend until completely smooth, ensuring a creamy base for the popsicles.
- Fold in Whipped Topping. Gently fold in the whipped topping using a spatula to keep the mixture light and creamy, preserving the fluffy texture.
- Add Crushed Wafers (Optional). If desired, stir in the crushed vanilla wafer cookies for added texture and flavor.
- Fill Popsicle Molds. Pour the mixture evenly into popsicle molds, leaving a little space at the top to allow for expansion during freezing.
- Insert Sticks and Freeze. Insert popsicle sticks and freeze the molds until the popsicles are fully firm, approximately 4 hours.
- Release and Serve. To release, briefly run warm water over the outside of the molds, then gently remove the popsicles and serve immediately.
Notes
- For a dairy-free version, use plant-based pudding and milk along with coconut whipped topping.
- These popsicles can be stored in the freezer for up to two weeks once frozen solid.