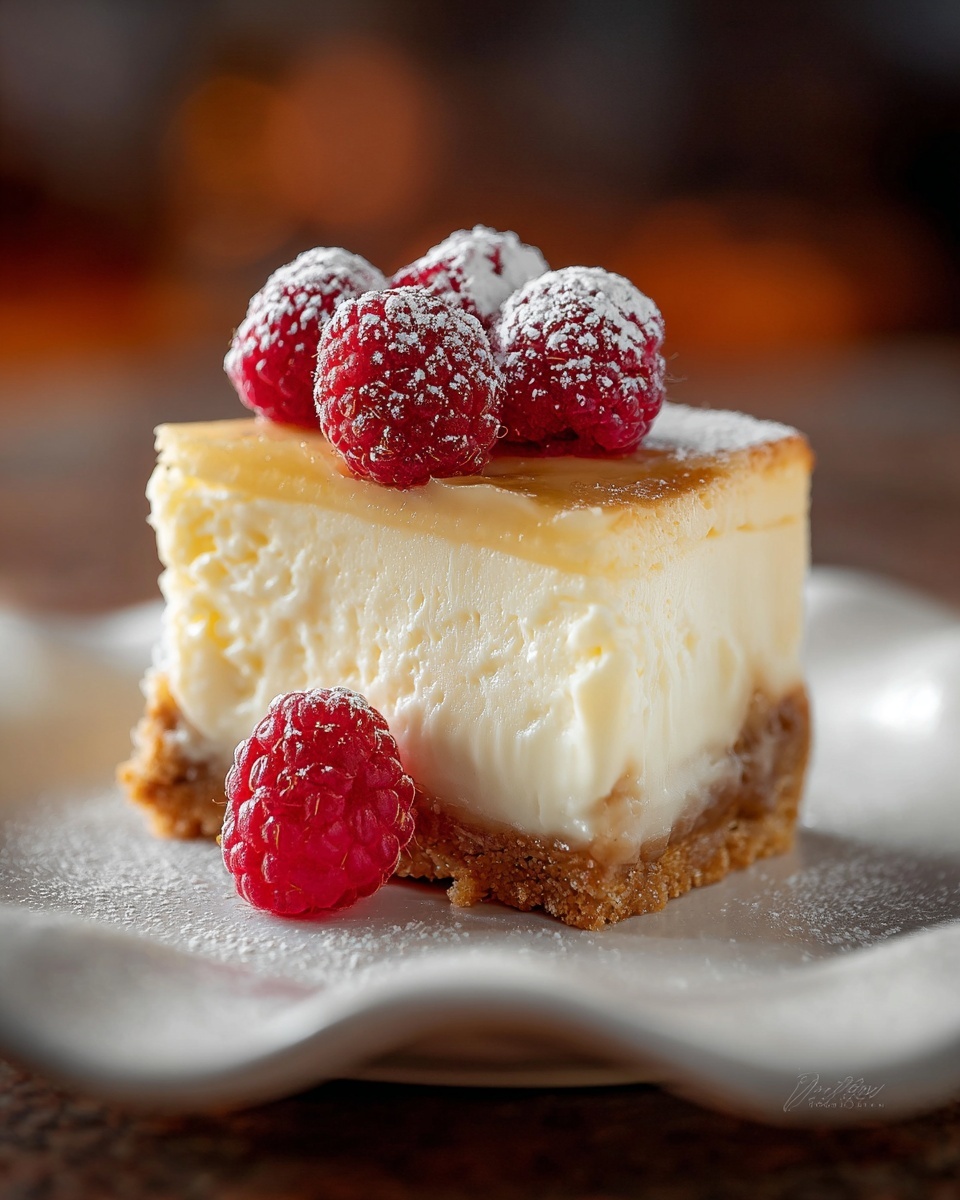
If you’re searching for a delightful treat that’s perfectly portioned and irresistibly creamy, this Mini Cheesecakes Recipe is exactly what you need. These bite-sized wonders combine a crisp vanilla wafer base with a velvety cheesecake filling that’s baked to silky perfection. They’re ideal for parties, afternoon snacks, or any time you want a sweet, satisfying dessert without going overboard. Plus, they’re so simple to make yet impressively elegant, making them one of my all-time favorite desserts to whip up and share with friends and family.
Ingredients You’ll Need
Every incredible recipe starts with the right ingredients, and with this Mini Cheesecakes Recipe, simplicity is the secret to success. Each ingredient plays a vital role in creating the perfect texture and flavor balance that makes these mini cheesecakes so unforgettable.
- Vanilla wafer cookies: These form the crisp, flavorful crust that supports the creamy filling beautifully.
- Cream cheese (softened): The star of the show, providing that rich, smooth base for the cheesecake filling.
- Granulated sugar: Balances the tanginess of the cream cheese with just the right amount of sweetness.
- Large eggs: Help bind the filling and create the perfect, tender texture.
- Vanilla extract: Adds warmth and depth, enhancing every bite with comforting aroma and flavor.
- Sour cream: Contributes a subtle tang and smoothness, keeping the filling luscious and moist.
- Fresh berries or fruit compote (optional): The perfect finishing touch to add freshness, color, and a burst of natural sweetness on top.
How to Make Mini Cheesecakes Recipe
Step 1: Prepare Your Oven and Pan
Start by preheating your oven to 350°F (175°C). Line a muffin tin with paper cupcake liners, which will keep your mini cheesecakes neat and make them easy to serve. This simple setup makes a huge difference in both presentation and cleanup!
Step 2: Create the Cookie Crust Base
Place one vanilla wafer cookie at the bottom of each cupcake liner. These cookies will bake into a crunchy yet tender crust that perfectly contrasts the creamy cheesecake filling, so don’t skip this step.
Step 3: Make the Cheesecake Filling
In a mixing bowl, beat the softened cream cheese together with granulated sugar until you achieve a smooth and creamy texture. This step is key to avoiding lumps and ensuring a luxuriously silky filling. Then, add eggs one by one, beating well after each addition to incorporate air and maintain that light texture.
Step 4: Add Flavor and Smoothness
Next, blend in the vanilla extract and sour cream until everything is perfectly combined. The vanilla infuses delightful warmth, while the sour cream adds an irresistible tang and velvety softness.
Step 5: Fill and Bake
Spoon the cheesecake mixture evenly over each vanilla wafer in the cupcake liners, filling about three-quarters full. Bake in the preheated oven for 15 to 18 minutes until the cheesecakes set and the edges turn a gentle golden color. This brief baking time is what gives the filling the right firm, creamy consistency without drying it out.
Step 6: Cool and Chill
Remove the mini cheesecakes from the oven and let them cool in the muffin tin for about 15 minutes. Then transfer them to a wire rack to cool completely. For the best texture and flavor, refrigerate for at least 2 hours or overnight. This chilling step is essential—it allows the flavors to meld and the filling to become wonderfully dense and creamy.
How to Serve Mini Cheesecakes Recipe

Garnishes
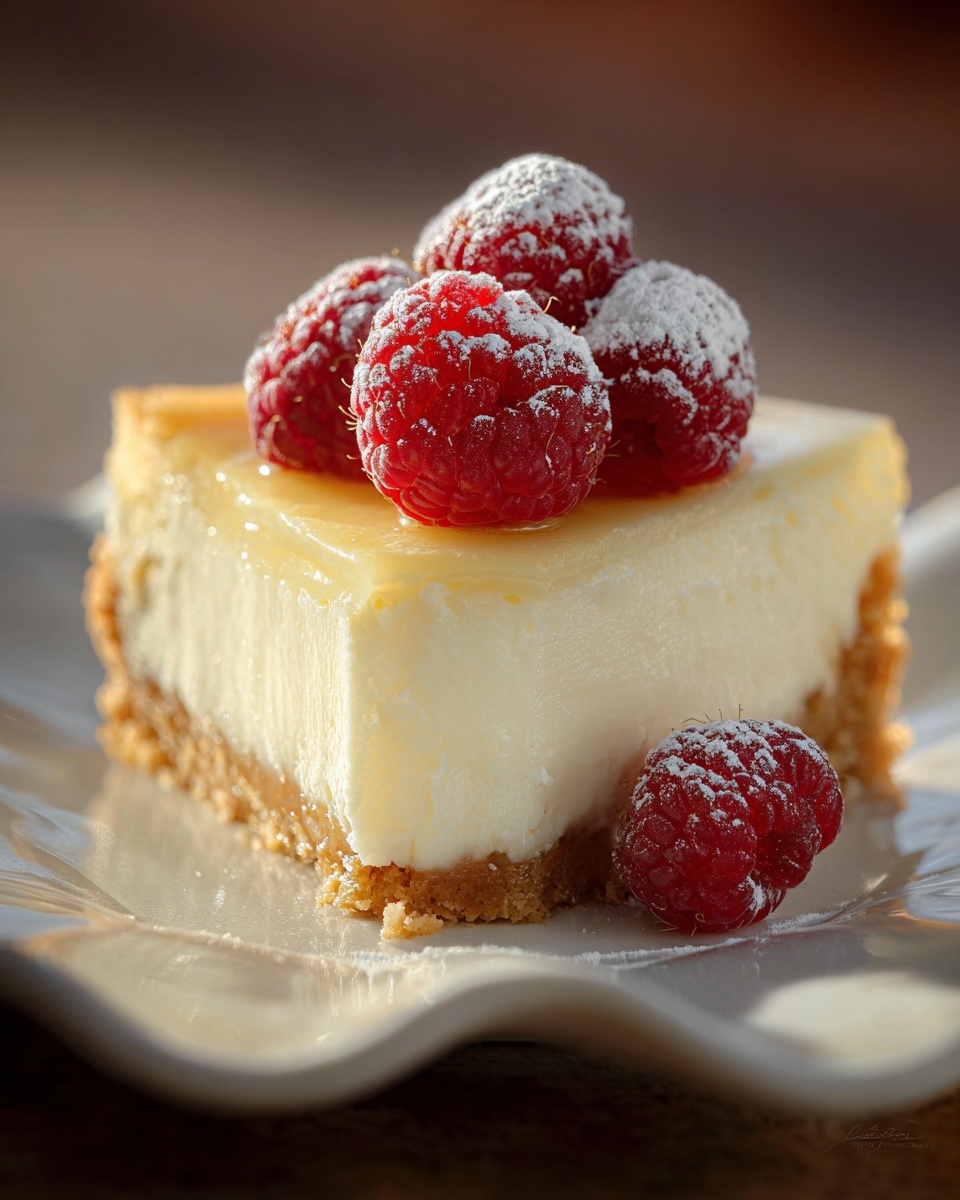
Top your mini cheesecakes with fresh berries like strawberries, blueberries, or raspberries for a gorgeous, natural burst of color and tang. Alternatively, a spoonful of fruit compote adds a luscious sweetness that beautifully complements the tangy filling. You can even sprinkle a little grated chocolate or a dusting of powdered sugar for an extra touch of elegance.
Side Dishes
Since these mini cheesecakes are rich, pairing them with light, refreshing sides works wonderfully. A small bowl of fresh fruit salad or a crisp green tea balances the richness and cleanses the palate, making each bite just as exciting as the first.
Creative Ways to Present
You can serve these mini cheesecakes straight from the cupcake liners for a casual gathering or carefully remove them and place them on a beautiful dessert plate for a more formal presentation. Try stacking a few on a tiered dessert tray for parties, or experiment with colorful fruit sauces drizzled artistically around the plate to impress your guests.
Make Ahead and Storage
Storing Leftovers
Mini cheesecakes keep beautifully in the refrigerator for up to 3 days when stored in an airtight container. This means you can make them ahead of time and enjoy their fresh flavor without any worry.
Freezing
If you want to keep these treats longer, you can freeze them for up to 1 month. Place them on a baking sheet in the freezer first to freeze individually before transferring to a freezer-safe bag or container. Thaw overnight in the refrigerator before serving to maintain their creamy texture.
Reheating
These mini cheesecakes are best served chilled, so reheating is generally not recommended. If you prefer a softer texture, simply let them sit at room temperature for about 20 minutes before serving.
FAQs
Can I use a different type of cookie for the base?
Absolutely! While vanilla wafers are classic and add a lovely vanilla flavor, you can experiment with graham crackers, shortbread cookies, or even chocolate wafers for a twist.
Is it necessary to use sour cream in the filling?
Sour cream adds subtle tang and creaminess, enhancing the flavor and texture, but if you don’t have it on hand, you can substitute with Greek yogurt or heavy cream for similar results.
How do I know when mini cheesecakes are fully baked?
Look for cheesecakes that are set around the edges but still slightly jiggly in the center when you gently shake the pan. They will continue to firm up as they cool.
Can I prepare these mini cheesecakes ahead of time for a party?
Yes! In fact, they’re perfect for make-ahead prepping. Bake them a day or two before your event, keep refrigerated, and add fresh fruit toppings just before serving.
What toppings pair best with mini cheesecakes?
Fresh berries, fruit compotes, chocolate drizzle, caramel sauce, or even whipped cream are all fantastic toppings that add personality and flavor to your mini cheesecakes.
Final Thoughts
I can’t recommend this Mini Cheesecakes Recipe enough if you want a dessert that feels special yet is surprisingly easy to make. They’re irresistibly creamy and elegant enough for any occasion, but still wonderfully simple—perfect for sharing with loved ones or treating yourself. Give these mini delights a try and watch them disappear fast!
Print
Mini Cheesecakes Recipe
- Prep Time: 15 minutes
- Cook Time: 18 minutes
- Total Time: 3 hours 33 minutes
- Yield: 12 servings
- Category: Dessert
- Method: Baking
- Cuisine: American
Description
These Mini Cheesecakes are delightful, creamy treats featuring a vanilla wafer crust and a smooth, rich cream cheese filling. Perfectly portioned for individual servings, they bake quickly and can be enjoyed plain or topped with fresh berries or fruit compote for an elegant touch. Ideal for gatherings or a sweet indulgence, these bite-sized cheesecakes offer classic flavor in an easy-to-make format.
Ingredients
Base
- 12 vanilla wafer cookies
Cheesecake Filling
- 2 (8-ounce) packages cream cheese, softened
- 1/2 cup granulated sugar
- 2 large eggs
- 1 teaspoon vanilla extract
- 1/4 cup sour cream
Topping (Optional)
- Fresh berries or fruit compote
Instructions
- Preheat Oven: Preheat your oven to 350°F (175°C) and line a muffin tin with paper cupcake liners to prepare for baking.
- Prepare Base: Place one vanilla wafer cookie at the bottom of each cupcake liner to create a crisp base for the cheesecakes.
- Mix Cream Cheese and Sugar: In a mixing bowl, blend the softened cream cheese and granulated sugar until the mixture is smooth and creamy, ensuring no lumps remain.
- Add Eggs: Add the eggs one at a time to the cream cheese mixture, mixing thoroughly after each addition to maintain a creamy texture.
- Incorporate Flavorings: Stir in the vanilla extract and sour cream until the mixture is uniformly combined and smooth.
- Fill Liners: Spoon the cream cheese mixture evenly over each cookie in the cupcake liners, filling each about three-quarters full to allow room for rising.
- Bake: Bake in the preheated oven for 15-18 minutes, or until the cheesecakes are set and the edges turn lightly golden, indicating they are cooked through.
- Cool in Tin: Remove from the oven and let the mini cheesecakes cool in the muffin tin for 15 minutes to set further.
- Cool Completely: Transfer the cheesecakes to a wire rack and let them cool completely at room temperature to avoid condensation.
- Chill: Refrigerate the mini cheesecakes for at least 2 hours or overnight to firm up and develop flavor before serving.
- Optional Topping: Prior to serving, optionally top each mini cheesecake with fresh berries or a fruit compote for an attractive and flavorful finish.
Notes
- Ensure cream cheese is softened to room temperature for smooth mixing and a creamy texture.
- Do not overfill the cupcake liners to prevent spilling or cracking during baking.
- Chilling the cheesecakes thoroughly is key to achieving the perfect set and texture.
- Use fresh, ripe berries for the best flavor if opting for fruit topping.
- Mini cheesecakes can be stored covered in the refrigerator for up to 3-4 days.


