
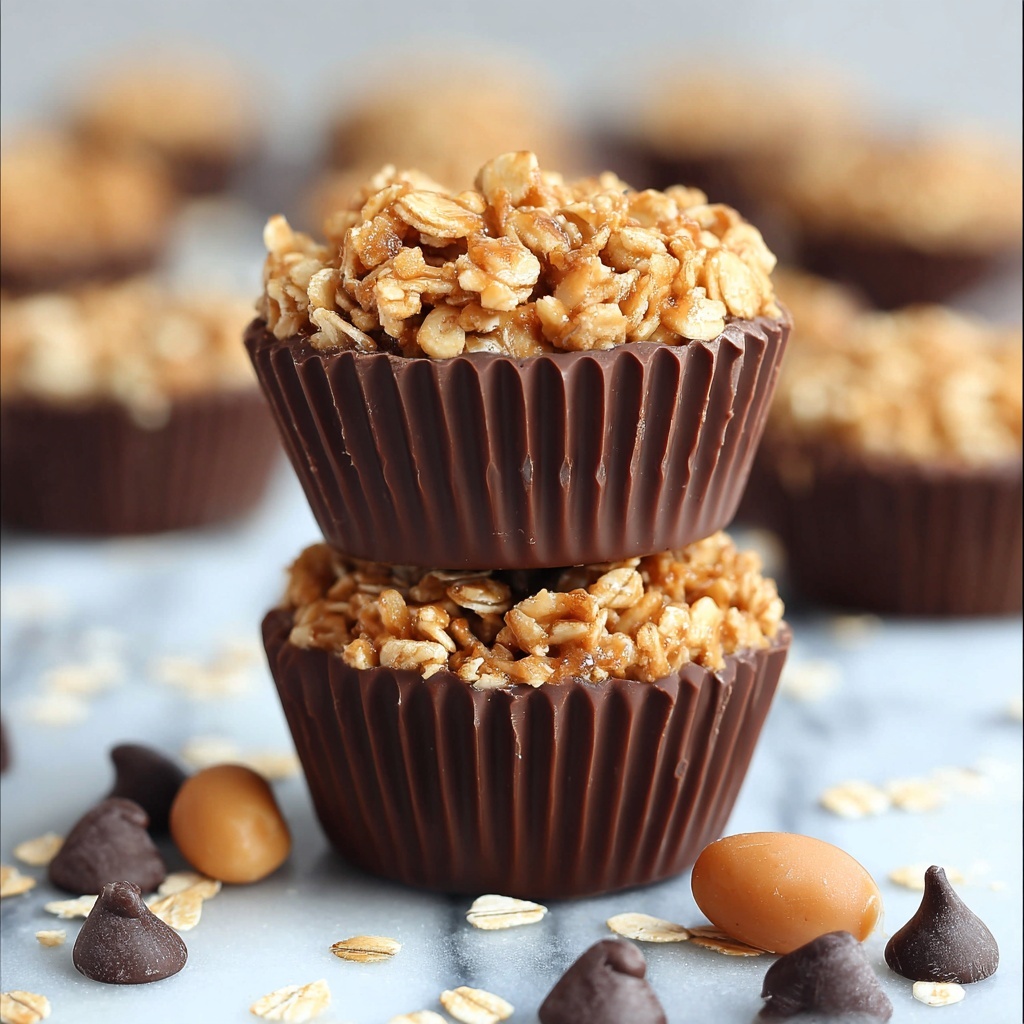
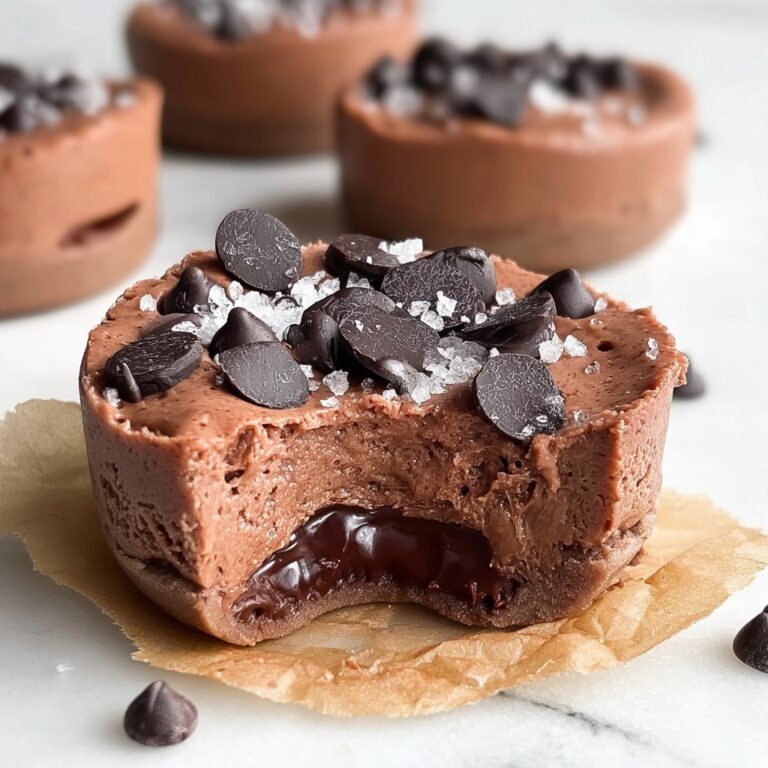
If you’re on the lookout for a treat that feels indulgent yet is simple enough to whip up without turning on your oven, the No-Bake Peanut Butter Granola Cups Recipe is going to become your new best friend. These little cups are pure magic—combining the chewy goodness of rolled oats, the creamy richness of peanut butter, and a touch of honey sweetness. They’re fabulously customizable, incredibly satisfying, and perfect for whenever you want a quick snack or a charming dessert without fuss. Once you try this delightful recipe, you’ll wonder how you ever lived without it!
Ingredients You’ll Need
Gathering your ingredients is a breeze with this recipe. Each component plays a crucial role—rolled oats provide that hearty crunch, honey binds everything with natural sweetness, and creamy peanut butter brings all the flavors together with luscious smoothness.
- 2 1/2 cups rolled oats: The base of the granola cups, adding chewiness and structure.
- 1/2 cup honey: A natural sweetener that also acts as a glue to hold the mixture.
- 1/2 cup creamy peanut butter: Brings rich, nutty flavor and moisture to the granola base.
- 1/4 cup coconut oil: Adds smooth texture and a subtle tropical note, plus helps the cups set firmly.
- 1 teaspoon vanilla extract: Enhances the overall flavor with a warm, sweet aroma.
- 1/4 teaspoon salt: Balances the sweetness and boosts the peanut butter’s flavor.
- 1/2 cup mini chocolate chips (optional): For those who love a chocolate touch in every bite.
- 1/2 cup creamy peanut butter (filling): Creates a luscious, creamy filling inside the cups.
- 1/4 cup powdered sugar: Sweetens the filling without graininess.
- 1/4 cup heavy cream: Whips up the filling’s texture to be smooth and airy.
- Melted chocolate (optional): A final decadent drizzle if you want to go all out.
- Chopped peanuts (optional): Adds a lovely crunch and visual appeal on top.
How to Make No-Bake Peanut Butter Granola Cups Recipe
Step 1: Prepare the Granola Base
Start by warming your honey, peanut butter, and coconut oil together over medium heat. Stir gently and patiently until everything melts into a gorgeously smooth, glossy mixture. This warm blend is what binds the oats into those sturdy cups we love.
Step 2: Infuse Flavor
Once your mixture is silky and well combined, remove it from heat. Stir in the vanilla extract and salt thoughtfully, letting these ingredients elevate the sweet and nutty foundation with subtle aromatic depth.
Step 3: Coat the Oats
Pour in the rolled oats and mix them thoroughly so every flake is coated with that luscious peanut butter-honey syrup. If you’re going for a bit of extra indulgence, gently fold in mini chocolate chips here for little pockets of melting joy.
Step 4: Shape Your Cups
Line a muffin tin with paper liners to keep things neat. Divide the sticky granola mixture evenly, then use your fingers or the back of a spoon to firmly press and shape inside each muffin cup, crafting little bowls ready to hold delicious filling.
Step 5: Chill to Set
Pop the muffin tin into the refrigerator to let the granola cups firm up. This chilling step is essential for creating sturdy, perfectly crisp cups that won’t crumble when filled.
Step 6: Make the Peanut Butter Filling
While the cups chill, whisk together peanut butter, powdered sugar, and heavy cream in a bowl until you achieve a smooth, creamy, and spreadable filling that feels like a silky peanut butter dream.
Step 7: Assemble and Refresh
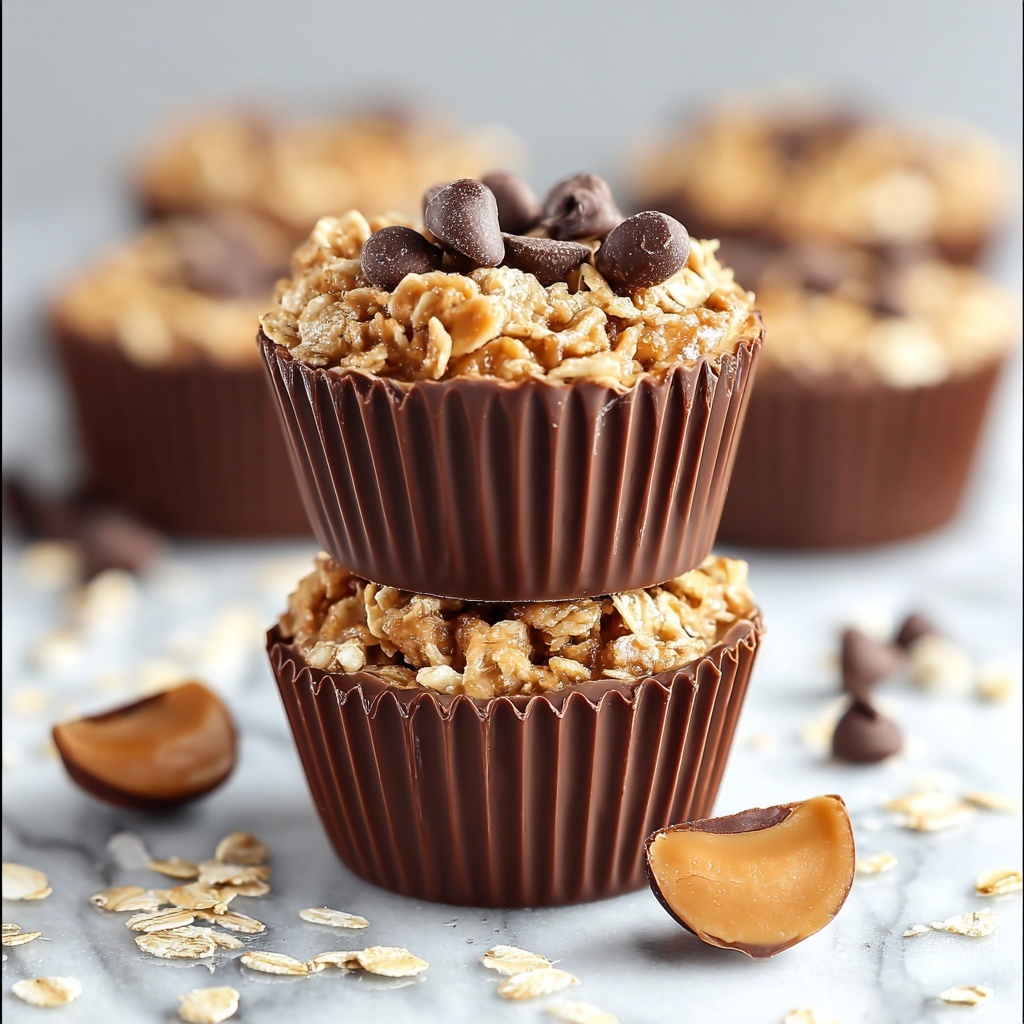
Spoon the luscious peanut butter filling into each firm granola cup, filling them generously. To add that extra wow factor, drizzle melted chocolate over the top and sprinkle chopped peanuts for a crunchy contrast.
Step 8: Final Chill
Place the assembled granola cups back in the fridge for at least one hour to let everything set completely. This guarantees every bite holds together perfectly and tastes divine.
Step 9: Serve and Delight
Once chilled, your No-Bake Peanut Butter Granola Cups Recipe is ready to enjoy. Serve them as a snack or a delightful mini dessert that’s guaranteed to bring smiles.
How to Serve No-Bake Peanut Butter Granola Cups Recipe
Garnishes
A simple drizzle of melted chocolate gives these granola cups a glossy glaze that makes them look irresistible. Sprinkling chopped peanuts on top not only adds a pop of crunch but also enhances the peanut theme beautifully. Fresh berries or a light dusting of powdered sugar can add a touch of color and freshness as well.
Side Dishes
These granola cups pair wonderfully with a glass of cold milk or a hot cup of coffee or tea, balancing their sweetness with a comforting beverage. You could also serve alongside sliced fruit for a wholesome snack board that’s sure to please everyone’s palate.
Creative Ways to Present
Try serving the granola cups on a rustic wooden platter with small bowls of extra peanut butter and chocolate for dipping. Or place them atop mini dessert plates garnished with mint leaves for an elegant touch during gatherings. They’re perfect for picnic baskets or packed lunches, simply wrapped in parchment paper for an on-the-go treat.
Make Ahead and Storage
Storing Leftovers
Keep leftover peanut butter granola cups in an airtight container in the refrigerator. They will stay fresh for up to one week without losing their texture or flavor, making them an excellent make-ahead snack option.
Freezing
You can freeze these granola cups for even longer storage. Wrap them individually in plastic wrap and place in a freezer-safe container or bag. When you’re craving one, let them thaw in the refrigerator or at room temperature before enjoying.
Reheating
Since these are no-bake and best served chilled, reheating is not necessary. Allow them to soften slightly at room temperature if they become too firm after refrigeration or freezing, and you’ll have that perfect chewy, creamy bite again.
FAQs
Can I substitute the peanut butter with another nut butter?
Absolutely! Almond butter, cashew butter, or sunflower seed butter all work nicely if you want a different flavor or need a peanut-free alternative. Just keep in mind the taste and texture will vary slightly.
Is it necessary to use coconut oil?
Coconut oil helps the granola cups set firmly and adds a subtle flavor, but you can substitute with another neutral oil like vegetable or canola oil. Avoid butter, as it won’t firm up as well when chilled.
Can I make these gluten-free?
Yes! Simply use certified gluten-free rolled oats to ensure the granola cups are safe for gluten-sensitive diets without sacrificing texture or flavor.
How long does it take for the cups to set in the refrigerator?
It generally takes at least 1 hour for the granola cups to set firmly enough to handle. If you can wait longer, 2 hours is even better for sturdiness.
Are these suitable for kids’ lunchboxes?
Definitely! These no-bake peanut butter granola cups are a healthy, fun snack that kids love. Just be sure to check for any nut allergies in school settings before packing them.
Final Thoughts
There’s something so satisfying about a treat that is effortless to make yet full of flavor and texture, and the No-Bake Peanut Butter Granola Cups Recipe hits every note perfectly. Whether you’re feeding a crowd, preparing a quick afternoon snack, or just want a sweet pick-me-up that feels homemade, give this recipe a try. It’s a guaranteed crowd-pleaser that will quickly become a kitchen favorite you return to again and again.
Print
No-Bake Peanut Butter Granola Cups Recipe
- Prep Time: 15 minutes
- Cook Time: 10 minutes
- Total Time: 1 hour 15 minutes
- Yield: 12 servings
- Category: Snack
- Method: Stovetop
- Cuisine: American
- Diet: Vegetarian
Description
These No-Bake Peanut Butter Granola Cups are a delicious and easy-to-make snack or dessert that combines the wholesome crunch of rolled oats with creamy peanut butter and a hint of honey sweetness. Perfect for a quick treat, they require no baking and come together in just over an hour, making them ideal for both beginners and seasoned bakers looking for a hassle-free recipe.
Ingredients
Granola Cups
- 2 1/2 cups rolled oats
- 1/2 cup honey
- 1/2 cup creamy peanut butter
- 1/4 cup coconut oil
- 1 teaspoon vanilla extract
- 1/4 teaspoon salt
- 1/2 cup mini chocolate chips (optional)
Peanut Butter Filling
- 1/2 cup creamy peanut butter
- 1/4 cup powdered sugar
- 1/4 cup heavy cream
Toppings (Optional)
- Melted chocolate
- Chopped peanuts
Instructions
- Prepare the Granola Cups: In a large saucepan over medium heat, combine honey, peanut butter, and coconut oil. Stir continuously until the mixture is smooth and fully melted, ensuring all ingredients are well blended.
- Add Flavorings: Remove the pan from heat and stir in the vanilla extract and salt to enhance the overall flavor profile of the granola mixture.
- Combine Oats and Chocolate Chips: Add the rolled oats into the mix and stir thoroughly until all oats are evenly coated with the peanut butter mixture. If using, fold in the mini chocolate chips for a sweet, melty touch.
- Form the Granola Cups: Line a muffin tin with paper liners. Divide the granola mixture evenly among the muffin cups, pressing firmly with the back of a spoon or your fingers to form a compact cup shape that will hold the filling.
- Chill Granola Cups: Place the muffin tin in the refrigerator and chill the granola cups to set while you prepare the filling. This helps the structure firm up and makes assembly easier.
- Prepare the Peanut Butter Filling: In a medium mixing bowl, beat together peanut butter, powdered sugar, and heavy cream using a hand mixer or whisk until the mixture is smooth, creamy, and spreadable.
- Assemble the Cups: Spoon the peanut butter filling into each chilled granola cup, filling them generously but neatly.
- Add Optional Toppings: If desired, drizzle the tops with melted chocolate and sprinkle with chopped peanuts for extra texture and flavor.
- Final Chill: Refrigerate the assembled granola cups for at least 1 hour or until the filling is firm and the cups hold their shape perfectly.
- Serve and Enjoy: Serve the peanut butter granola cups chilled as a satisfying snack or a delightful dessert. Enjoy their rich, creamy, and crunchy goodness!
Notes
- You can substitute coconut oil with butter if preferred.
- Use natural peanut butter for a less sweet, more wholesome flavor.
- For vegan variation, use maple syrup instead of honey and coconut cream instead of heavy cream.
- Make sure to press the granola mixture firmly to ensure the cups hold their shape well.
- Store leftovers in an airtight container in the refrigerator for up to 5 days.


