“`html
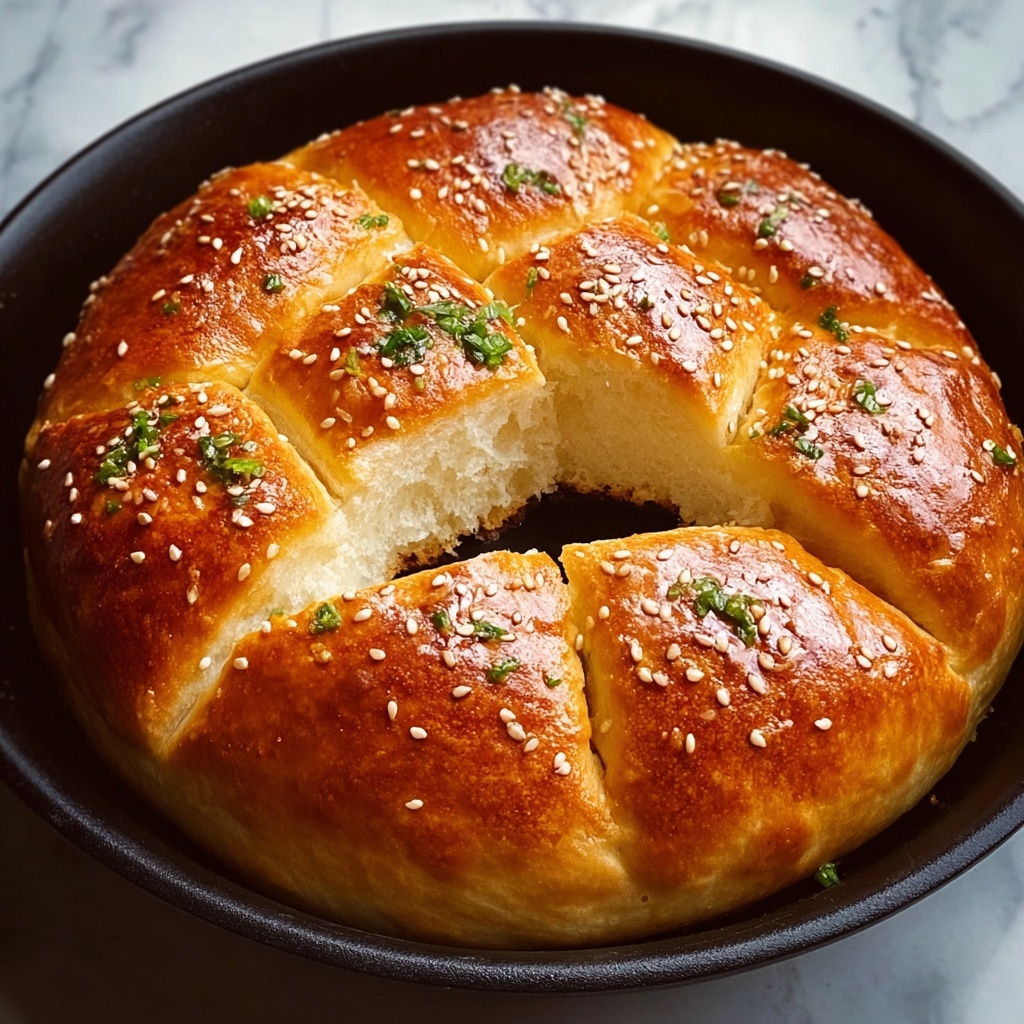
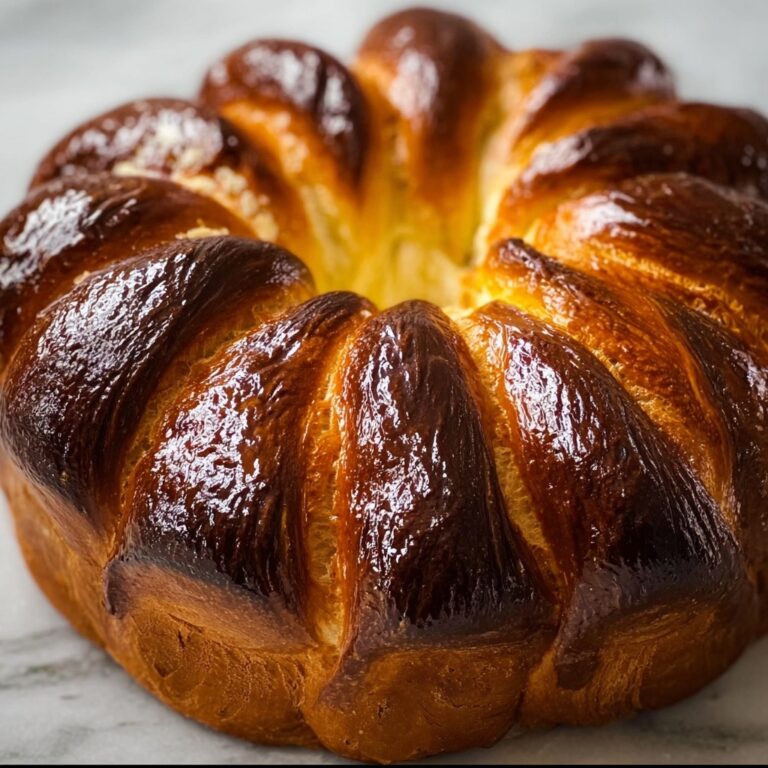
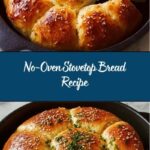
If you’ve ever wished for homemade bread fresh off the stove without firing up an oven, you’re in for a real treat with this No-Oven Stovetop Bread Recipe. It’s wonderfully simple, uses everyday ingredients, and delivers soft, pillowy bread with a golden, crispy exterior that’s perfect any time of day. Whether you’re a beginner or a seasoned cook, this recipe opens up a new world of bread baking possibilities—right on your stovetop!
Ingredients You’ll Need
This No-Oven Stovetop Bread Recipe calls for just a handful of ingredients, each playing a key role to create perfect bread every time. From the warmth of the milk that activates the yeast to the flour that forms the structure, every component is essential and straightforward.
- 5 cups flour: Provides the main structure and texture for the bread;
- 2 cups warm milk: Activates the yeast and adds tenderness to the crumb;
- 1 cup vegetable or canola oil: Keeps the bread soft and moist while helping with browning;
- 1 tablespoon dry yeast: The magic ingredient responsible for the bread’s rise and fluffiness;
- 1 tablespoon granulated sugar: Feeds the yeast and adds a touch of sweetness;
- 1 teaspoon salt: Enhances all the flavors and balances the sweetness;
- 2.5 – 3 liters of water (for boiling): Essential for cooking the dough gently before pan frying;
- 1 teaspoon salt (for boiling water): Adds seasoning to the bread as it cooks.
How to Make No-Oven Stovetop Bread Recipe
Step 1: Prepare the Dough
Start by combining the warm milk, sugar, and dry yeast in a large mixing bowl. Stir gently and let this mixture rest for 5 to 10 minutes until it becomes frothy and bubbly. This wake-up call for the yeast is what will give your bread its airy texture later on.
Step 2: Combine the Dough Ingredients
Next, add the flour, oil, and salt to your yeast mixture. Stir everything together until it forms a dough that pulls away from the sides of the bowl. Don’t worry if you need to tweak the flour or milk amounts slightly – achieving the right, slightly tacky but not sticky consistency is key.
Step 3: Knead the Dough
Transfer your dough onto a floured surface and knead it by hand for about 8 to 10 minutes. This step is crucial as kneading develops the gluten, which gives your bread that wonderful chewy but soft texture once cooked. The dough should feel smooth and stretchy when you’re done.
Step 4: Let the Dough Rise
Grease a clean bowl, place your dough inside, and cover it with a damp cloth. Find a cozy, warm spot and allow the dough to rise for about an hour or until it has doubled in size. This resting time gives the yeast enough chance to produce air bubbles, resulting in fluffy bread.
Step 5: Shape and Boil the Bread
Punch down the risen dough to remove excess air, then shape it into balls. Bring a large pot filled with salted water to a boil, and carefully drop your dough balls in, a few at a time. Let them simmer for 1 to 2 minutes until they puff up and float like little clouds. This unique boiling step sets the bread’s structure before cooking it further.
Step 6: Cook on the Stovetop
Heat a skillet or griddle over medium heat and place your boiled bread pieces onto it. Cook each side for 2 to 3 minutes until you get that perfect golden crust. Press lightly with a spatula for even cooking and to help them crisp up beautifully. This final stovetop step adds irresistible flavor and texture.
How to Serve No-Oven Stovetop Bread Recipe
Garnishes
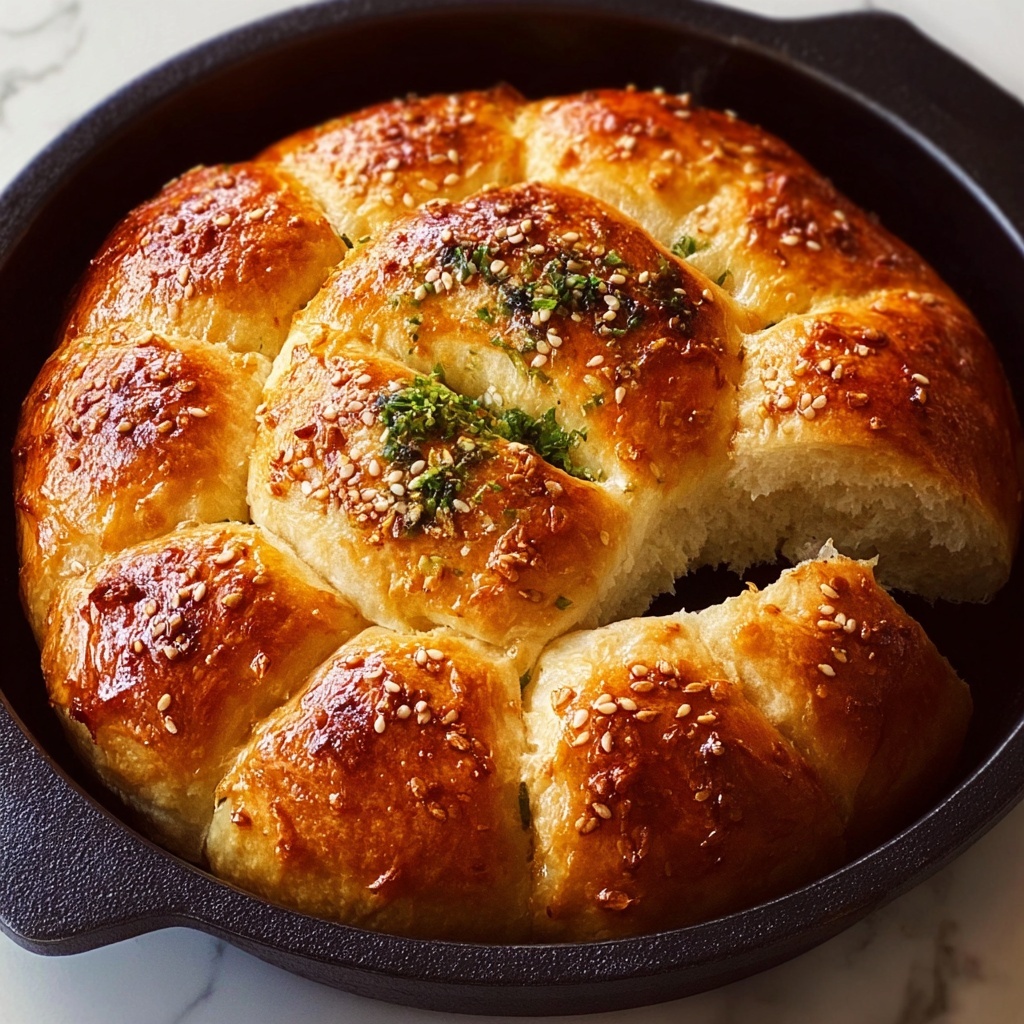
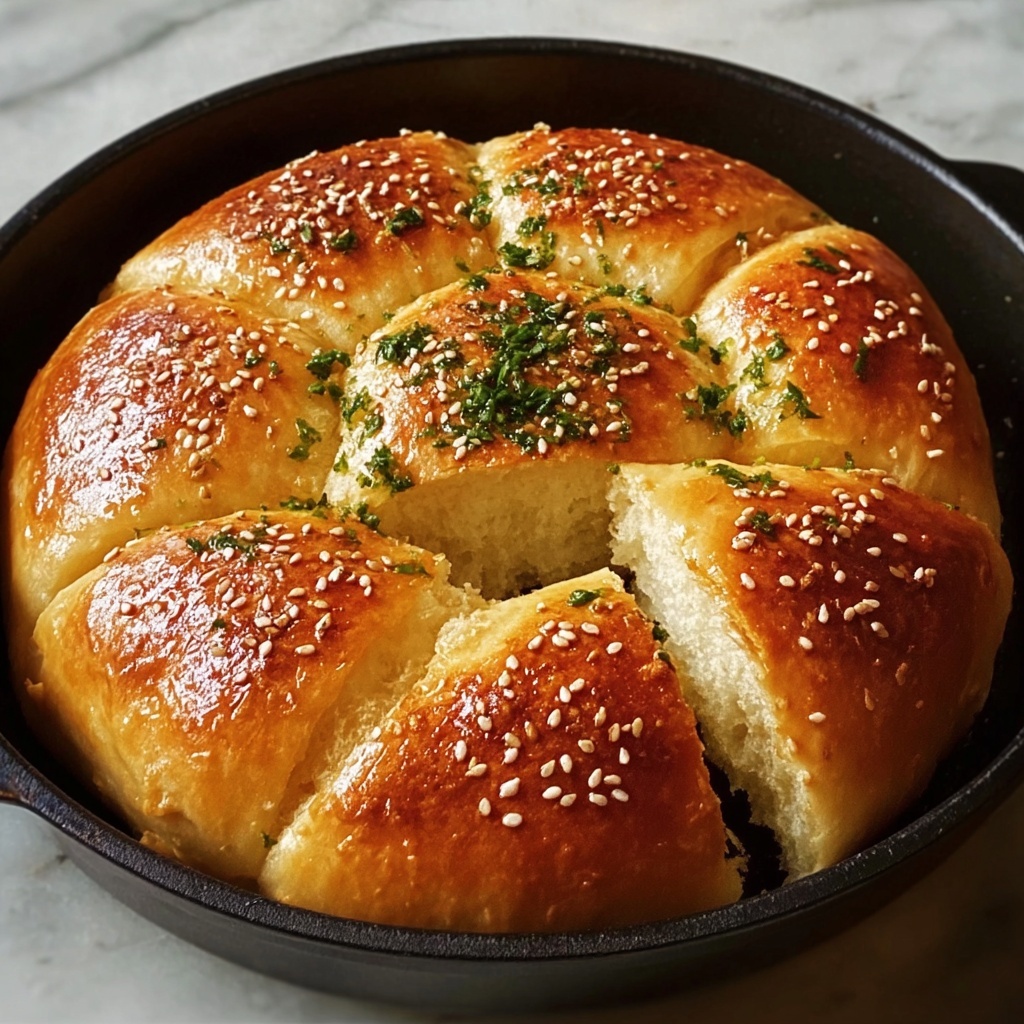
This bread shines best when served warm, right off the skillet. Slather on some creamy butter or your favorite jam to complement the crispy outside and soft interior. For a savory twist, top with garlic butter or a sprinkle of fresh herbs like parsley or chives to elevate the flavors instantly.
Side Dishes
Because of its mild flavor and satisfying texture, this stovetop bread pairs beautifully with soups, stews, and salads. It’s especially fantastic alongside hearty vegetable stews or creamy dips like hummus or spinach-artichoke. Think of it as the perfect edible utensil for dunking and spreading.
Creative Ways to Present
Want to wow your guests? Slice the bread horizontally and create mini sandwiches with fresh cheese, smoked meats, or roasted vegetables. You can also brush the bread lightly with olive oil and sprinkle with sea salt and sesame seeds before cooking, making each piece a hand-held delight that’s perfect for any gathering.
Make Ahead and Storage
Storing Leftovers
If you have any leftover bread, wrap it tightly in plastic wrap or place it in an airtight container. Stored this way, it will stay fresh on your countertop for up to two days, making it easy to enjoy later without losing that soft, fresh-baked feel.
Freezing
This No-Oven Stovetop Bread Recipe freezes really well. Just wrap individual bread pieces in foil and place them in a freezer-safe bag. When you want to indulge, defrost them overnight in the fridge or at room temperature for quick snacks or meals later on.
Reheating
Reheat your stovetop bread gently in a warm skillet for a few minutes per side to bring back that crispy crust and soft interior. Avoid the microwave if possible, as it can make the bread rubbery. This method refreshes the bread without compromising texture or taste.
FAQs
Can I use baking powder instead of yeast for this No-Oven Stovetop Bread Recipe?
Baking powder isn’t a substitute here because yeast not only leavens the dough but also develops flavor with fermentation, which baking powder can’t replicate. Using yeast is essential to get the light, airy texture and subtle taste you want.
What type of flour works best for this recipe?
All-purpose flour is ideal and readily available for this recipe, providing the right balance between structure and tenderness. However, bread flour can also be used for a chewier texture, but it may require slight adjustments in kneading time.
Can I make the dough in advance?
Absolutely! You can prepare the dough and refrigerate it overnight, covered tightly. Just bring it back to room temperature before shaping and boiling. This can make your bread-baking process even more convenient.
Why do I boil the dough before cooking it on the stovetop?
Boiling the dough briefly is key to this No-Oven Stovetop Bread Recipe. It partially cooks the bread, helping it puff up and create that unique chewy texture before the final crisping on the skillet. It’s also what sets this bread apart from traditional pan-fried breads.
Can I add herbs or spices to the dough?
Definitely! Adding fresh or dried herbs, garlic powder, or even seeds to the dough is a fantastic way to customize your bread. Just fold them in during the mixing stage for bursts of flavor in every bite.
Final Thoughts
This No-Oven Stovetop Bread Recipe is a wonderful reminder that baking bread doesn’t always mean turning on the oven or spending hours in the kitchen. It’s approachable, fun, and incredibly satisfying to pull fresh, golden bread right from your skillet. So go ahead, try it out and bring some warm, homemade deliciousness to your table today!
“`
Print
No-Oven Stovetop Bread Recipe
- Prep Time: 15 minutes
- Cook Time: 25 minutes
- Total Time: 1 hour 40 minutes
- Yield: 10 servings
- Category: Bread
- Method: Stovetop
- Cuisine: Universal
Description
This No-Oven Stovetop Bread Recipe offers a simple and delicious way to make homemade bread without the need for baking. The dough is prepared with basic ingredients, allowed to rise, then boiled briefly before being pan-cooked on the stovetop to achieve a golden, crispy crust. Perfect for those without an oven or looking for a quick bread alternative to enjoy warm with butter, jam, or other toppings.
Ingredients
For the Dough:
- 5 cups all-purpose flour
- 2 cups warm milk
- 1 cup vegetable or canola oil
- 1 tablespoon dry yeast
- 1 tablespoon granulated sugar
- 1 teaspoon salt
For Boiling the Dough:
- 2.5 – 3 liters water
- 1 teaspoon salt
Instructions
- Prepare the Dough: In a large mixing bowl, combine warm milk, sugar, and dry yeast. Stir well and let the mixture sit for 5 to 10 minutes until it becomes frothy, indicating that the yeast is active.
- Combine the Dough: Add the flour, vegetable or canola oil, and salt to the yeast mixture. Mix thoroughly until the dough begins to form. Adjust the amount of flour or milk as needed to achieve the right consistency that is not too sticky or dry.
- Knead the Dough: Transfer the dough onto a floured surface and knead it for 8 to 10 minutes until it is smooth, elastic, and stretchy.
- Let the Dough Rise: Lightly grease a clean bowl and place the kneaded dough inside. Cover the bowl with a damp cloth and set it in a warm location to rise for about 1 hour or until the dough doubles in size.
- Prepare for Boiling: Fill a large pot with 2.5 to 3 liters of water and bring it to a rolling boil. Add 1 teaspoon of salt into the boiling water.
- Shape and Boil the Bread: Punch down the risen dough to release the air. Shape the dough into individual balls of desired size. Drop a few dough balls at a time into the boiling water. Let them boil for 1 to 2 minutes until the dough puffs up and floats to the surface, indicating they are cooked internally.
- Cook on Stovetop: Heat a skillet or griddle over medium heat. Carefully transfer the boiled bread pieces onto the skillet and cook each side for 2 to 3 minutes until golden brown and crispy. Press lightly with a spatula to ensure even cooking.
- Serve Warm: Serve the stovetop bread warm, accompanied by butter, jam, or any preferred toppings for a comforting and delicious experience.
Notes
- The dough consistency should be soft but not sticky; add flour or milk gradually to adjust.
- Ensure the water is at a rolling boil before dropping the dough balls to achieve proper puffing.
- Cooking times may vary slightly depending on the size of dough balls and stovetop heat.
- Store any leftovers in an airtight container and reheat on a skillet to maintain crispiness.


